Working with Arduino
This chapter contains the following sections. Please read as needed:
Arduino Getting Started
New to Arduino ESP32 development and looking for a quick start? We have prepared a comprehensive Getting Started Tutorial for you.
- Section 0: Getting to Know ESP32
- Section 1: Installing and Configuring Arduino IDE
- Section 2: Arduino Basics
- Section 3: Digital Output/Input
- Section 4: Analog Input
- Section 5: Pulse Width Modulation (PWM)
- Section 6: Serial Communication (UART)
- Section 7: I2C Communication
- Section 8: SPI Communication
- Section 9: Wi-Fi Basics
- Section 10: Web Server
- Section 11: Bluetooth
- Section 12: LVGL GUI Development
- Section 13: Comprehensive Project
Note: This tutorial uses the ESP32-S3-Zero as a reference example, and all hardware code is based on its pinout. Before you start, we recommend checking the pinout of your development board to ensure the pin configuration is correct.
Setting Up Development Environment
1. Installing and Configuring Arduino IDE
Please refer to the tutorial Installing and Configuring Arduino IDE to download and install the Arduino IDE and add ESP32 support.
2. Installing Libraries
- When installing Arduino libraries, there are typically two methods: Install Online and Install Offline. If the library installation requires Install Offline, you must use the provided library file.
- For most libraries, users can easily search for and install them via the Arduino IDE's online Library Manager. However, some open-source or custom libraries are not synchronized to the Arduino Library Manager and therefore cannot be found through online search. In this case, users can only install these libraries manually via offline methods.
Installation Steps:
-
Download the example package.
infoThe path to the Arduino libraries folder is typically:
c:\Users\<username>\Documents\Arduino\libraries.You can also locate it in the Arduino IDE by going to File > Preferences and checking the "Sketchbook location". The libraries folder is the
librariessubfolder within this path. -
For other installation methods, please refer to: Arduino Library Management Tutorial.
Board Installation Instructions for 0.85inch ScreenKey Module
| Board Name | Board Installation Requirement | Version Requirement |
|---|---|---|
| Arduino AVR Boards | "Offline" / "Online" installation | v1.8.6 |
Hardware Connection
Example
The Arduino_Uno_test demo is located in the Arduino-uno directory of the example package.
01_Arduino_Uno_test
Example Description
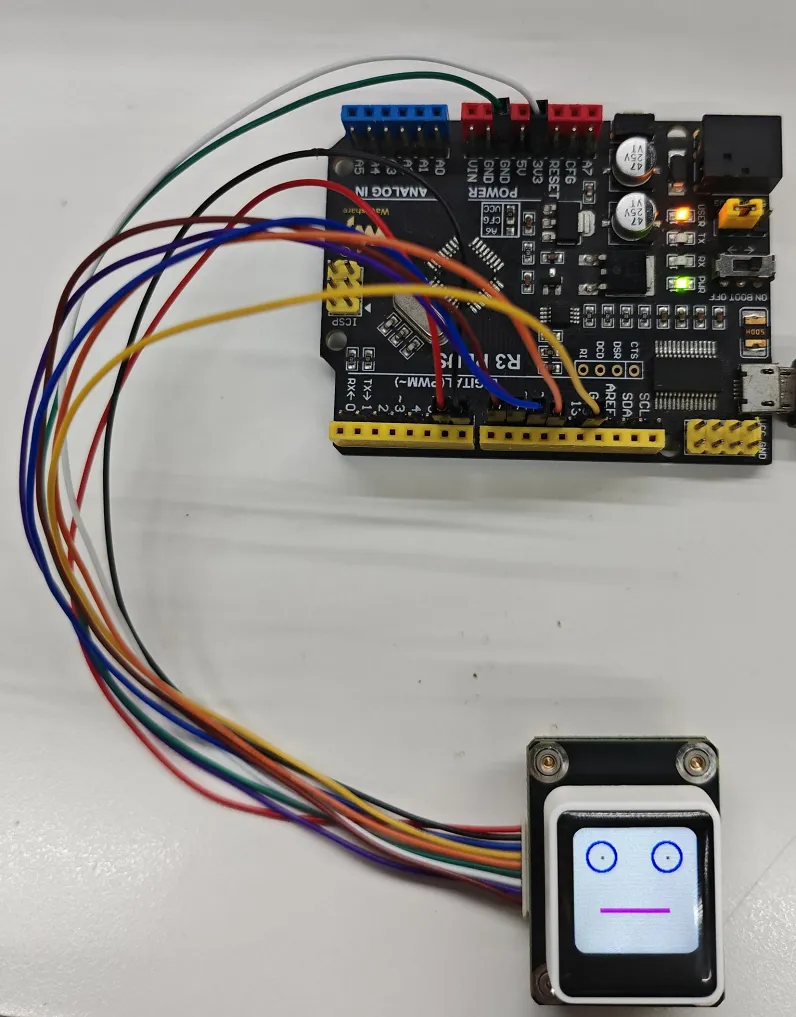
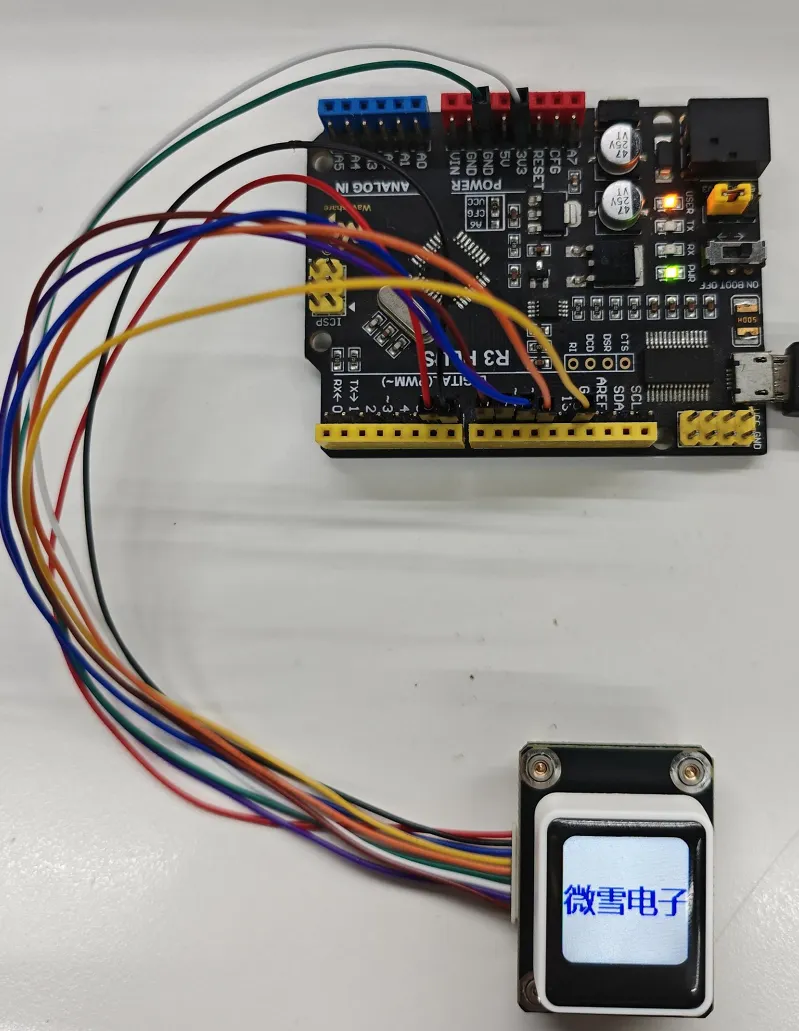
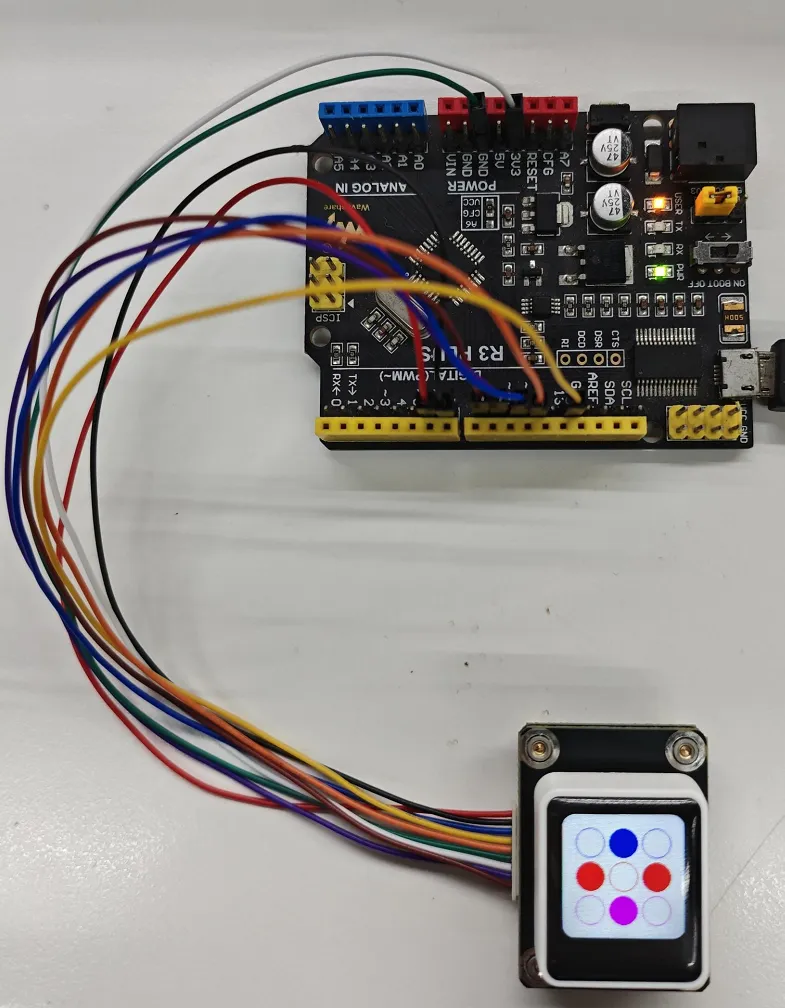
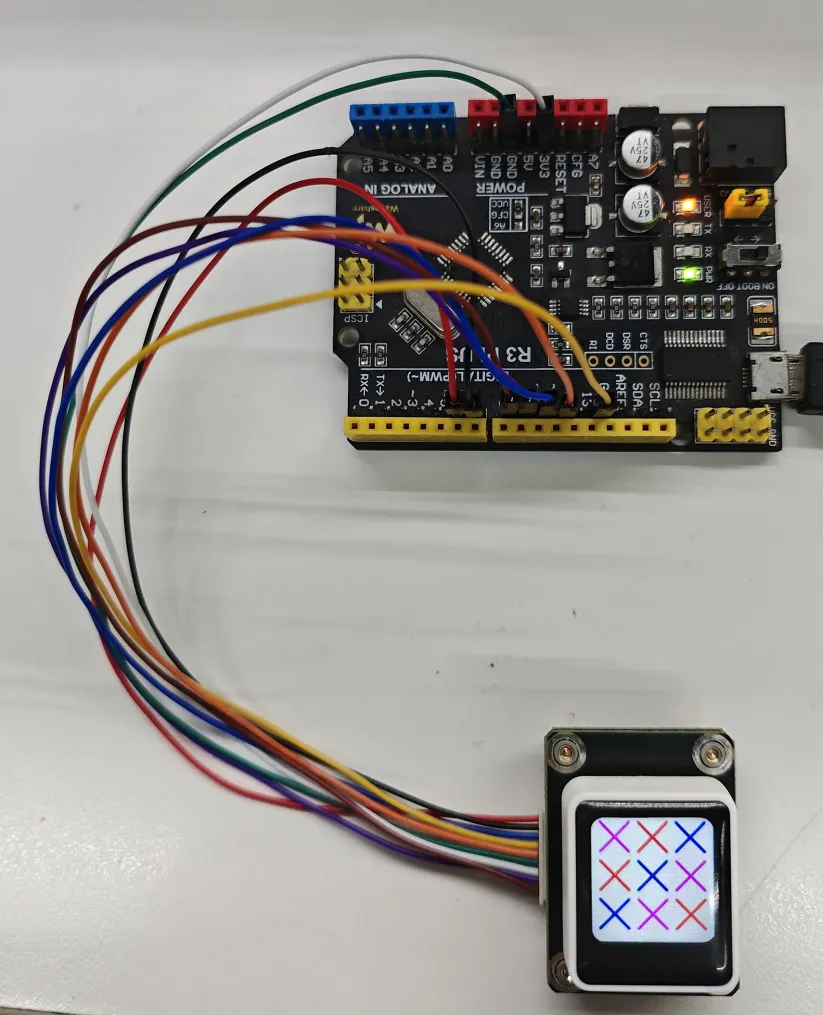
- This example implements automatic screen self-test on power-up. The button can be used to cycle through 7 display effects (solid colors, images, Chinese/English text, graphic drawing), demonstrating the LCD display and button interaction functions.
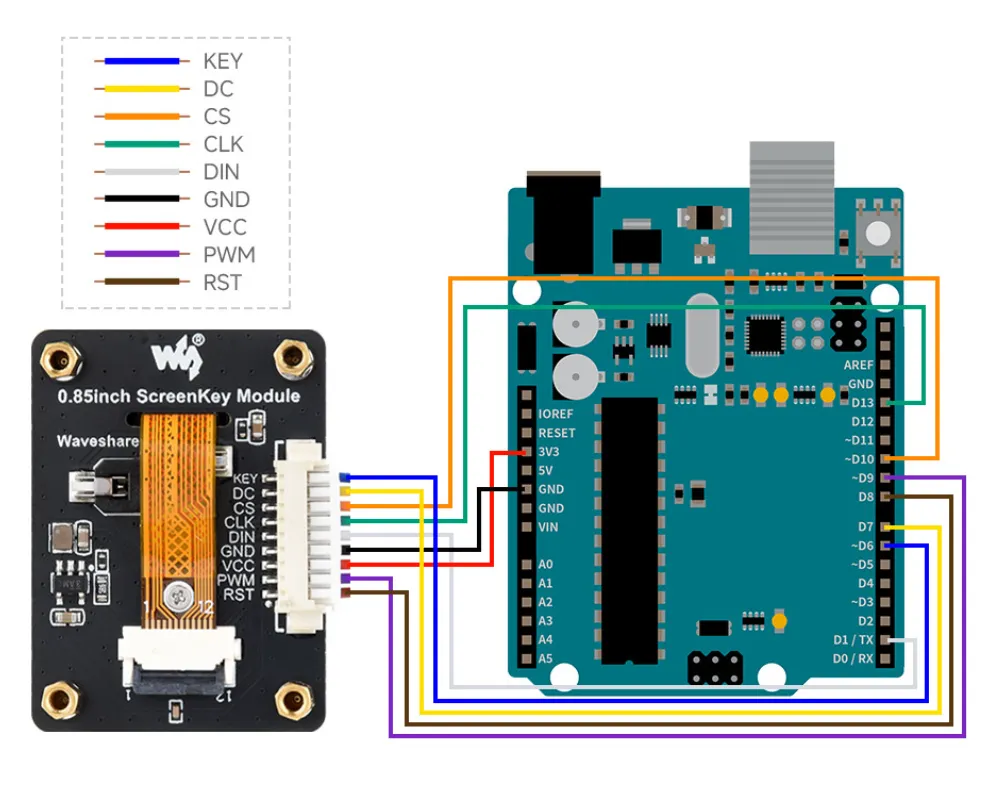
Hardware Connection
| 0.85inch ScreenKey Module | Arduino-Uno |
|---|---|
| VCC | 3.3V |
| GND | GND |
| LCD_DIN | GP1 |
| LCD_CLK | GP13 |
| LCD_CS | GP10 |
| LCD_DC | GP7 |
| LCD_RST | GP8 |
| LCD_BL | GP9 |
| LCD_KEY | GP6 |
- Connect the screen to the development board using a GH1.25 9PIN cable
- Connect the development board to the computer
Code Analysis
-
setup():- Initializes hardware, LCD, and canvas; performs a startup display self-test; initializes the button.
-
loop():- Main system loop, continuously calls the button detection function.
-
CheckKeyPress():- Debounced button detection; cycles through 7 LCD display modes according to the number of button presses.
Operation Result
-
Automatic screen self-test on power-up; pressing the button cycles through 7 display effects (solid colors, images, Chinese/English text, graphic drawing), demonstrating LCD display and button interaction.