Working with Raspberry Pi
Hardware Connection
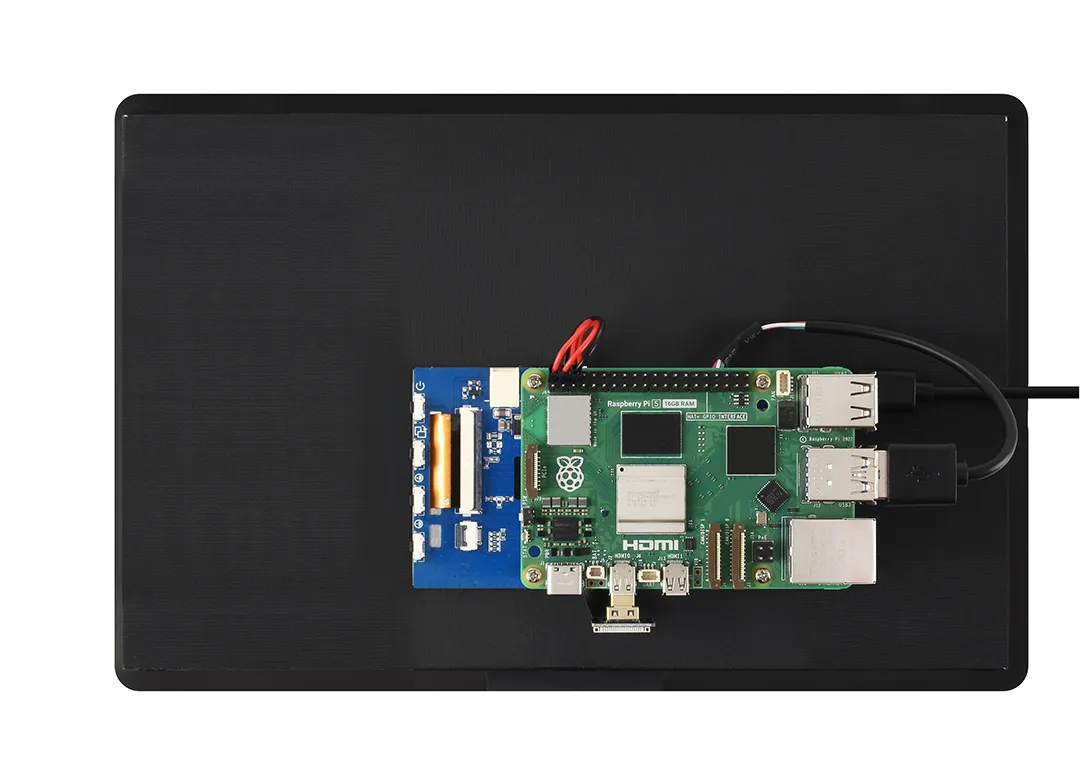
Using Raspberry Pi 5 as an example, prepare the display, Raspberry Pi board, power cable, HDMI cable, USB touch cable, and the corresponding adapters.

-
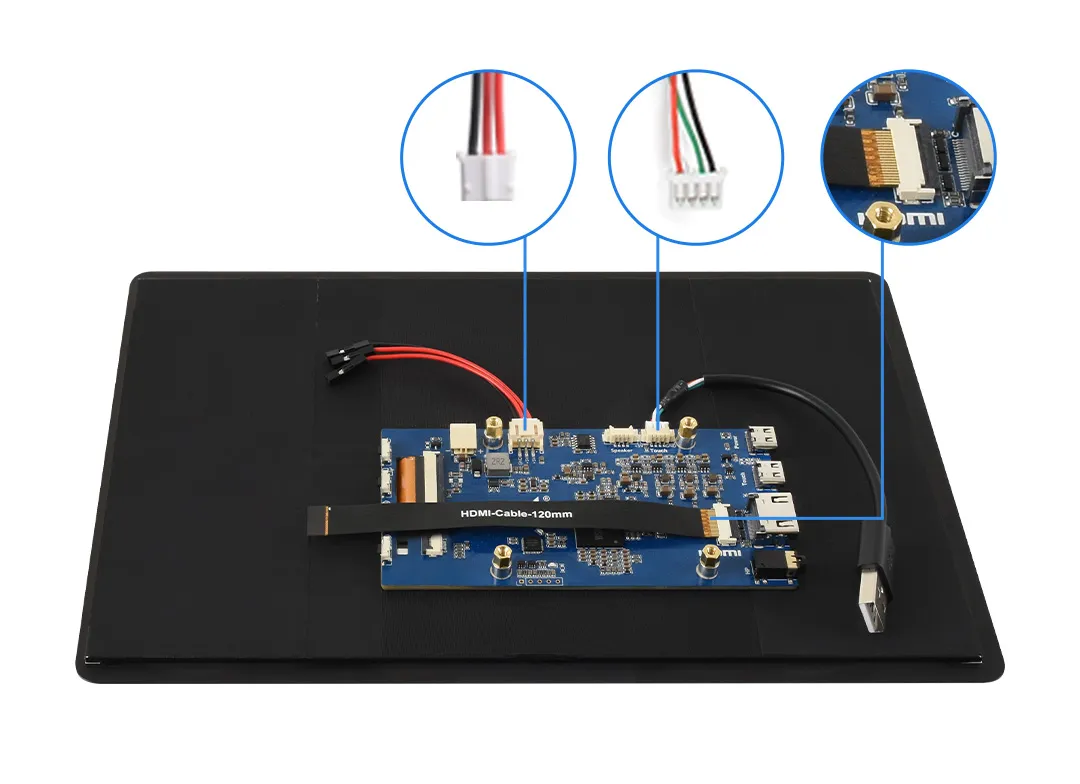
Connect cables ①, ②, and ③ to the display backplane as shown in the figure below.
-
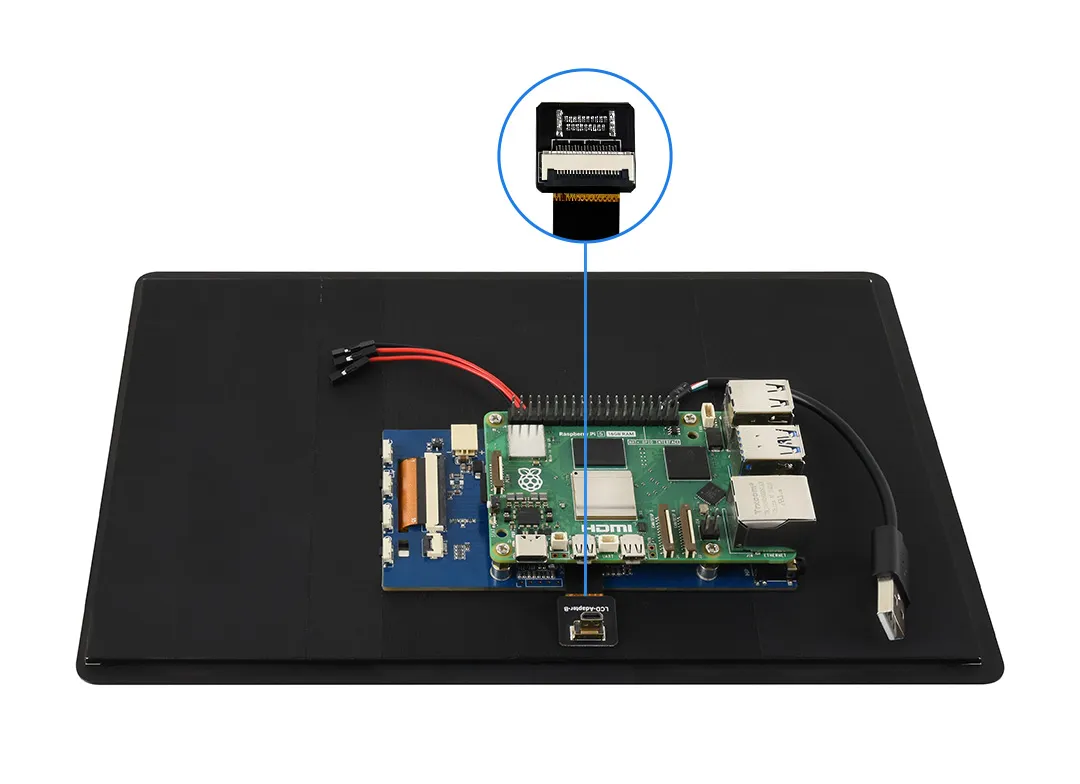
Connect the other end of cable ① to the LCD adapter (choose ④ or ⑤ based on your Raspberry Pi model), then insert the adapter into the Raspberry Pi's Micro HDMI port.
-
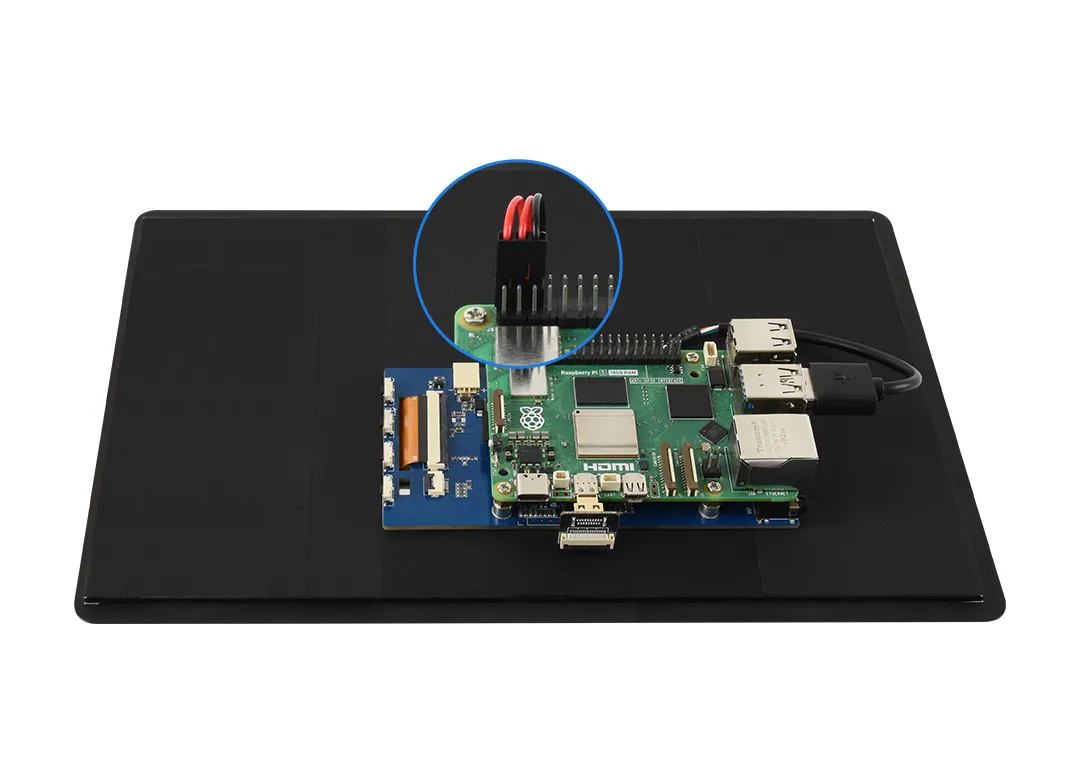
Connect the other end of cable ② to a USB port on the Raspberry Pi, and connect the other end of cable ③ to the 5V and GND pins on the Raspberry Pi.
Software Settings
-
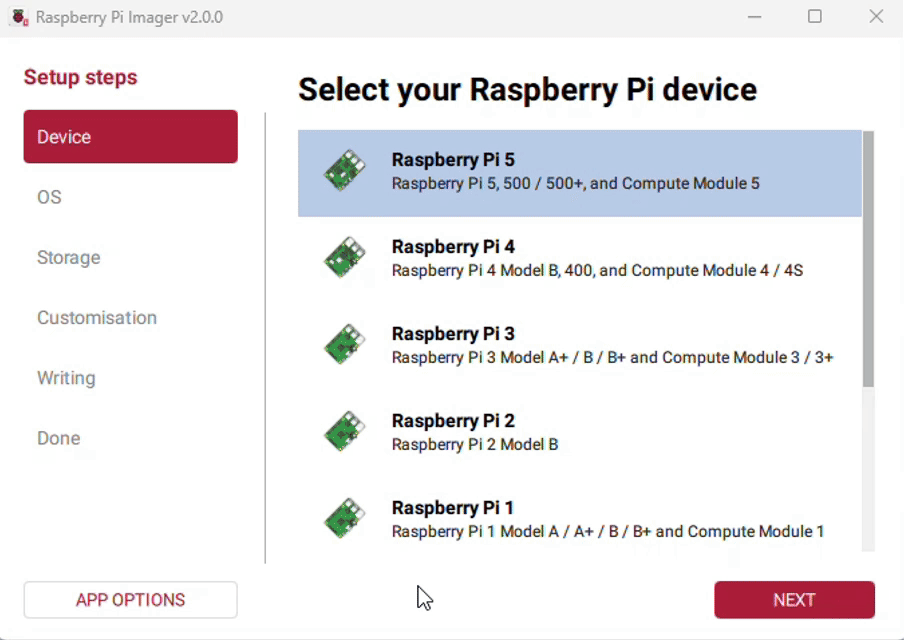
Connect the TF card to the PC, download and use Raspberry Pi Imager to flash the latest Raspberry Pi OS.
-
After flashing, open the
config.txtfile in the root directory of the TF card, add the following configuration at the end of the file, save, and safely eject the TF card.hdmi_force_hotplug=1hdmi_group=2hdmi_mode=87config_hdmi_boost=10hdmi_timings=1920 0 110 46 84 1200 0 5 5 78 0 0 0 60 0 164000000 0 -
Insert the TF card into the Raspberry Pi and connect a 5V power supply to the display. After the system boots, display and touch functions will work normally.