User Guide
Software Settings
warning
Supports Raspberry Pi OS / Ubuntu / Kali and Retropie systems.
When using the LCD with these Raspberry Pi systems, the resolution must be set manually; otherwise, incorrect display resolution may occur, affecting the user experience.
-
- Download the latest image from the Raspberry Pi official website
- Download the latest image from the Raspberry Pi official website
-
- Download the compressed file to your PC and extract it to get the .img file
-
- Connect the TF card to your PC and format it using SDFormatter software
-
- Open Win32DiskImager software, select the system image prepared in step 1, and click "Write" to flash the system image
-
- After flashing, open the config.txt file in the root directory of the TF card, add the following code to the end of the config.txt file, save the file, and safely eject the TF card
hdmi_group=2hdmi_mode=82hdmi_cvt 1920 1080 60 6 0 0 0 -
- Insert the TF card into the Raspberry Pi
Hardware Connection
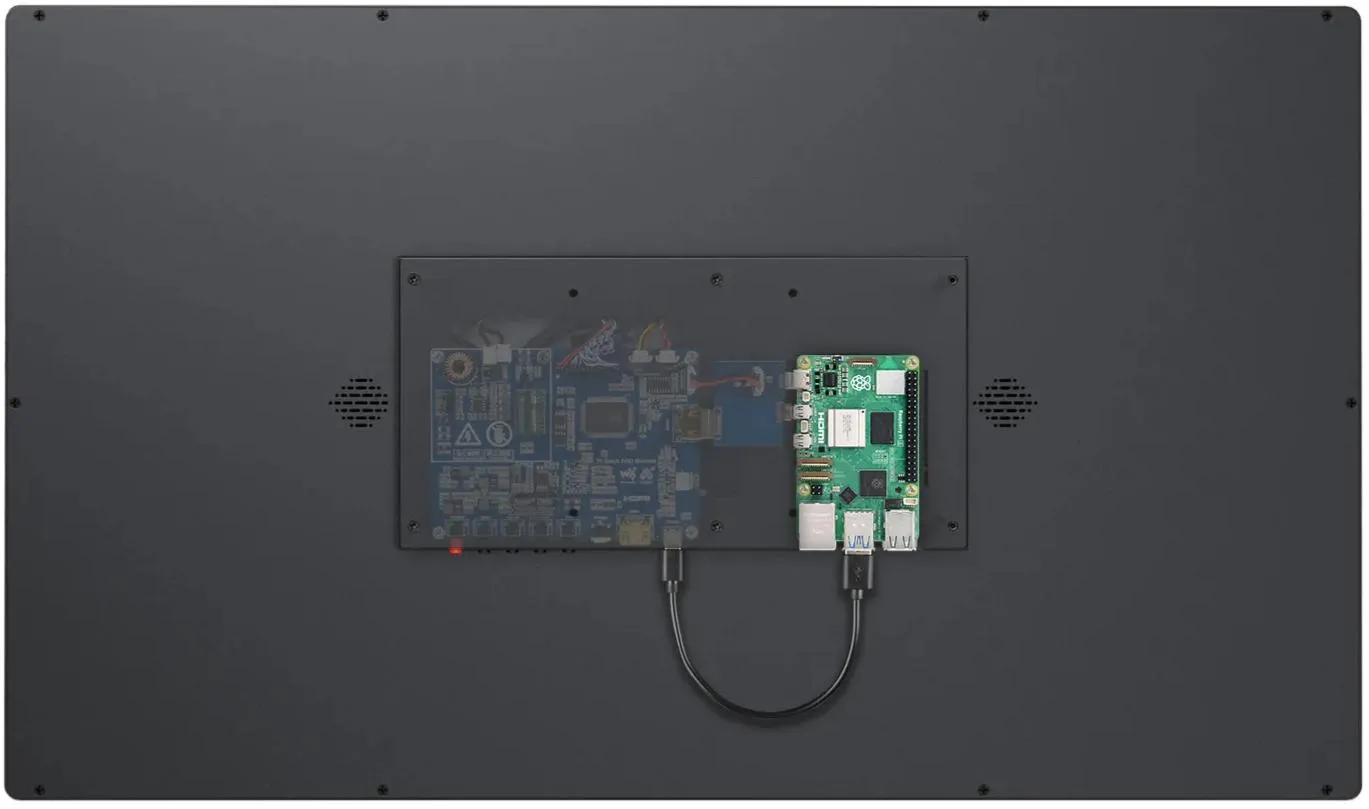
⚠The screen has reserved mounting holes inside for Raspberry Pi 4 / 5 and comes with an HDMI adapter board and power adapter board, allowing for direct installation and use. If using a CM5 / CM4 compute module, an additional compatible adapter base board is required:
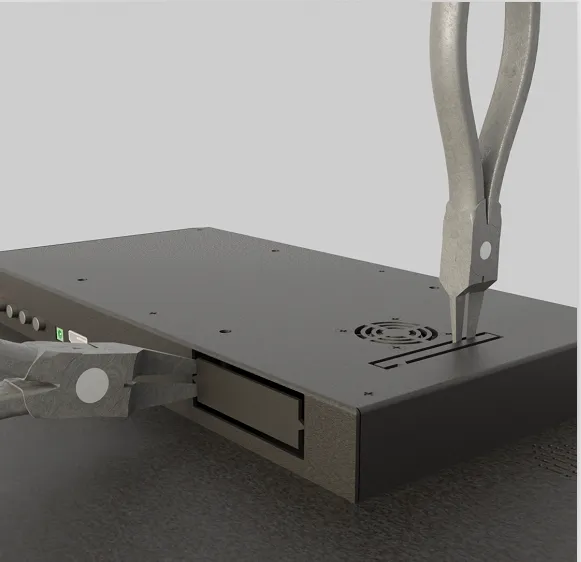
- Use pliers or similar tools to cut away the blanking plate covering the Raspberry Pi mounting holes
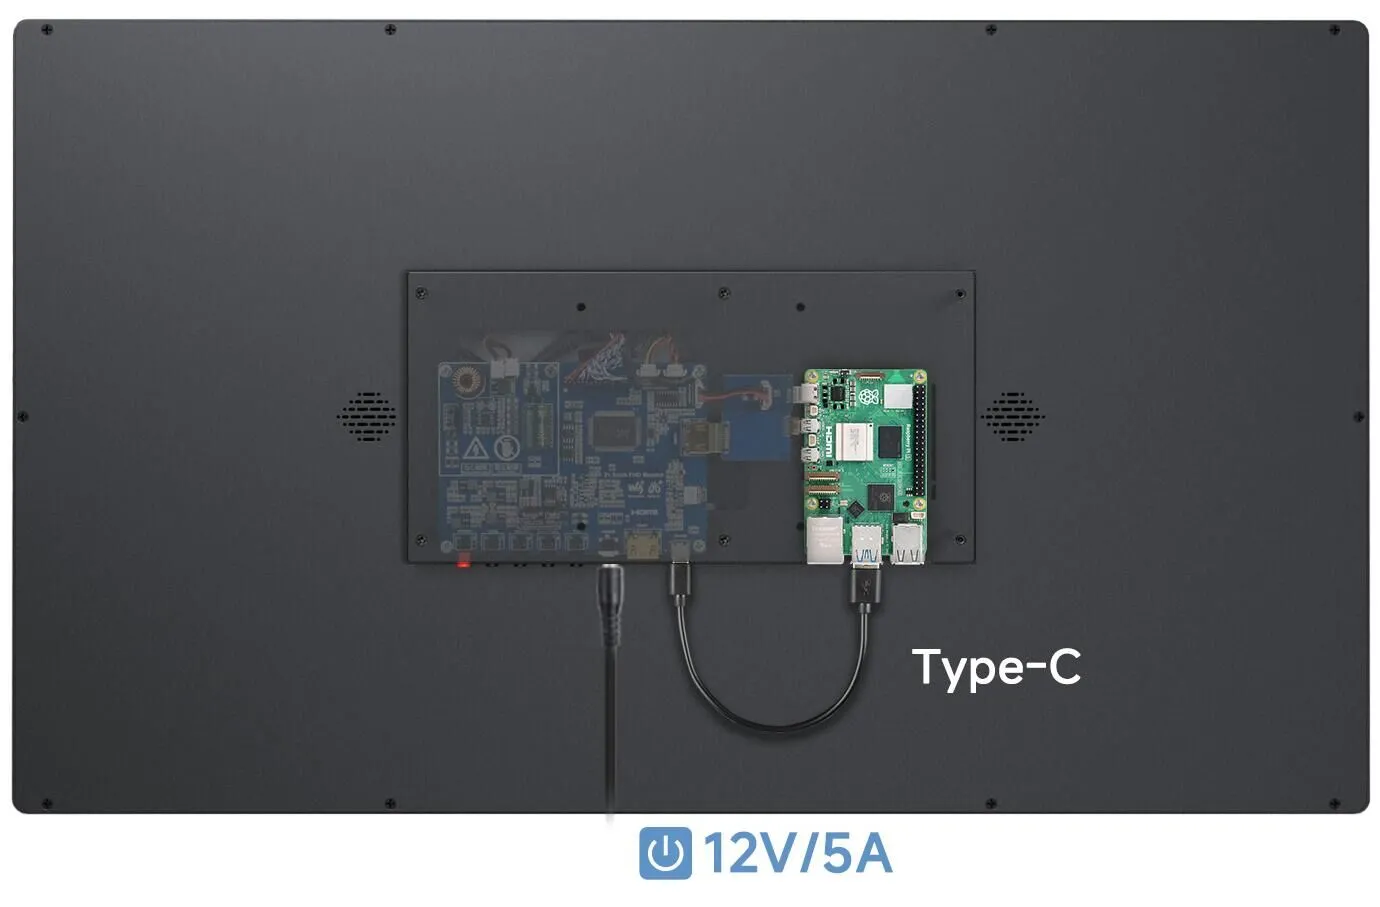
- Install the Raspberry Pi, connect the adapter boards, and connect the touch USB cable
- Connect the screen to a 12V 5A power supply; the display should appear normally after a few seconds