Working with ESP-IDF
This chapter includes the following sections, please read as needed:
ESP-IDF Getting Started
New to ESP32 ESP-IDF development and looking to get started quickly? We have prepared a general Getting Started Tutorial for you.
- Section 1: Environment Setup
- Section 2: Running Examples
- Section 3: Creating a Project
- Section 4: Using Components
- Section 5: Debugging
- Section 6: FreeRTOS
- Section 7: Peripherals
- Section 8: Wi-Fi Programming
- Section 9: BLE Programming
Please Note: This tutorial uses the ESP32-S3-Zero as a teaching example, and all hardware code is based on its pinout. Before you start, it is recommended that you check the pinout of your development board to ensure the pin configuration is correct.
Setting Up the Development Environment
The following guide uses Windows as an example, demonstrating development using VS Code + the ESP-IDF extension. macOS and Linux users should refer to the official documentation.
The screenshots in this section use ESP-IDF V5.5.2 as an example. When installing, please select the ESP-IDF version that matches your board's example.
Install the ESP-IDF Development Environment
-
Download the installation manager from the ESP-IDF Installation Manager page. This is Espressif's latest cross-platform installer. The following steps demonstrate how to use its offline installation feature.
Click the Offline Installer tab on the page, then select Windows as the operating system and the ESP-IDF version you need (the version shown in the screenshot is for reference only — choose the version that fits your actual needs).
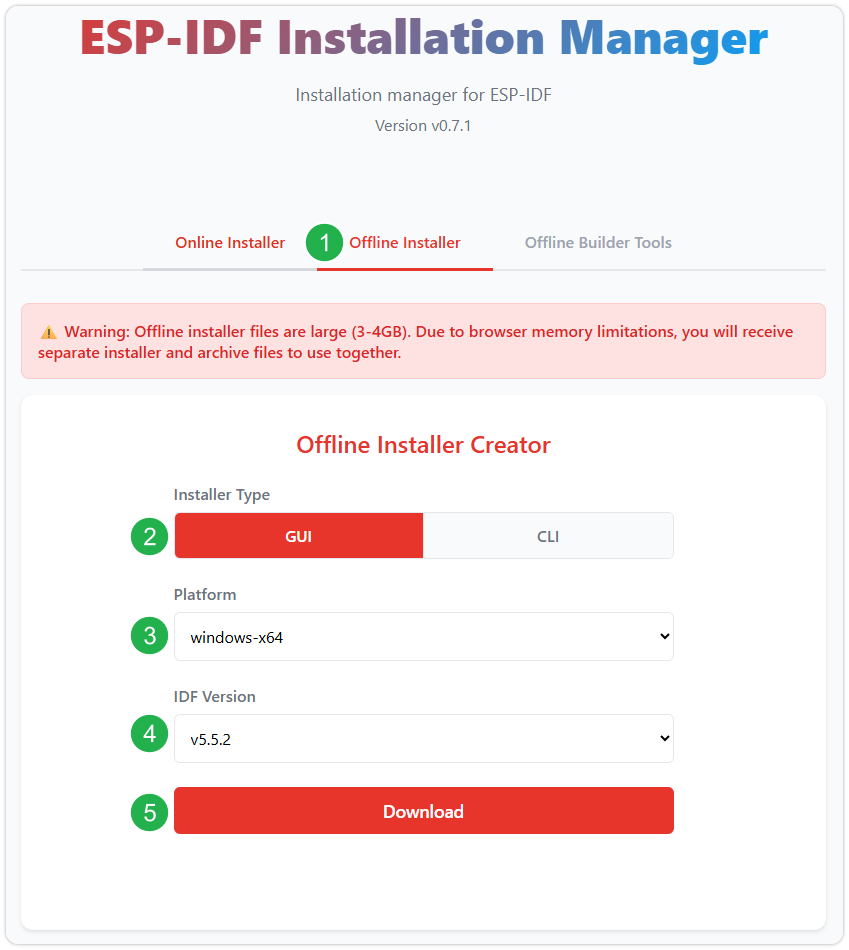
After confirming your selection, click the download button. The browser will automatically download two files: the ESP-IDF Offline Package (.zst) and the ESP-IDF Installer (.exe).
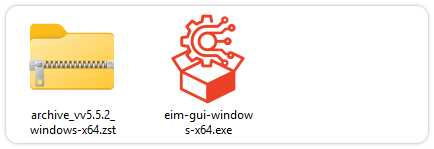
Please wait for both files to finish downloading.
-
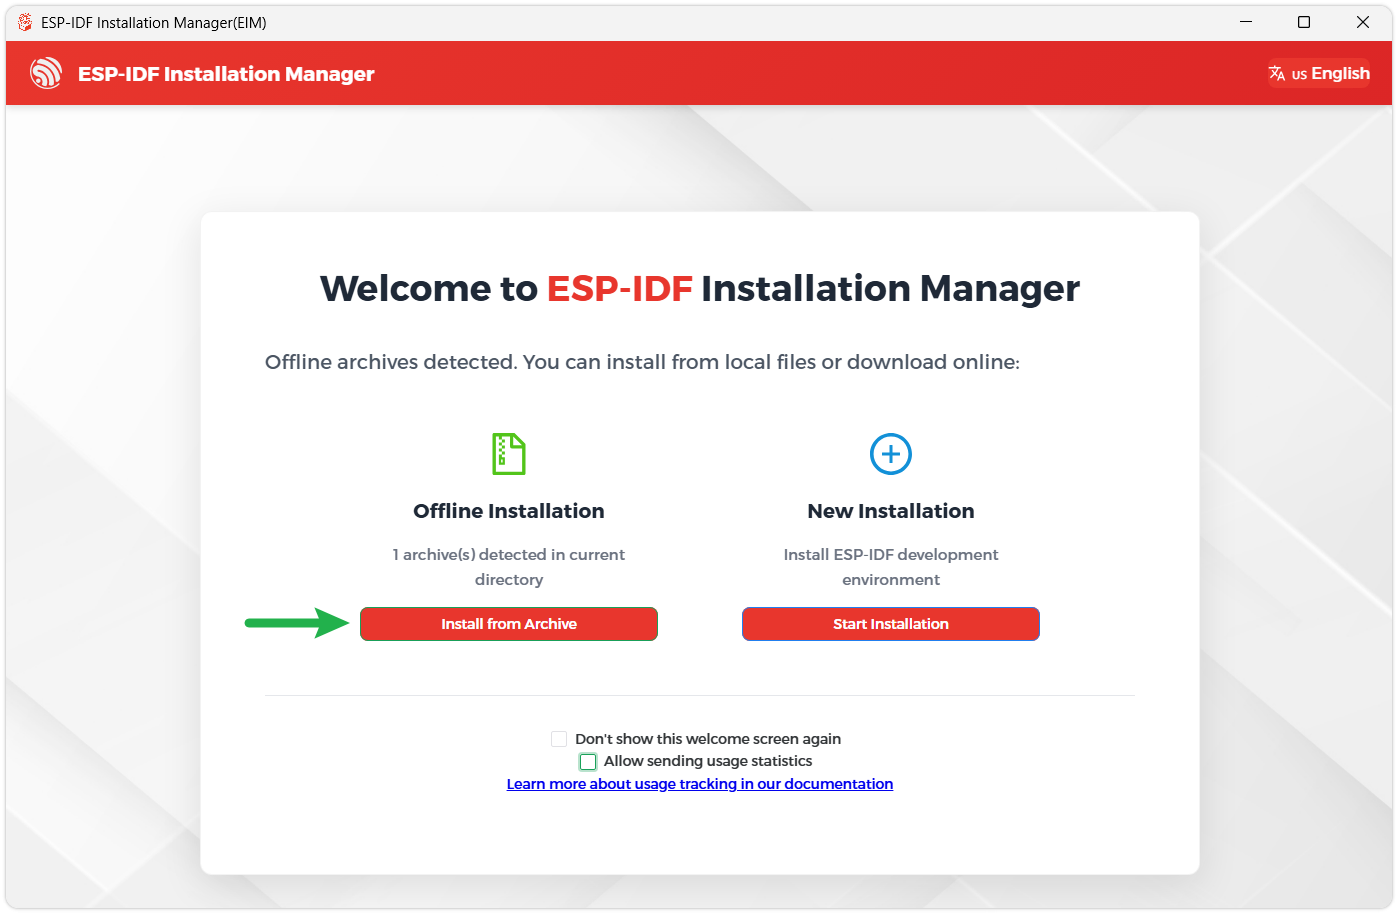
Once the download is complete, double-click to run the ESP-IDF Installer (eim-gui-windows-x64.exe).
The installer will automatically detect if the offline package exists in the same directory. Click Install from archive.
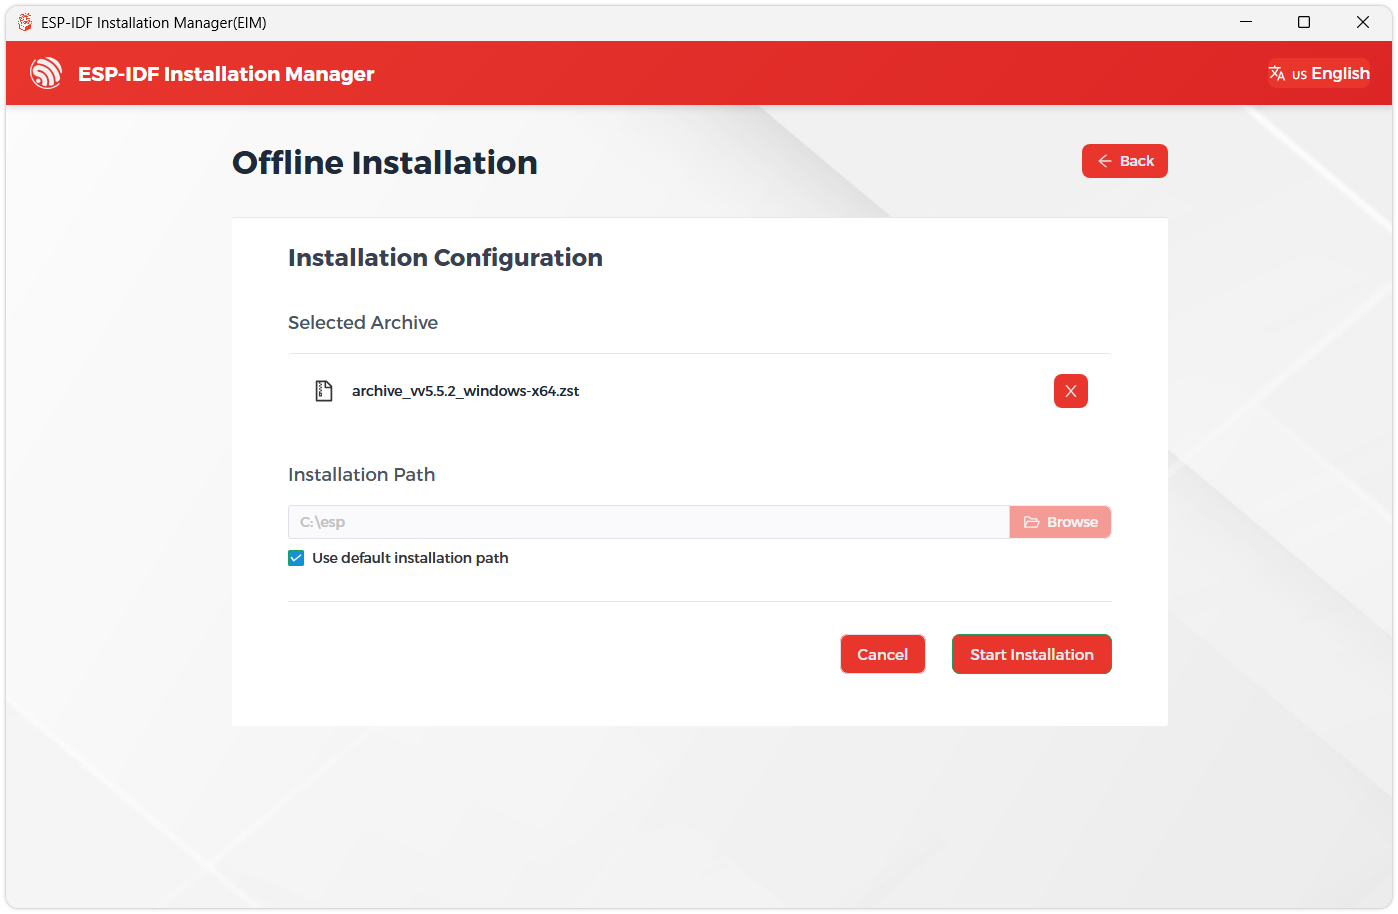
Next, select the installation path. We recommend using the default path. If you need to customize it, ensure the path does not contain Chinese characters or spaces. Click Start installation to proceed.
-
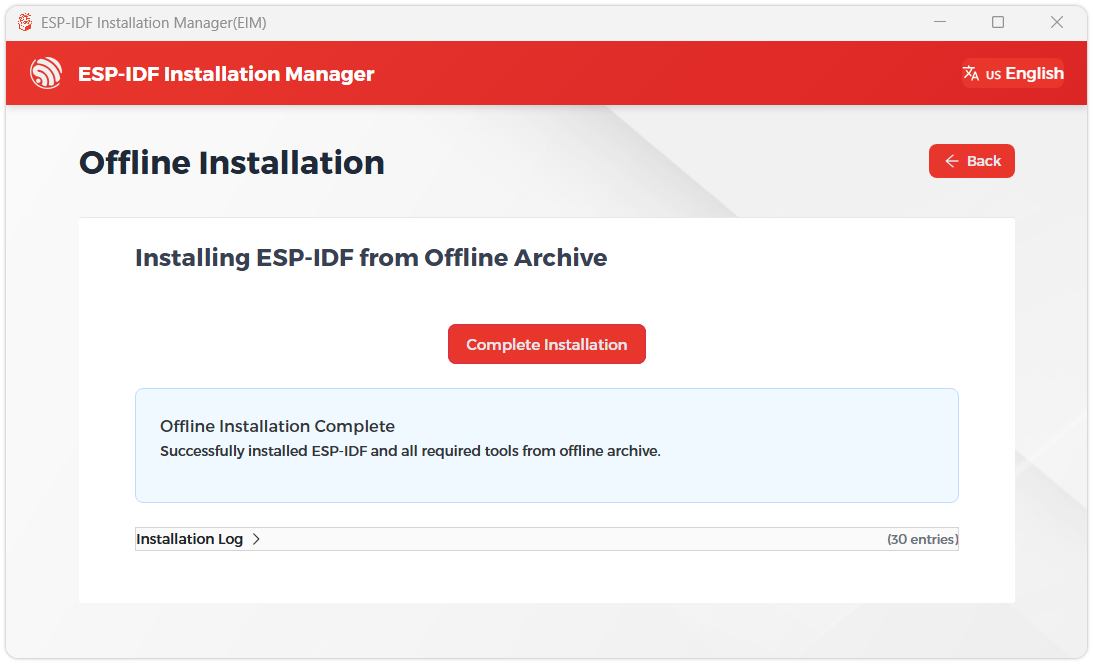
When you see the following screen, the ESP-IDF installation is successful.
-
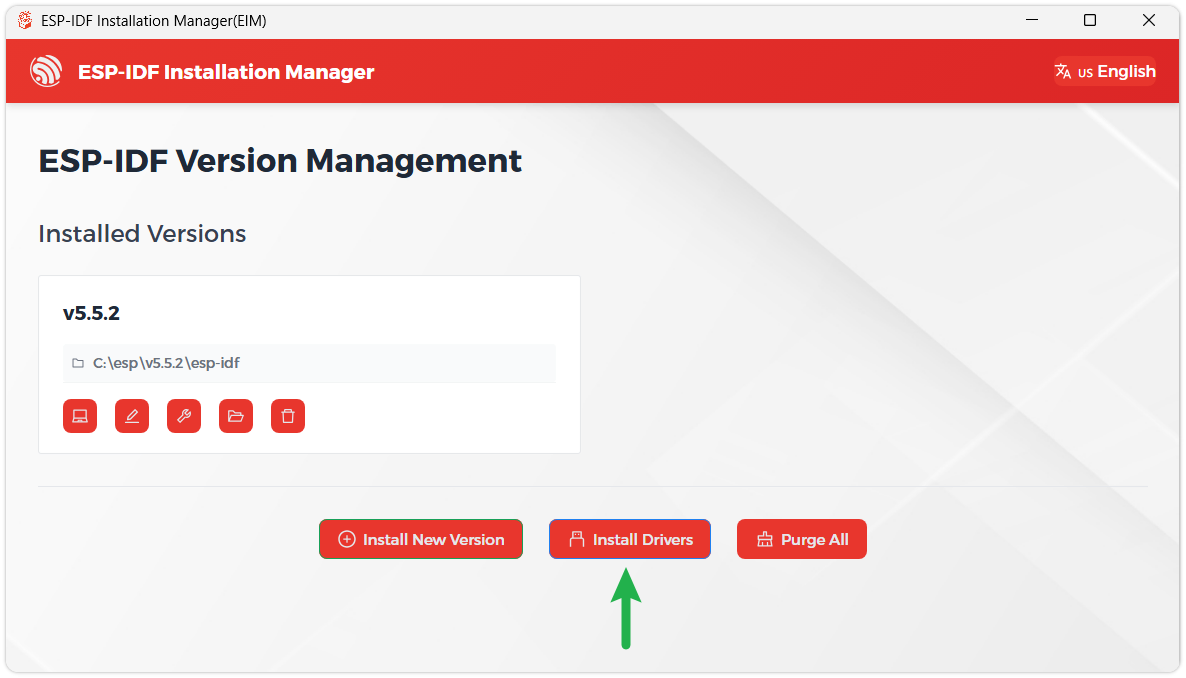
We recommend installing the drivers as well. Click Finish installation, then select Install driver.
Install Visual Studio Code and the ESP-IDF Extension
-
Download and install Visual Studio Code.
-
During installation, it is recommended to check Add "Open with Code" action to Windows Explorer file context menu to facilitate opening project folders quickly.
-
In VS Code, click the Extensions icon
 in the Activity Bar on the side (or use the shortcut Ctrl + Shift + X) to open the Extensions view.
 -
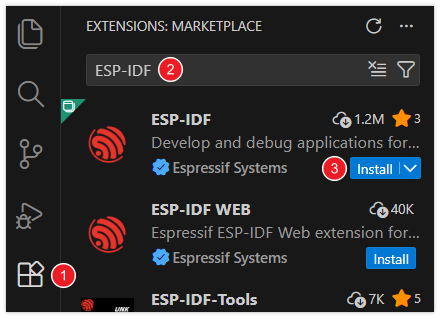
Enter ESP-IDF in the search box, locate the ESP-IDF extension, and click Install.
-
For ESP-IDF extension versions ≥ 2.0, the extension will automatically detect and recognize the ESP-IDF environment installed in the previous steps, requiring no manual configuration.
Example
This directory contains ESP-IDF example projects for the ESP32-C5-Pico. The projects are currently configured for the target chip esp32c5 with 4 MB of Flash.
Preparation Before Use
- Install and initialize ESP-IDF with ESP32-C5 support. ESP-IDF 6.0.2 is recommended.
- Open any example directory in a terminal where ESP-IDF has been initialized.
- Connect the board to your computer via USB, and identify its serial port name (e.g.,
COM5under Windows).
Each example is an independent project. After navigating to the corresponding directory, run:
idf.py set-target esp32c5
idf.py build
idf.py -p COM5 flash monitor
Replace COM5 with the actual serial port name. To exit the serial monitor, press Ctrl-]. On the first build, the component manager will automatically download the dependencies declared by the project, so a network connection is required.
Examples
01_HelloWorld
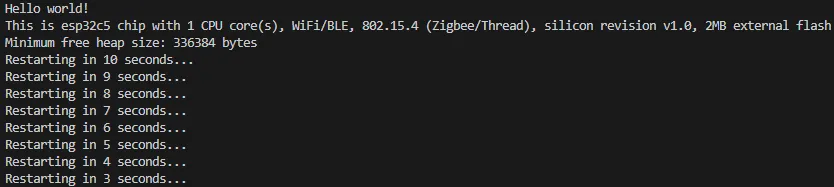
This example prints Hello world!, chip features, Flash size, and minimum free heap size to the serial port; then it outputs a restart countdown every second and reboots automatically when the countdown ends. It can be used to verify that the ESP-IDF environment, flashing path, and serial monitor are working properly.
02_RGB
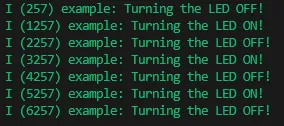
This example drives the onboard addressable RGB LED. The current sdkconfig selects the RMT driver, the data pin is GPIO27, and the blinking period is 1000 ms. The RGB value when the LED is on is (16, 16, 16).
03_UART
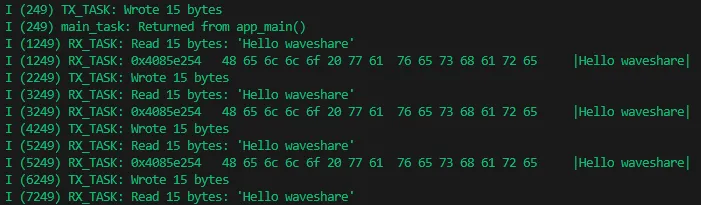
This example uses UART1 for asynchronous transmission and reception. The transmit task sends the string Hello waveshare every 2 seconds; the receive task continuously reads and outputs any received data to the serial monitor.
Hardware Connection
Short GPIO4 and GPIO5 to create a loopback (self-transmit and self-receive):
| ESP32-C5-Pico | ESP32-C5-Pico (same board) |
|---|---|
| GPIO4 (UART1 TX) | GPIO5 (UART1 RX) |
The current communication parameters are 115200 bps, 8 data bits, no parity, 1 stop bit, and no hardware flow control. The baud rate and task stack size can be adjusted in main/Kconfig.projbuild or via idf.py menuconfig; GPIO4 and GPIO5 are defined directly in the source code.
04_WIFI
This example connects to Wi-Fi, then sends an HTTP request to the OpenWeather API to obtain real-time weather data for Beijing and outputs the server response to the serial port. After one request completes, it waits for 30 minutes before sending the next request.
Before flashing, run idf.py menuconfig and enter the Wi-Fi SSID and password in Example Connection Configuration. When connecting to a 2.4 GHz network, make sure the router has the corresponding band enabled.
Note: The weather API URL, location, and access key are fixed in
main/main.cand use plain HTTP. Before using this in a product or on a public network, you should replace these with your own key and use HTTPS, certificate validation, and secure key management.

05_Bluetooth
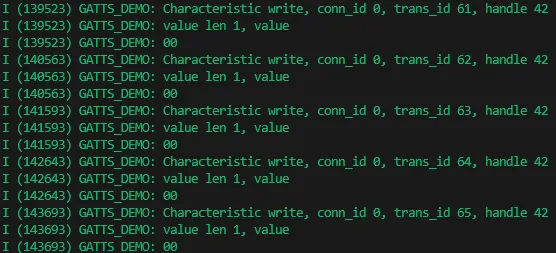
This example starts a BLE GATT Server with the advertisement name ESP_GATTS_DEMO, waiting for a phone or other BLE GATT Client to connect. The service contains two 16-bit UUIDs:
| Service UUID | Characteristic UUID | Features |
|---|---|---|
0x00FF | 0xFF01 | Read, Write, Notify, Indicate |
0x00EE | 0xEE01 | Read, Write, Notify |
Use a phone BLE debugging tool to scan and connect to ESP_GATTS_DEMO, then read or write data.
06_TCA9554_IO_Expander
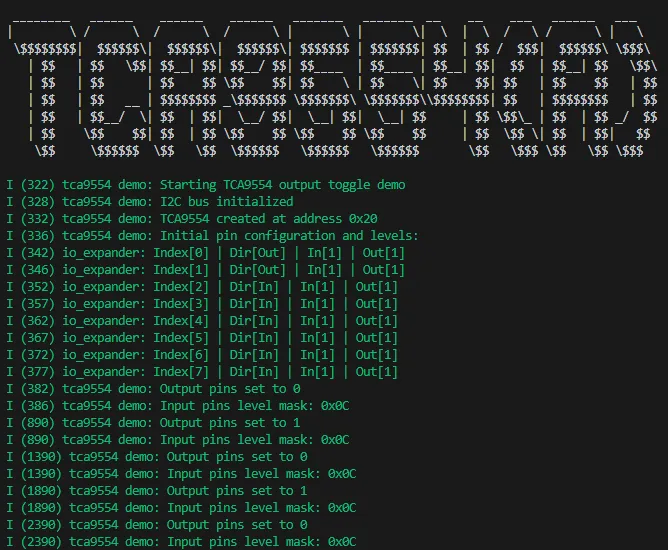
This example demonstrates controlling the TCA9554 8-bit GPIO expander via I2C, using the espressif/esp_io_expander_tca9554 component. I2C0 has SDA on GPIO23 and SCL on GPIO24, with the device address configured as 0x20.
The program configures P0 and P1 of the TCA9554 as outputs, and P2 and P3 as inputs; P0 and P1 toggle between high and low every 500 ms, and the current states of P2 and P3 are printed.
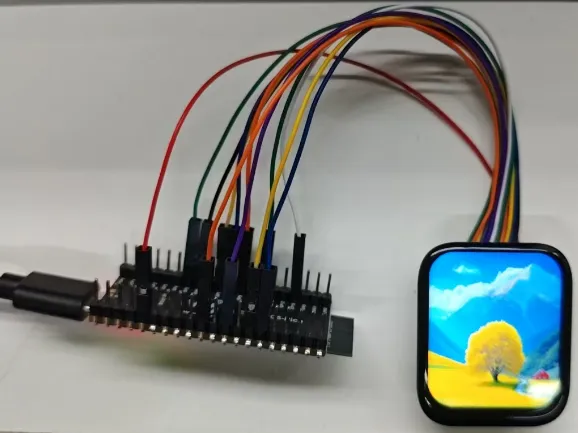
07_1.83inch_Touch_LCD_LVGL
This example drives the 1.83inch Touch LCD, using the ST7789 display controller and CST816 touch controller, and displays three images based on LVGL 9. Swipe left or right on the screen to cycle through the images.
The display resolution is 240 × 284, the display interface is SPI2 with a pixel clock of 40 MHz; the touch interface is I2C0 at 400 kHz. The project depends on esp_lvgl_port, esp_lcd_touch_cst816s, and lvgl, which will be fetched by the component manager on the first build.
LCD Connections
| Function | ESP32-C5-Pico GPIO |
|---|---|
| LCD SCLK | GPIO7 |
| LCD MOSI | GPIO8 |
| LCD CS | GPIO9 |
| LCD DC | GPIO10 |
| LCD RST | GPIO15 |
| LCD Backlight | GPIO25 |
| Touch I2C SCL | GPIO24 |
| Touch I2C SDA | GPIO23 |
| Touch INT | GPIO5 |
| Touch RST | GPIO26 |
The display and touch pins for this project are defined in main/lcd_driver/lcd_driver.h and main/touch_driver/touch_driver.h. If you use a different screen or wiring, modify these definitions before rebuilding and flashing.
Common Issues
- Cannot flash or find serial port: Check the USB cable, the serial port number in Device Manager, and whether the board has entered download mode.
- Wrong build target: In the example root directory, re-run
idf.py fullcleanandidf.py set-target esp32c5, then build again. - Component download fails: Check the network connection and ESP-IDF Component Manager configuration, then retry.
- UART receives no data: Confirm that GPIO4 and GPIO5 are shorted and not connected to other peripherals.
- Wi-Fi cannot connect: Verify the SSID, password, and availability of the 2.4 GHz network; the serial log will provide the reason for connection failure.