Working with ESP-IDF
This chapter covers:
- ESP-IDF Getting Started
- Setting Up the ESP-IDF Development Environment
- ESP32-P4 Platform Example Repository
ESP-IDF Getting Started
New to ESP32 ESP-IDF development and looking to get started quickly? We have prepared a general Getting Started Tutorial for you.
- Section 1: Environment Setup
- Section 2: Running Examples
- Section 3: Creating a Project
- Section 4: Using Components
- Section 5: Debugging
- Section 6: FreeRTOS
- Section 7: Peripherals
- Section 8: Wi-Fi Programming
- Section 9: BLE Programming
Please Note: This tutorial uses the ESP32-S3-Zero as a teaching example, and all hardware code is based on its pinout. Before you start, it is recommended that you check the pinout of your development board to ensure the pin configuration is correct.
Setting Up the ESP-IDF Development Environment
The ESP32-P4 Platform examples target ESP-IDF release/v5.4 and later. ESP-IDF v5.5.4 is recommended. For individual advanced UI examples, check the example directory README for specific version requirements.
The following guide uses Windows as an example, demonstrating development using VS Code + the ESP-IDF extension. macOS and Linux users should refer to the official documentation.
The screenshots in this section use ESP-IDF V5.5.2 as an example. When installing, please select the ESP-IDF version that matches your board's example.
Install the ESP-IDF Development Environment
-
Download the installation manager from the ESP-IDF Installation Manager page. This is Espressif's latest cross-platform installer. The following steps demonstrate how to use its offline installation feature.
Click the Offline Installer tab on the page, then select Windows as the operating system and the ESP-IDF version you need (the version shown in the screenshot is for reference only — choose the version that fits your actual needs).

After confirming your selection, click the download button. The browser will automatically download two files: the ESP-IDF Offline Package (.zst) and the ESP-IDF Installer (.exe).

Please wait for both files to finish downloading.
-
Once the download is complete, double-click to run the ESP-IDF Installer (eim-gui-windows-x64.exe).
The installer will automatically detect if the offline package exists in the same directory. Click Install from archive.

Next, select the installation path. We recommend using the default path. If you need to customize it, ensure the path does not contain Chinese characters or spaces. Click Start installation to proceed.

-
When you see the following screen, the ESP-IDF installation is successful.

-
We recommend installing the drivers as well. Click Finish installation, then select Install driver.

Install Visual Studio Code and the ESP-IDF Extension
-
Download and install Visual Studio Code.
-
During installation, it is recommended to check Add "Open with Code" action to Windows Explorer file context menu to facilitate opening project folders quickly.
-
In VS Code, click the Extensions icon
 in the Activity Bar on the side (or use the shortcut Ctrl + Shift + X) to open the Extensions view.
 -
Enter ESP-IDF in the search box, locate the ESP-IDF extension, and click Install.

-
For ESP-IDF extension versions ≥ 2.0, the extension will automatically detect and recognize the ESP-IDF environment installed in the previous steps, requiring no manual configuration.
ESP32-P4 Platform Example Repository
The ESP-IDF examples for ESP32-P4 series base boards are maintained in a single repository: ESP32-P4-Platform. The examples/esp-idf/ directory contains standalone ESP-IDF projects, the config/ directory provides ESP32-P4 chip revision configuration override files, and the docs/ directory includes guidance on example selection, chip revision configuration, and troubleshooting.
Examples are numbered from board verification to more integrated applications. When getting started, run 00_board_check first to verify flashing, serial monitor, PSRAM, and runtime logs are functioning correctly, then proceed to peripheral-specific examples based on your setup.
Supported Boards
The following boards use the examples from the ESP32-P4-Platform repository. Images link to the corresponding product pages.
| ESP32-P4-NANO | ESP32-P4-Module-DEV-KIT | ESP32-P4-WIFI6-DEV-KIT | ESP32-P4-WIFI6 |
|---|---|---|---|
 | 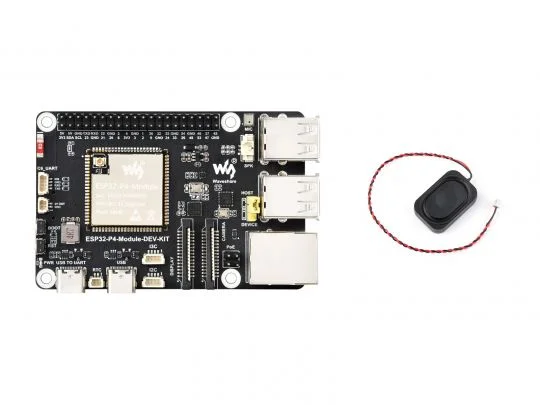 | 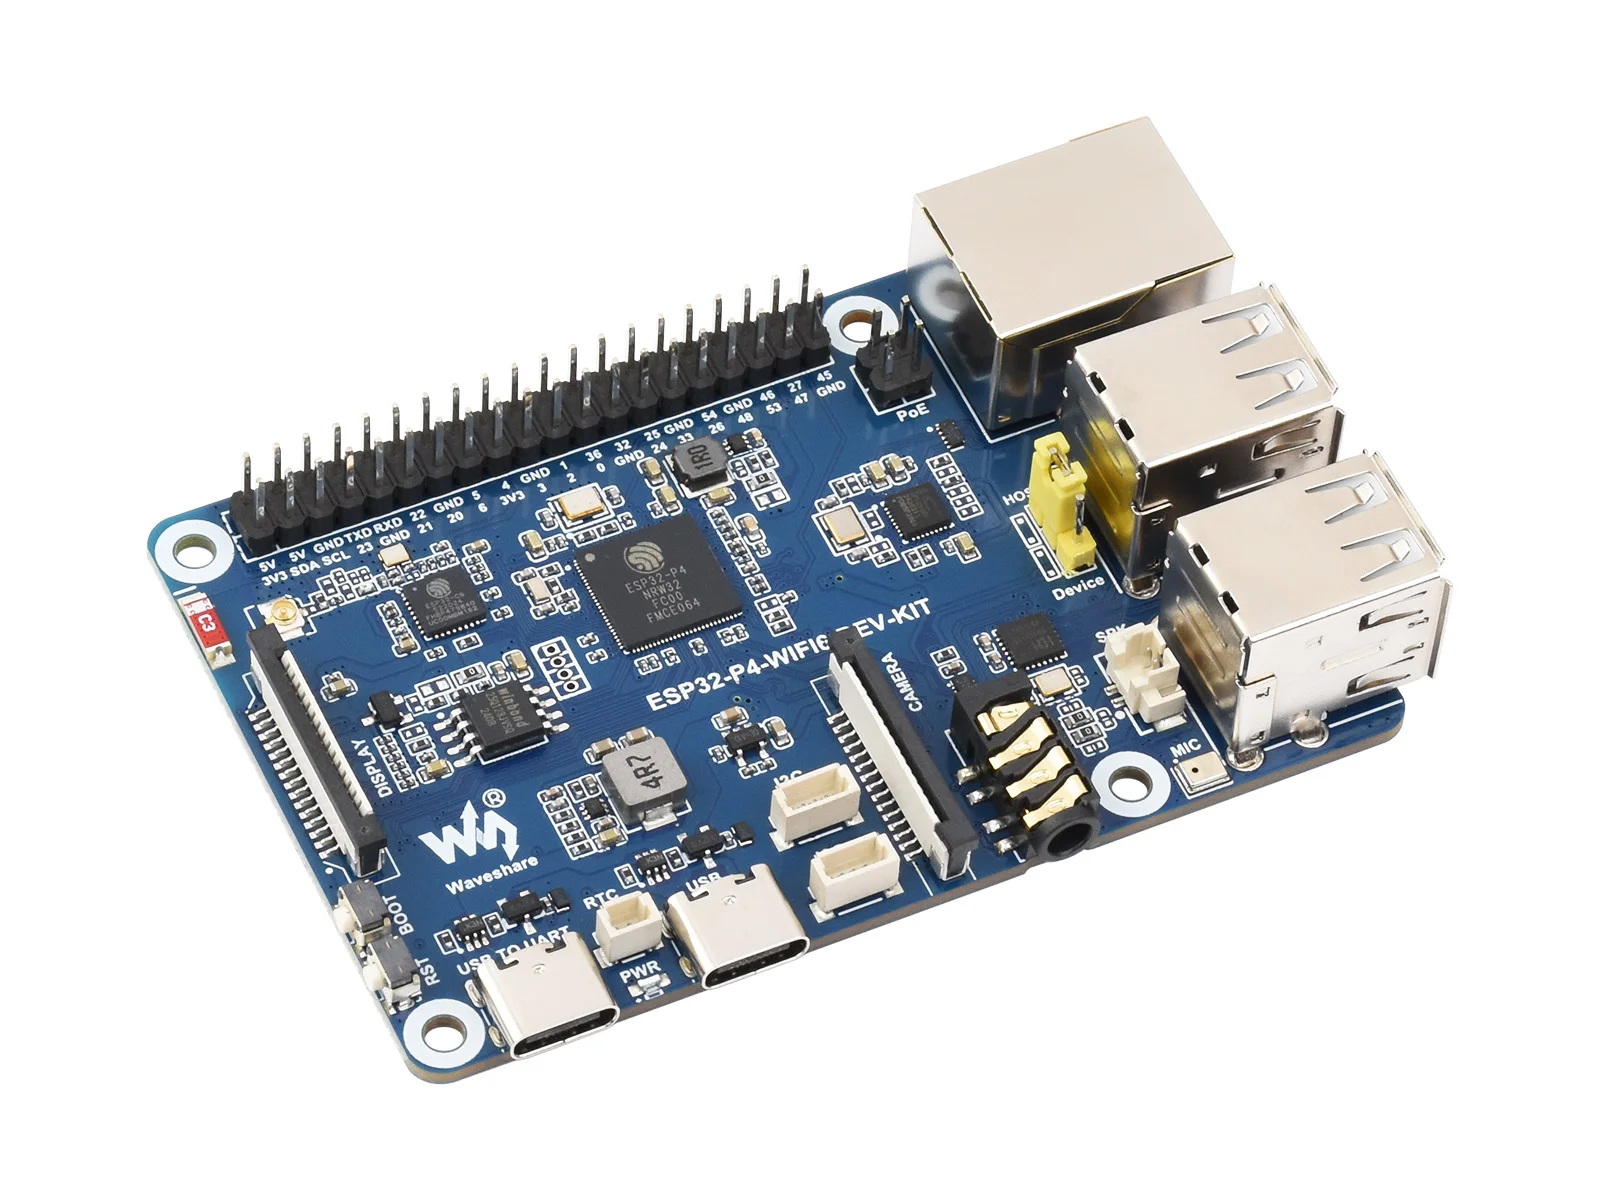 |  |
| Product Page | Product Page | Product Page | Product Page |
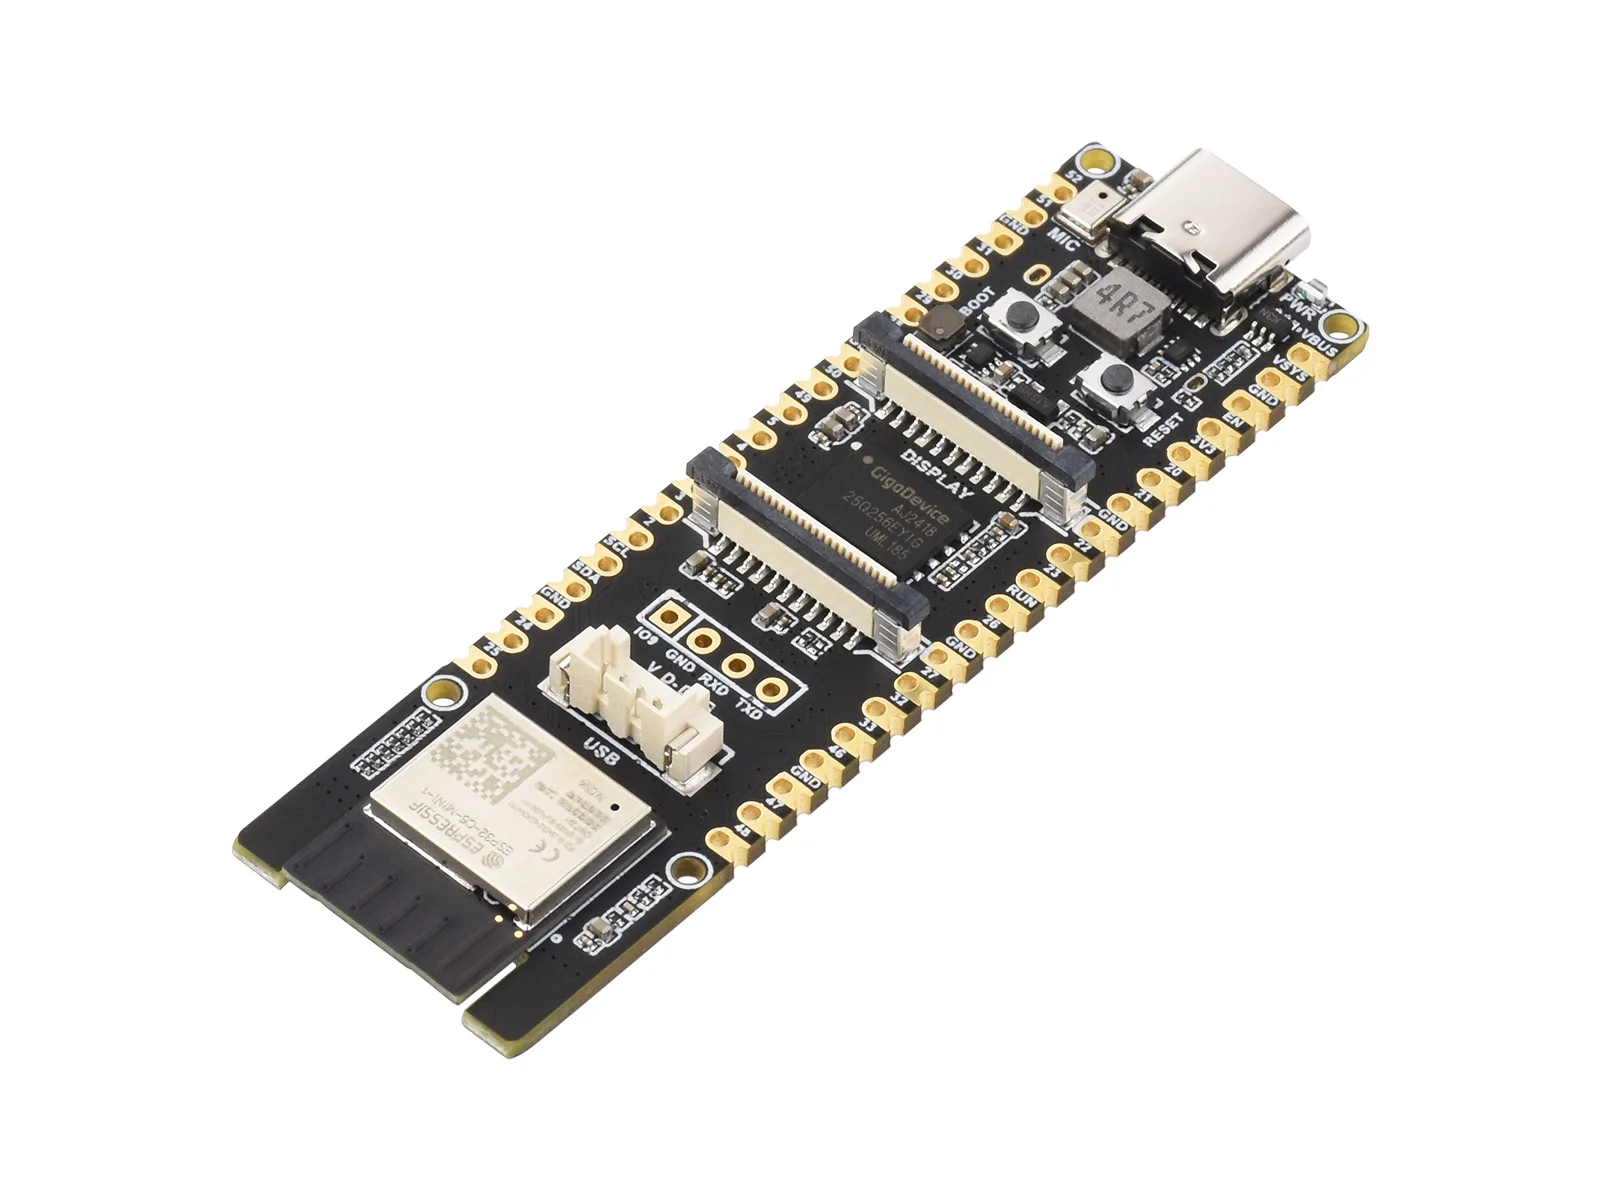
| ESP32-P4-ETH | ESP32-P4-Pico | ESP32-P4-WIFI6-POE-ETH | ESP32-P4-Core-DEV-KIT |
|---|---|---|---|
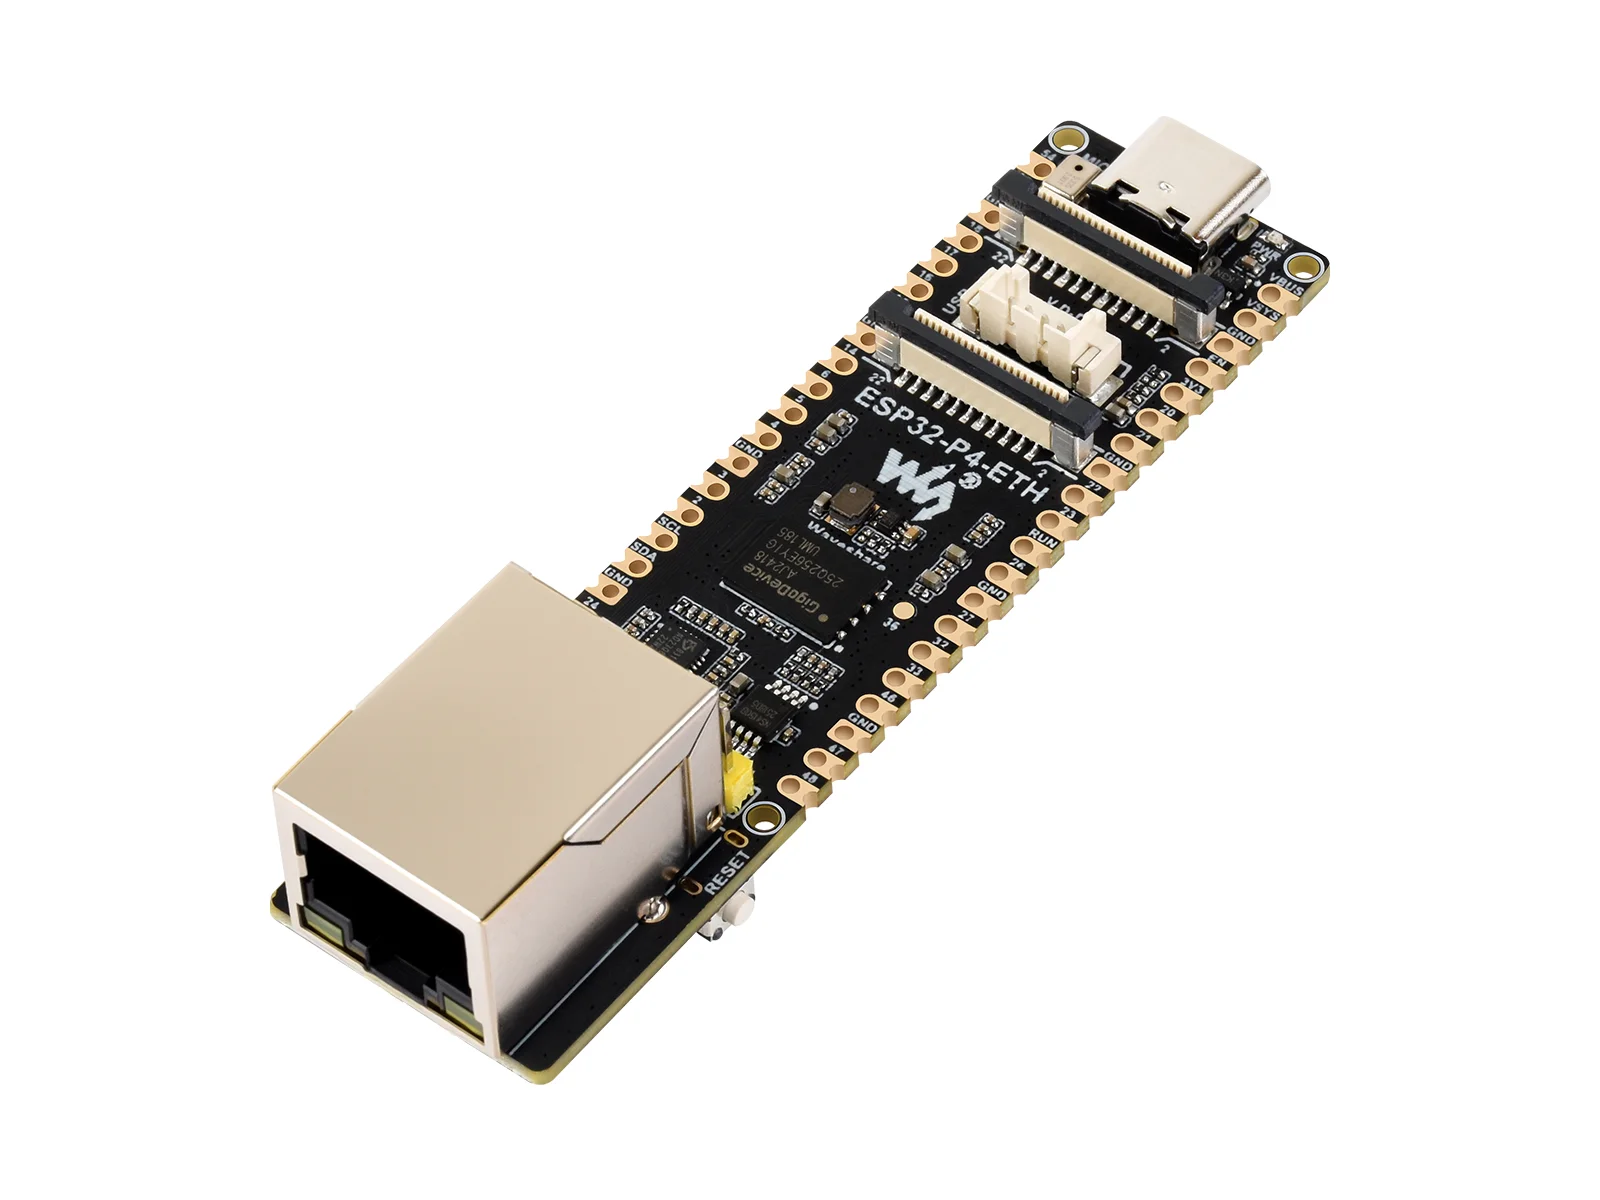 | 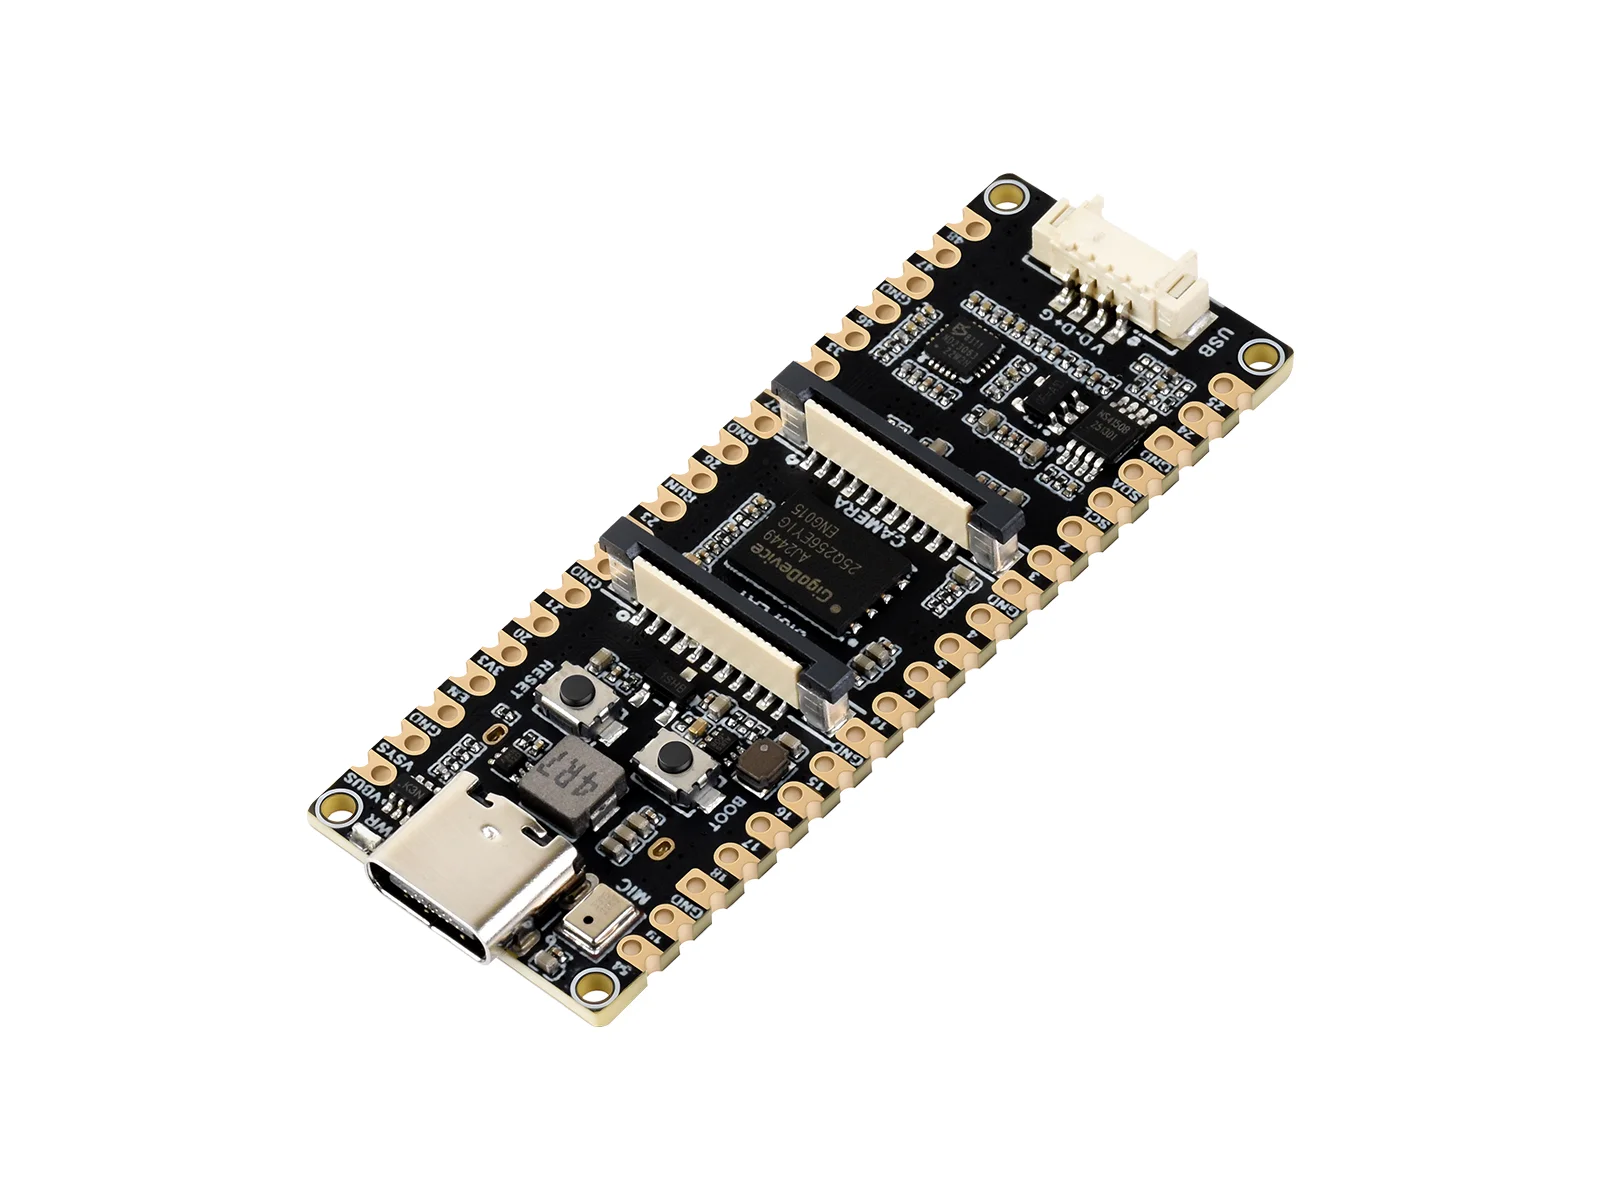 | 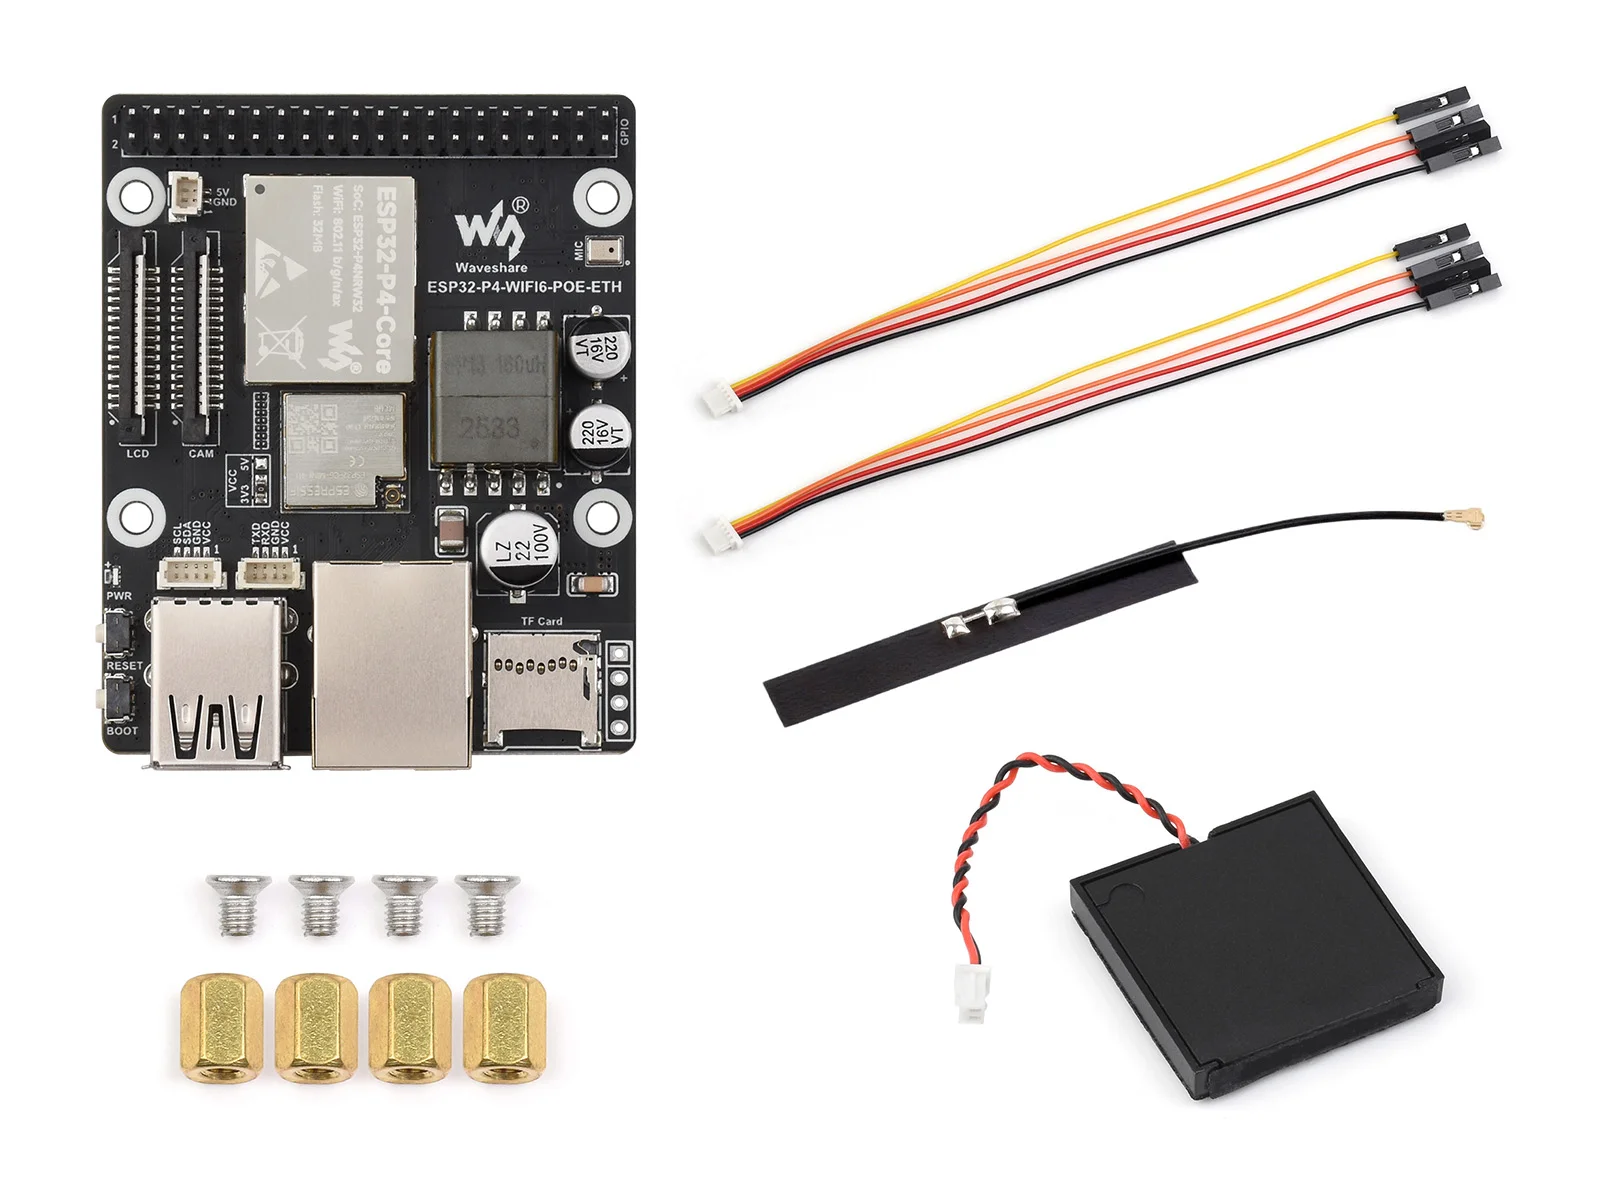 | 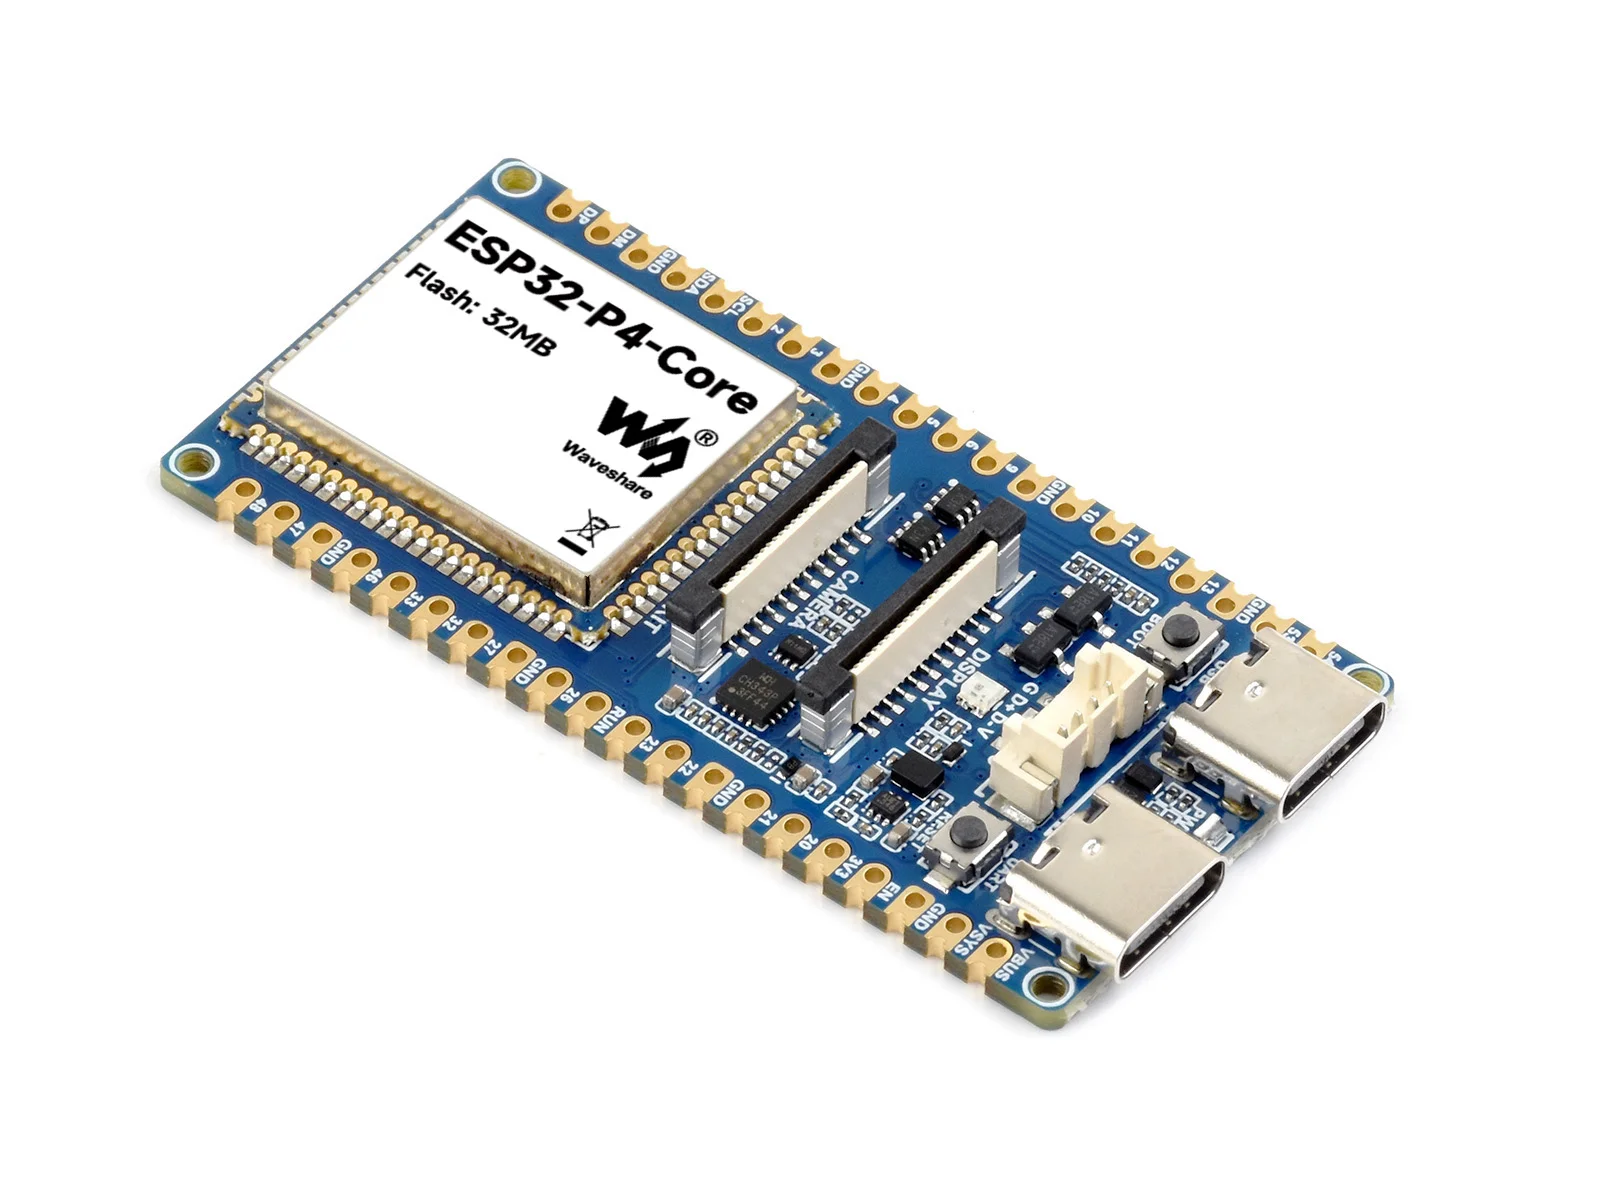 |
| Product Page | Product Page | Product Page | Product Page |
Quick Start
The following commands use 00_board_check as an example. Replace PORT with your actual serial port — for example COM5 on Windows.
git clone https://github.com/waveshareteam/ESP32-P4-Platform.git
cd ESP32-P4-Platform/examples/esp-idf/00_board_check
idf.py set-target esp32p4
idf.py build
idf.py -p PORT flash monitor
You must build before flashing any ESP-IDF example. idf.py build generates the flashable firmware; idf.py -p PORT flash monitor flashes the firmware and opens the serial monitor. If you modify menuconfig or source files, rebuild before flashing.
Some examples require pin configuration, Wi-Fi credentials, Ethernet PHY settings, display parameters, camera setup, or other example-specific options. Before building these examples, review the example README, your board's schematic, and your actual wiring, then run:
idf.py menuconfig
ESP32-P4 Chip Revision Configuration
ESP32-P4 engineering samples from before rev v3.0 and production chips from rev v3.0 onwards use different build configurations in ESP-IDF. If you see an error like requires chip revision in range [v3.1 - v3.99] (this chip is revision v1.3) during flashing or startup, do not use --force to skip the check — rebuild with the correct chip revision configuration instead.
Run one of the following commands in the example directory:
| Chip Revision | Config File | Build Command |
|---|---|---|
| rev v3.1 or later | ../../../config/esp32p4_rev_v3_1.defaults | idf.py -D SDKCONFIG_DEFAULTS="sdkconfig.defaults;../../../config/esp32p4_rev_v3_1.defaults" set-target esp32p4 build |
| rev v3.0 or later | ../../../config/esp32p4_rev_v3_0.defaults | idf.py -D SDKCONFIG_DEFAULTS="sdkconfig.defaults;../../../config/esp32p4_rev_v3_0.defaults" set-target esp32p4 build |
| rev v0.x / v1.x engineering sample | ../../../config/esp32p4_rev_pre_v3.defaults | idf.py -D SDKCONFIG_DEFAULTS="sdkconfig.defaults;../../../config/esp32p4_rev_pre_v3.defaults" set-target esp32p4 build |
After switching chip revision configurations, it's recommended to delete the sdkconfig file in the example directory, or use a separate SDKCONFIG file for each chip revision. An existing sdkconfig will override the defaults in sdkconfig.defaults.
ESP-IDF Example Index
| # | Example Directory | Purpose | Notes |
|---|---|---|---|
| 00 | 00_board_check | Board, flash, serial, PSRAM, and heap memory check | No external hardware required |
| 01 | 01_HowToCreateProject | Minimal ESP-IDF project structure | Useful for studying project layout |
| 02 | 02_HelloWorld | Basic logging, chip info, and restart countdown | Basic environment check |
| 03 | 03_nvs_counter | Persist boot count using NVS | No external hardware required |
| 04 | 04_freertos_tasks | FreeRTOS tasks and queues | No external hardware required |
| 05 | 05_gpio_io | GPIO input and output | Optional: jumper wires or LEDs |
| 06 | 06_gpio_interrupt | GPIO interrupts and debouncing | Suggested: push button or jumper wires |
| 07 | 07_uart_loopback | UART transmit and loopback receive | Suggested: TX/RX jumper wire |
| 08 | 08_i2c_tools | I2C scan and command-line debugging | Useful for checking I2C device addresses |
| 09 | 09_sdmmc | SD card mount and read/write test | Requires SD card and compatible slot/wiring |
| 10 | 10_wifistation | Wi-Fi STA connection | Requires a board with Wi-Fi support |
| 11 | 11_ethernetbasic | Ethernet link and DHCP IP acquisition | Requires Ethernet PHY and RJ45 port |
| 12 | 12_I2SCodec | I2S Codec audio playback or echo mode | Requires audio codec / speaker / microphone support |
| 13 | 13_Displaycolorbar | LCD color bar display | For verifying display output |
| 14 | 14_lvgl_demo_v9 | LVGL v9 GUI demo | Requires display and PSRAM |
| 15 | 15_eth2ap | Ethernet-to-Wi-Fi AP bridging | Requires both Ethernet and Wi-Fi paths |
| 16 | 16_video_lcd_display | Camera preview on LCD | Requires camera, display, and PSRAM |
| 17 | 17_simple_video_server | HTTP camera video streaming | Requires camera and network connectivity |
| 18 | 18_esp_brookesia_phone | ESP-Brookesia Phone UI | Requires matching display, touch, and board-level config |
| 19 | 19_system_monitor | Serial diagnostics and runtime status monitor | No external hardware required |
Example Code and Configuration Entry Points
Most examples have their application logic in main/, with configurable options in main/Kconfig.projbuild, sdkconfig.defaults, or the component's Kconfig. When adjusting pins, network settings, display parameters, camera, or audio options, use idf.py menuconfig first. To persist changes in the repository, save them to the example's default config files.
| Example | Primary Code Entry Point | Configuration Entry | Pre-Run Checks |
|---|---|---|---|
00_board_check | main/board_check_main.c | sdkconfig.defaults | Check serial log for chip info, PSRAM, heap memory, and periodic alive output. |
01_HowToCreateProject | main/main.c | Root and main/CMakeLists.txt | Good template for copying project structure; update CMakeLists.txt when adding components. |
02_HelloWorld | main/hello_world_main.c | sdkconfig.defaults | Verify ESP-IDF environment, serial output, and restart flow. |
03_nvs_counter | main/nvs_counter_main.c | sdkconfig.defaults | Writes boot count to NVS; erasing flash resets the counter. |
04_freertos_tasks | main/freertos_tasks_main.c | sdkconfig.defaults | Observe task, queue, and periodic log output; no external hardware needed. |
05_gpio_io | main/gpio_io_main.c | main/Kconfig.projbuild: EXAMPLE_GPIO_OUTPUT, EXAMPLE_GPIO_INPUT, EXAMPLE_GPIO_INPUT_PULLUP | Confirm GPIO pins are not used by onboard peripherals (check schematic). |
06_gpio_interrupt | main/gpio_interrupt_main.c | main/Kconfig.projbuild: EXAMPLE_GPIO_INPUT, EXAMPLE_GPIO_INPUT_PULLUP, EXAMPLE_DEBOUNCE_MS | Input pin suggested to connect a button or jumper; set pull-up and debounce time based on button circuit. |
07_uart_loopback | main/uart_loopback_main.c | main/Kconfig.projbuild: EXAMPLE_UART_PORT_NUM, EXAMPLE_UART_TX_GPIO, EXAMPLE_UART_RX_GPIO, EXAMPLE_UART_BAUD_RATE | Connect TX to RX before running; avoid occupying the download serial port. |
08_i2c_tools | main/i2ctools_example_main.c, main/cmd_i2ctools.c | main/Kconfig.projbuild: EXAMPLE_I2C_MASTER_SCL, EXAMPLE_I2C_MASTER_SDA, EXAMPLE_STORE_HISTORY | ESP32-P4 default SCL = GPIO8, SDA = GPIO7; verify voltage levels and pull-ups before connecting peripherals. |
09_sdmmc | main/sd_card_example_main.c, components/sd_card/sd_test_io.c | main/Kconfig.projbuild: bus width, EXAMPLE_PIN_CMD, EXAMPLE_PIN_CLK, EXAMPLE_PIN_D0 through EXAMPLE_PIN_D3, format options, LDO IO | ESP32-P4 default CMD/CLK/D0/D1/D2/D3 = GPIO44/43/39/40/41/42; enabling format option will erase SD card data. |
10_wifistation | main/station_example_main.c | main/Kconfig.projbuild: ESP_WIFI_SSID, ESP_WIFI_PASSWORD, auth threshold, retry count | ESP32-P4 has no integrated Wi-Fi; requires a board with ESP32-C6 or equivalent Wi-Fi companion. |
11_ethernetbasic | main/ethernet_example_main.c, components/ethernet_init/ethernet_init.c | main/Kconfig.projbuild, components/ethernet_init/Kconfig.projbuild: PHY model, PHY address, MDC, MDIO, reset pin, internal EMAC or SPI Ethernet | ESP32-P4 internal EMAC default MDC = GPIO31, MDIO = GPIO52, PHY Reset = GPIO51; adjust per board schematic. |
12_I2SCodec | main/i2s_es8311_example.c, main/example_config.h, main/canon.pcm | main/Kconfig.projbuild: playback / echo mode, MIC gain, volume, EXAMPLE_BSP; BSP dependencies in main/idf_component.yml | Echo mode requires microphone input; confirm selected BSP component matches hardware before enabling. |
13_Displaycolorbar | main/test_esp_lcd_jd9365.c | main/idf_component.yml, sdkconfig.defaults, sdkconfig.defaults.esp32p4 | First step for display bring-up; if log is normal but screen stays blank, check backlight, reset, power, and panel model. |
14_lvgl_demo_v9 | main/main.c, components/bsp_extra/src/bsp_board_extra.c | main/idf_component.yml, components/bsp_extra/idf_component.yml, components/bsp_extra/Kconfig, sdkconfig.defaults | Run 13_Displaycolorbar first; then check LVGL buffer, resolution, touch controller, and PSRAM. |
15_eth2ap | main/ethernet_example_main.c | main/Kconfig.projbuild: EXAMPLE_WIFI_SSID, EXAMPLE_WIFI_PASSWORD, EXAMPLE_WIFI_CHANNEL, EXAMPLE_MAX_STA_CONN | Requires both Ethernet and Wi-Fi paths; verify Ethernet link and AP parameters before running. |
16_video_lcd_display | main/main.c, main/app_video.c | sdkconfig.defaults: MIPI-CSI SCCB SCL/SDA, OV5647, LVGL, PSRAM, CONFIG_BSP_LCD_DPI_BUFFER_NUMS; camera sensor selected under Component config | Default SCCB SCL = GPIO8, SDA = GPIO7; requires MIPI-CSI camera and LCD connected. |
17_simple_video_server | main/simple_video_server_example.c, components/example_video_common/, frontend/ | main/Kconfig.projbuild: video buffer, JPEG quality, mDNS; components/example_video_common/Kconfig.projbuild: network, board, camera interface, SCCB I2C, JPEG encoder | Requires camera and network; after flashing, access the web interface at the IP shown in the serial log, or use http://esp-web.local on mDNS-enabled networks. Frontend source requires Node.js 20+; pre-built web assets are included, so standard firmware builds do not require building the frontend first. |
18_esp_brookesia_phone | main/main.cpp, components/esp32_p4_platform/, components/brookesia_* | components/esp32_p4_platform/Kconfig: Board Support Package(ESP32-P4) > Display > Select LCD type, color format, I2C, I2S, SD, SPIFFS | Example README uses 1024 x 600 UI style as prototype; when porting to other Waveshare DSI displays, select the correct LCD type and color format first. |
19_system_monitor | main/system_monitor_main.c | sdkconfig.defaults | Serial console provides help, info, heap, period <ms> commands; period writes to NVS. |
Compatibility Reference
✅ indicates the example is expected to run on the corresponding board. ❌ means the board either lacks the required peripheral or the example has not yet been verified on that board path. Always adjust menuconfig based on your actual hardware before running.
| # | Example | ESP32-P4-NANO | ESP32-P4-Module-DEV-KIT | ESP32-P4-WIFI6-DEV-KIT | ESP32-P4-WIFI6 | ESP32-P4-ETH | ESP32-P4-Pico | ESP32-P4-WIFI6-POE-ETH | ESP32-P4-Core-DEV-KIT |
|---|---|---|---|---|---|---|---|---|---|
| 00 | board_check | ✅ | ✅ | ✅ | ✅ | ✅ | ✅ | ✅ | ✅ |
| 01 | HowToCreateProject | ✅ | ✅ | ✅ | ✅ | ✅ | ✅ | ✅ | ✅ |
| 02 | HelloWorld | ✅ | ✅ | ✅ | ✅ | ✅ | ✅ | ✅ | ✅ |
| 03 | nvs_counter | ✅ | ✅ | ✅ | ✅ | ✅ | ✅ | ✅ | ✅ |
| 04 | freertos_tasks | ✅ | ✅ | ✅ | ✅ | ✅ | ✅ | ✅ | ✅ |
| 05 | gpio_io | ✅ | ✅ | ✅ | ✅ | ✅ | ✅ | ✅ | ✅ |
| 06 | gpio_interrupt | ✅ | ✅ | ✅ | ✅ | ✅ | ✅ | ✅ | ✅ |
| 07 | uart_loopback | ✅ | ✅ | ✅ | ✅ | ✅ | ✅ | ✅ | ✅ |
| 08 | i2c_tools | ✅ | ✅ | ✅ | ✅ | ✅ | ✅ | ✅ | ✅ |
| 09 | sdmmc | ✅ | ✅ | ✅ | ✅ | ✅ | ✅ | ✅ | ❌ |
| 10 | wifistation | ✅ | ✅ | ✅ | ✅ | ❌ | ❌ | ✅ | ❌ |
| 11 | ethernetbasic | ✅ | ✅ | ✅ | ❌ | ✅ | ❌ | ✅ | ❌ |
| 12 | I2SCodec | ✅ | ✅ | ✅ | ✅ | ✅ | ✅ | ✅ | ❌ |
| 13 | Displaycolorbar | ✅ | ✅ | ✅ | ✅ | ✅ | ✅ | ✅ | ✅ |
| 14 | lvgl_demo_v9 | ✅ | ✅ | ✅ | ✅ | ✅ | ✅ | ✅ | ✅ |
| 15 | eth2ap | ✅ | ✅ | ✅ | ❌ | ❌ | ❌ | ✅ | ❌ |
| 16 | video_lcd_display | ✅ | ✅ | ✅ | ✅ | ✅ | ✅ | ✅ | ✅ |
| 17 | simple_video_server | ✅ | ✅ | ✅ | ✅ | ✅(Ethernet) | ❌ | ✅ | ❌ |
| 18 | esp_brookesia_phone | ✅ | ✅ | ✅ | ✅ | ✅ | ✅ | ✅ | ✅ |
| 19 | system_monitor | ✅ | ✅ | ✅ | ✅ | ✅ | ✅ | ✅ | ✅ |
Build and Run Notes
- The ESP32-P4 chip itself does not have integrated Wi-Fi or Bluetooth. Wi-Fi examples require an onboard ESP32-C6 or another configured Wi-Fi companion solution.
- Ethernet examples require an onboard or external Ethernet PHY. If the RJ45 port, PHY model, PHY address, MDC/MDIO GPIO pins, or reset GPIO differ from the example defaults, adjust them in
menuconfig. - The
ESP32-P4-Core-DEV-KITdoes not cover SDMMC, Wi-Fi, Ethernet, I2S Codec,eth2ap, orsimple_video_serverin the Platform compatibility matrix. To verify these peripherals, you'll need external hardware and must adjust the example configuration to match the board schematic. - Display, LVGL, camera, and ESP-Brookesia examples typically require PSRAM. Run
00_board_checkfirst to confirm PSRAM initializes correctly. - Some examples download ESP-IDF managed components via
idf_component.yml. If the build stalls at the component download stage, check your network, Git proxy settings, and ESP-IDF component manager configuration. - Basic interface examples like
05_gpio_io,06_gpio_interrupt, and07_uart_loopbackmay conflict with GPIO pins occupied by onboard peripherals. Always verify pin assignments against the schematic before running.