Factory Firmware Usage
This section describes the operation of the ESP32-P4-Knob-Touch-AMOLED-1.75 factory firmware and the applications (APPs) it includes. The factory firmware is based on ESP-Brookesia. Its source code is located in examples/factory of the ESP32-P4-Knob-Touch-AMOLED-1.75 example repository.
This section applies to the factory firmware ESP32-P4-Knob-Touch-AMOLED-1.75_FactoryOnly_20261103.bin. APP names and functions may differ in other firmware versions.
Preparation
- ESP32-P4-Knob-Touch-AMOLED-1.75 ×1
- USB Type-C cable that supports data transfer ×1
- 2.4GHz Wi-Fi network: required by Xiaozhi and network time synchronization. The ESP32 wireless coprocessor does not support 5GHz Wi-Fi.
- Phone or other Bluetooth audio source: required by BT Music
- Windows 10 or Windows 11 computer: required by USB Screen and the USB drive function
Basic Operation
-
Connect the board to a USB power source with the USB Type-C cable. After startup, the APP launcher appears.
-
Swipe left or right, or turn the knob, to switch between launcher pages. Tap an icon to open the APP.
-
Use the following gestures to move between APPs:
Operation Method Return to the launcher Swipe up quickly from the bottom edge of the screen and release Open recent APPs Swipe up from the bottom edge and hold for about 1 second Return to a recent APP In recent APPs, tap the APP card Close an APP In recent APPs, swipe the APP card up
The knob only detects rotation. In APPs that use the knob, turning it adjusts a value such as the volume or moves the selection; confirm a selection by tapping the screen.
The status bar shows the time, the Wi-Fi state, and the battery level when a battery is connected. After Wi-Fi connects, the time is synchronized over the network; the RTC keeps the time across restarts. The factory firmware displays time in the UTC+8 time zone.
One orientation of the USB Type-C plug connects the USB-to-UART serial port, and the other connects the ESP32-P4 USB 2.0 port used by USB Screen and the USB drive function. If the computer does not detect the board, flip the plug at the board end. Flipping the plug powers the board up again; reopen the APP after the board restarts.
TF Card Content
The TF card slot is on the main board inside the case, and a 1GB TF card is installed. Use the USB drive function in Settings > Storage to copy files between a computer and the card.
Create the following folders in the root directory of the TF card. Each APP only looks for files in its own folder.
| Folder | APP | Supported Files |
|---|---|---|
music | Music | MP3 and WAV; an optional .lrc lyrics file with the same name as the audio file |
videos | Video | MP4 or AVI files with MJPEG video and AAC, MP3, or PCM audio |
pictures | Gallery | JPEG and PNG |
books | Reader | TXT files in UTF-8, GBK, or UTF-16 encoding |
fonts | Reader | Optional TTF fonts that supply characters missing from the built-in font |
TF card root directory
├── music
├── videos
├── pictures
├── books
└── fonts
-
The TF card must use the FAT32 or exFAT file system. If Settings > Storage reports that the card is not formatted, turn on USB drive and format the card as FAT32 on the computer.
-
Keep the width and height of a video as multiples of 16. The following FFmpeg command converts a video to 464 × 464 MJPEG with AAC audio; replace the input and output file names as needed, then copy the output file to the
videosfolder:ffmpeg -i in.mp4 -vf "scale=464:464,fps=25" -c:v mjpeg -pix_fmt yuvj420p -q:v 9 -c:a aac -b:a 128k -movflags +faststart out.mp4 -
While USB drive is on, the media APPs cannot open files on the card. Eject the drive on the computer, turn off USB drive, and then open Music, Video, Gallery, or Reader again.
Network and Bluetooth Connection
Connect to Wi-Fi
- Open Settings > WLAN and turn on Wi-Fi.
- Select a 2.4GHz network from the list. An open network connects directly.
- For a secured network, enter the password: turn the knob to choose a character, tap the center of the screen to type it, and then tap Join. The password must have at least 8 characters.
- After the connection succeeds, the status bar shows the Wi-Fi icon. The Wi-Fi switch and the saved network are restored after the board restarts.
To remove the saved network, tap Forget network on the WLAN page and confirm.
Connect a Bluetooth Audio Source
- Open Settings > Bluetooth and turn on Bluetooth.
- On the phone, search for and connect to ESP32-P4-Knob.
- Start playback on the phone, then open BT Music on the board to control playback.
Disconnect ends the current connection. Forget phones removes the pairing records; paired phones must pair again before they can connect.
APP Instructions
The launcher lists the APPs in the following order:
| APP | Function |
|---|---|
| Calculator | Basic arithmetic |
| Draw | Touch drawing |
| Spectrum | Microphone level and audio spectrum |
| Music | Plays built-in music and music on the TF card |
| BT Music | Plays audio from a Bluetooth audio source |
| Pomodoro | Pomodoro timer |
| Video | Plays videos on the TF card |
| Gallery | Displays pictures on the TF card |
| Reader | Reads TXT books on the TF card |
| Motion | Spirit level, attitude, marble game, and IMU data |
| Xiaozhi | Voice assistant connected to xiaozhi.me |
| USB Screen | Touch extended display for a Windows computer |
| Settings | Wi-Fi, Bluetooth, sound, display, vibration, storage, and device information |
When an APP plays audio, turning the knob usually adjusts the volume.
Calculator
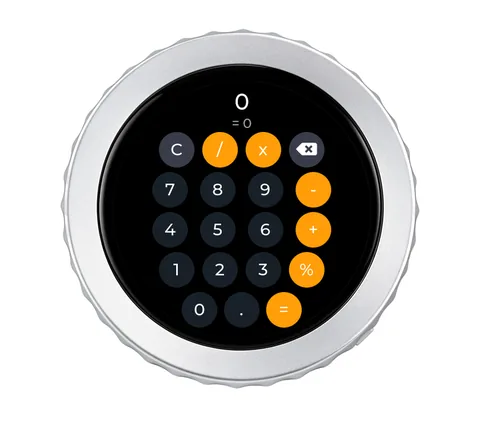
- Tap the number and operator keys to calculate.
Cclears the input, and the backspace key deletes the last character.
Draw
- Draw on the white canvas with a finger. Tap a color at the bottom to change the line color.
- Tap the trash icon to clear the canvas.

Spectrum
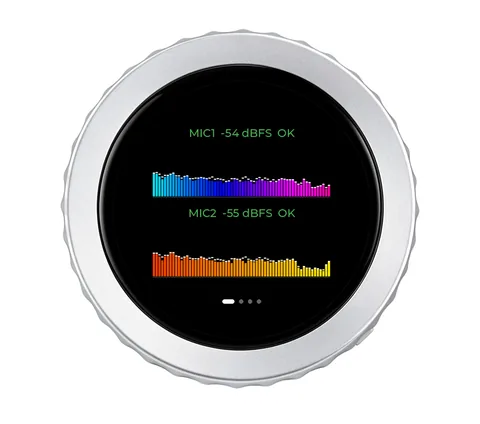
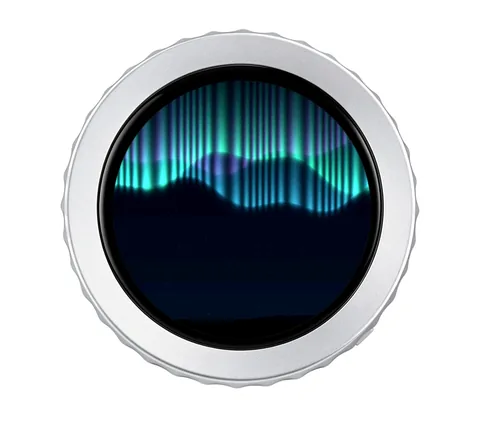
- The first view shows the level and spectrum of MIC1 and MIC2. Speak near the board; the bars of both microphones change with the sound and fall back when it is quiet.
- Turn the knob, or swipe left or right in the middle of the screen, to switch among the Mic Test, Bars, Radial, and Halo views.
Music
- The playlist contains the MP3 and WAV files in the
musicfolder of the TF card, followed by the music built into the firmware. - Tap the play button to start playback; playback does not start automatically when the APP opens. Use the previous and next buttons to switch tracks, or tap the list button at the top to select a track.
- When a track has played for more than 3 seconds, the previous button first returns to the beginning of the current track.
- Turn the knob to adjust the volume. When a
.lrcfile with the same name as the audio file exists, the lyrics are shown during playback.
BT Music
- Before using this APP, connect the phone as described in Connect a Bluetooth Audio Source. If no phone is connected, the APP shows the device name to connect to.
- The board works as a Bluetooth speaker. Use the on-screen buttons to play, pause, or switch tracks, and turn the knob to adjust the volume.
- The title, artist, and cover are shown when the phone provides them. Whether a phone provides this information depends on the phone and the player APP.

Pomodoro
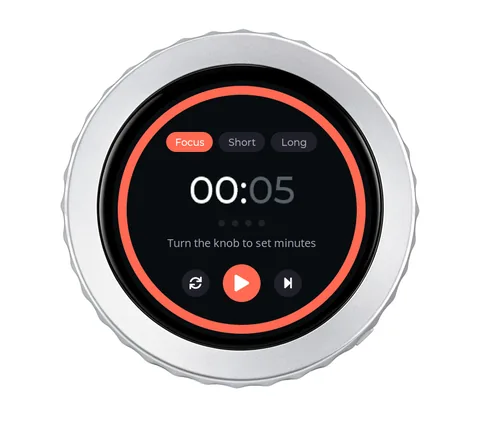
- Select Focus, Short, or Long at the top.
- Tap the minutes or the seconds, then turn the knob to set the value.
- Tap the play button to start the countdown, and tap it again to pause or continue.
- When the countdown ends, a completion message appears, the board vibrates, and the timer switches to the next phase, for example from Focus to Short.
If another APP is playing audio, the alert tone may not be heard; the vibration alert still runs.
Video
- Plays the videos in the
videosfolder of the TF card. After a video ends, the next video starts. - Turn the knob to adjust the volume of videos that contain audio.
- See TF Card Content for the supported formats and a conversion example.
Gallery
- Shows the JPEG and PNG pictures in the
picturesfolder of the TF card. - Swipe left or right, or turn the knob, to switch pictures.
- Tap once to show the file information. Double-tap to switch between the fill and whole-picture display modes.
Reader
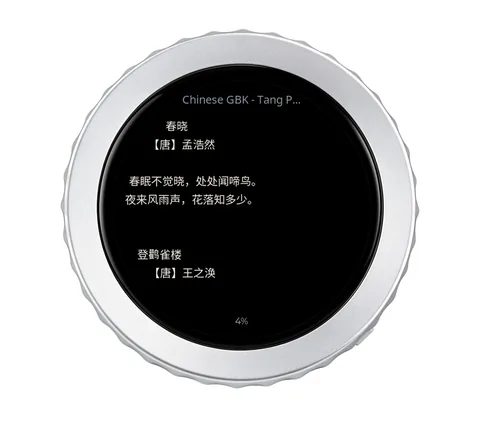
- Select a book from the bookshelf. Books are TXT files in the
booksfolder of the TF card. - Swipe left or right, tap the left or right edge of the screen, or turn the knob to turn pages.
- Tap the middle of the screen to open the menu, where the font size and reading progress can be changed and the bookshelf can be reopened.
- The reading position of each book is saved and restored the next time the book is opened.
- If some characters cannot be displayed, copy a TTF font that contains them to the
fontsfolder and open Reader again.
Motion
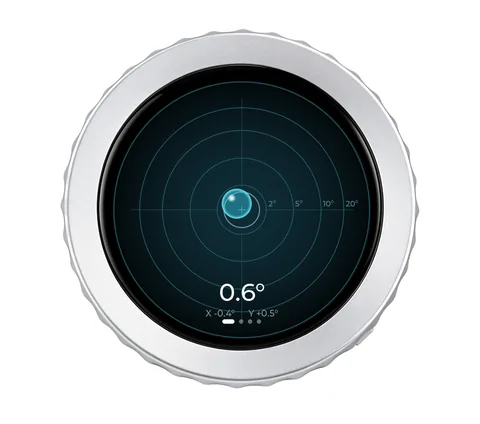
- Turn the knob, or swipe left or right in the middle of the screen, to switch among the Level, Horizon, Marble, and Sensors pages.
- Level shows the tilt angle as a bubble level, and Horizon shows the attitude of the board. On these two pages, tap the screen to set the current position as level, and long-press to restore the default reference.
- Marble moves a ball as the board tilts. Tap the screen to return the ball to the center.
- Sensors shows the IMU data in real time.
Xiaozhi
Xiaozhi is a voice assistant that connects to xiaozhi.me. It requires a Wi-Fi connection with internet access.
- Open Xiaozhi. If Wi-Fi is not connected, the APP opens Settings > WLAN; after a network is connected, it returns to Xiaozhi automatically.
- On first use, the screen shows a six-digit activation code, which is also played through the speaker. Sign in to the xiaozhi.me console, add a device, and enter the code.
- After activation, tap the screen or say "Hi ESP" to start a conversation. The screen shows the recognized text and the reply, and the speaker plays the reply.
- While Xiaozhi is replying, tap the screen to interrupt. Turn the knob to adjust the volume.

USB Screen
USB Screen makes the board a 466 × 466 touch extended display for a Windows 10 or Windows 11 computer.
- Before the first use, install the Espressif USB Display Driver for Windows on the computer.
- Turn off USB drive in Settings > Storage if it is on, open USB Screen, and then connect the board to the computer.
- If the computer does not detect the display, flip the USB Type-C plug at the board end. The board restarts; open USB Screen again.
- After the computer detects the display, drag a window to the new display. Touch operations on the board are sent to the computer.
- The speaker and microphones of the board can also be selected as audio devices in the Windows sound settings. Turn the knob to adjust the volume.
- Swipe up from the bottom edge of the screen to exit USB Screen.
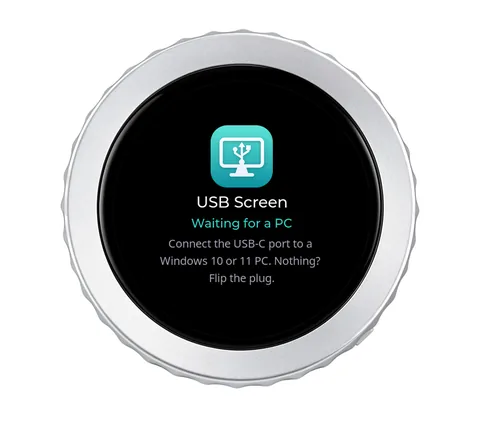
The waiting screen shown below means the board has not received an image from the computer yet.
The ESP32-P4 USB port runs only one USB function at a time. USB Screen and the USB drive function in Settings > Storage cannot run at the same time; exit one before using the other.
Settings
In the Settings list, turn the knob to move the selection and tap an item to open it. Tap the title at the top of a page to return to the previous level.
| Item | Function |
|---|---|
| WLAN | Turns Wi-Fi on or off, scans and joins networks, and forgets saved networks |
| Bluetooth | Turns Bluetooth on or off, disconnects the current phone, and forgets paired phones |
| Sound | Adjusts the volume |
| Display | Adjusts the screen brightness. The minimum setting is 20% |
| Vibration | Turns Knob clicks on or off and selects the vibration strength: Light, Medium, or Strong. When Knob clicks is off, Pomodoro alerts still vibrate |
| Storage | Shows the TF card state and free space, and provides the USB drive function |
| About | Shows the product model, firmware version, ESP-IDF version, chip revision, Flash size, and PSRAM size |
Storage
- Open Settings > Storage and confirm that the TF card is shown as ready. If no card is detected, tap Rescan.
- Turn off USB Screen if it is running, then turn on USB drive and connect the board to the computer.
- After the computer shows the drive, copy files to or from the card.
- Eject the drive on the computer before turning off USB drive. Leaving the Storage page also stops the drive.
If the computer does not show the drive, flip the USB Type-C plug at the board end. The board restarts; open Settings > Storage and turn on USB drive again.
Stopping USB drive or leaving the Storage page while files are being copied may lose the files being copied. Eject the drive on the computer first.
Saved Settings
The following settings are saved and restored after the board restarts:
- Wi-Fi switch and saved networks
- Bluetooth switch
- Volume
- Knob click vibration switch and vibration strength
- Reading position of each book in Reader
- Level reference in Motion
After a restart, USB Screen and USB drive are off. Open the corresponding APP or page again before connecting the computer.
Firmware Download and Flashing
The factory firmware is located in the firmware directory of the ESP32-P4-Knob-Touch-AMOLED-1.75 example repository. For the flashing steps, see Firmware Flashing and Erasing.
Flashing the complete firmware image clears the saved settings, including Wi-Fi networks. Connect to Wi-Fi again after flashing; Xiaozhi may also need to be activated again.