Working with MicroPython
This chapter contains the following sections. Please read as needed:
MicroPython Getting Started
New to ESP32 MicroPython development and looking for a quick start? We have prepared a comprehensive ESP32 MicroPython Getting Started Tutorial for you.
- Section 1: Setup Development Environment
- Section 2: Basics
- Section 3: GPIO Digital Output/Input
- Section 4: ADC Analog Input
- Section 5: PWM Output
- Section 6: UART Communication
- Section 7: I2C Communication
- Section 8: SPI Communication
- Section 9: Wi-Fi Basic
- Section 10: Web Server
- Section 11: Bluetooth
- Section 12: Comprehensive Project
Note: This tutorial uses the ESP32-S3-Zero as a teaching example, and all hardware code is based on its pinout. Before proceeding, we recommend checking the pinout diagram of your specific development board to ensure the pin configuration is correct.
Setting Up Development Environment
1. Flash MicroPython Firmware and Configure Thonny
Please refer to the Set Up MicroPython Development Environment to flash the MicroPython firmware.
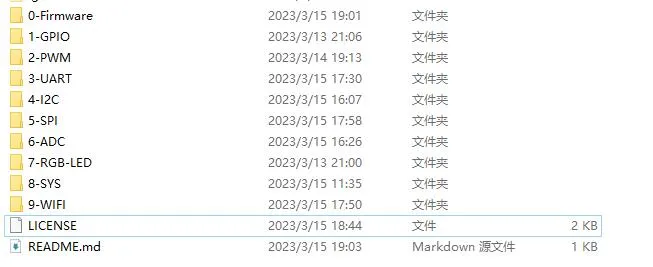
2. Obtain Examples
-
Unzip the example package
3. Other Tips
-
Download MicroPython firmware: Flasher and Firmware or MicroPython official firmware.
-
If you flash the MicroPython firmware using the Espressif Flash Download Tool for the ESP32-S3-DEV-KIT-N8R8, the flash address is
0x0.