Working with ESP-IDF
This chapter includes the following sections. Please read as needed:
- ESP-IDF Getting Started
- Setting Up the Development Environment
- Example Package Structure
- Example
- Documentation Feedback
ESP-IDF Getting Started
New to ESP32 ESP-IDF development and looking to get started quickly? We have prepared a general Getting Started Tutorial for you.
- Section 1: Environment Setup
- Section 2: Running Examples
- Section 3: Creating a Project
- Section 4: Using Components
- Section 5: Debugging
- Section 6: FreeRTOS
- Section 7: Peripherals
- Section 8: Wi-Fi Programming
- Section 9: BLE Programming
Please Note: This tutorial uses the ESP32-S3-Zero as a teaching example, and all hardware code is based on its pinout. Before you start, it is recommended that you check the pinout of your development board to ensure the pin configuration is correct.
Setting Up the Development Environment
This example package is ported based on ESP-IDF 5.5.4. Please refer to the Waveshare ESP-IDF Getting Started - Section 1 Set Up Environment to complete the development environment configuration.
Example Package Structure
The ESP-IDF examples are located in the ESP-IDF/example directory of the example package. In addition to the individual projects, this directory also contains two shared components:
example/
├── 01_IO_Test/
├── ...
├── 12_ETH_Web_CAM/
├── cam_web_common/
└── eth_w5500_common/
cam_web_common
cam_web_common encapsulates the common functionality for the camera and web service, and is reused by 08_WIFI_Web_CAM and 12_ETH_Web_CAM. It mainly includes:
- GPIO definitions and camera initialization for the ESP32-S3-ETH camera interface;
- GPIO8 camera enable control;
- JPEG photo capture and MJPEG video streaming;
- Parameter control for image quality, brightness, contrast, resolution, etc.;
- HTTP pages, status queries, and camera register access interfaces.
The two camera examples only handle Wi-Fi or W5500 network connections, respectively. Camera initialization and HTTP service are implemented by this shared component, avoiding duplicate code across the two projects.
eth_w5500_common
eth_w5500_common encapsulates the common initialization process for the onboard W5500 of the ESP32-S3-ETH, and is reused by 09_ETH_DHCP, 10_ETH_StaticIP, 11_ETH_MAC_DHCP_StaticIP and 12_ETH_Web_CAM. It mainly includes:
- SPI2 and GPIO definitions for the W5500;
- Optional W5500 hardware reset;
- 20 MHz SPI bus and W5500 MAC and PHY driver initialization;
- MAC address configuration;
- Association of the Ethernet driver with the
esp_netifnetwork interface.
| W5500 Signal | ESP32-S3-ETH |
|---|---|
| MISO | GPIO12 |
| MOSI | GPIO11 |
| SCLK | GPIO13 |
| CS | GPIO14 |
| RST | GPIO9 |
| INT | GPIO10 |
The camera and Ethernet projects reference the sibling shared components via EXTRA_COMPONENT_DIRS in the top-level CMakeLists.txt. When copying the examples, you need to keep the corresponding cam_web_common or eth_w5500_common directory and its relative location. If you move a project individually, you need to copy the shared component as well and modify the EXTRA_COMPONENT_DIRS path in the project.
Example
The ESP-IDF examples are as follows:
| Example | Description | Shared Component |
|---|---|---|
| 01_IO_Test | GPIO pin high/low level control | - |
| 02_RGB_LED | Controls the WS2812 RGB LED using RMT | - |
| 03_SD_Card | Mounts a TF card using SDSPI and reads/writes files | - |
| 04_WiFi_AP | Sets up a Wi-Fi AP and displays connected device information | - |
| 05_WiFi_STA | Connects to Wi-Fi and controls GPIO18 via a web page | - |
| 06_WIFI_DHCP | Obtains an IP address via DHCP over Wi-Fi | - |
| 07_WIFI_StaticIP | Uses a static IP address over Wi-Fi | - |
| 08_WIFI_Web_CAM | Streams camera images over Wi-Fi | cam_web_common |
| 09_ETH_DHCP | Obtains an IP address via DHCP over W5500 | eth_w5500_common |
| 10_ETH_StaticIP | Uses a static IP address over W5500 | eth_w5500_common |
| 11_ETH_MAC_DHCP_StaticIP | Switches to a static IP address after DHCP times out | eth_w5500_common |
| 12_ETH_Web_CAM | Streams camera images over W5500 | cam_web_common, eth_w5500_common |
01_IO_Test
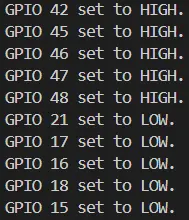
This example initializes 19 GPIOs that can be used as outputs to low level, then pulls them high and low one by one at 300 ms intervals.
Expected Behavior
The serial monitor cyclically displays the initialization and level change information for each GPIO.
02_RGB_LED
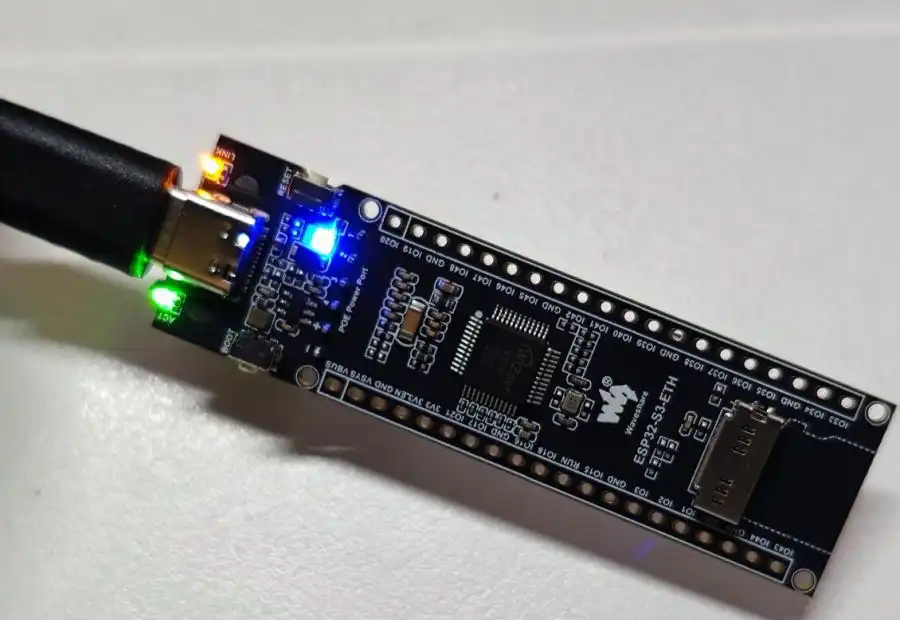
This example uses the ESP-IDF native RMT peripheral to drive the WS2812 RGB LED on GPIO21. The data format is GRB at 800 kHz with a brightness of 50/255. The main loop executes red, green, and blue fill, followed by white, red, and blue theater chase effects.
Expected Behavior
The RGB LED displays fill and chase effects with a 50 ms step interval.
03_SD_Card
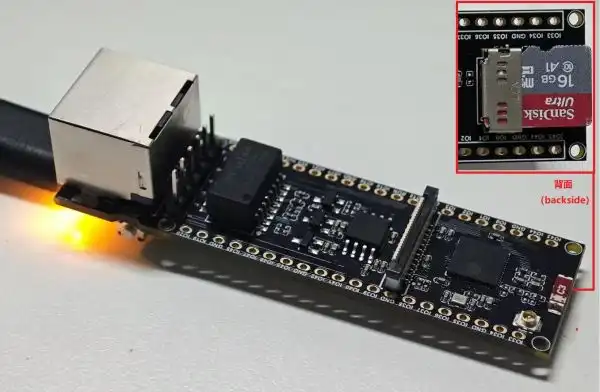
This example uses the ESP-IDF SDSPI and FAT VFS drivers to mount the onboard TF card. The program writes Hello world from Waveshare to /waveshare.txt in append mode, lists the root directory contents, and then reads and prints the file.
This example only supports the FAT32 file system by default; using a 16 GB or 32 GB TF card is recommended. exFAT and NTFS are not supported. SDXC cards of 64 GB and above usually use the exFAT format by default, and must be backed up and reformatted to FAT32 before use. Formatting will erase all data on the card.
| TF Card Signal | ESP32-S3-ETH |
|---|---|
| MISO | GPIO5 |
| MOSI | GPIO6 |
| SCLK | GPIO7 |
| CS | GPIO4 |
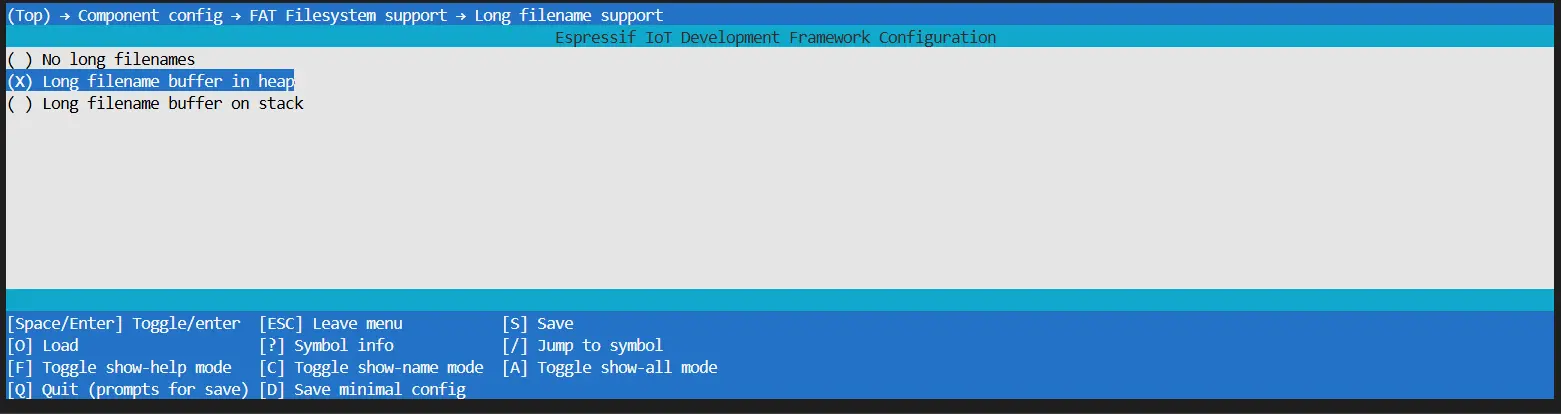
The project has enabled FATFS long filename support in sdkconfig.defaults. The TF card must use the FAT or FAT32 file system.
Expected Behavior
The serial monitor displays the TF card capacity, file write result, root directory file list, and file contents.

04_WiFi_AP
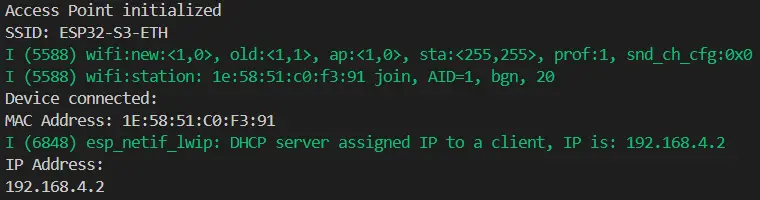
This example creates a WPA2 SoftAP with the SSID ESP32-S3-ETH and password 88888888. When a client connects, it prints the MAC address; after DHCP address assignment completes, it prints the client IP address; when the client disconnects, it prints a prompt.
05_WiFi_STA
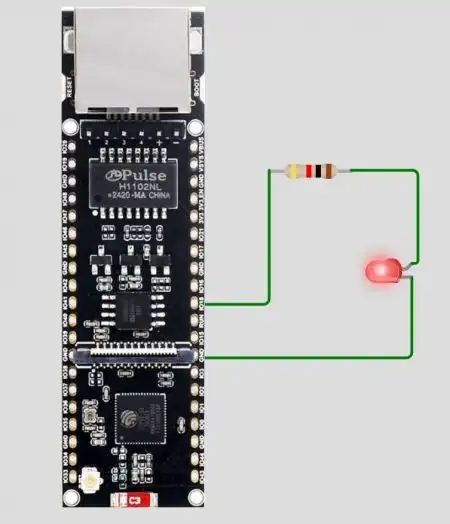
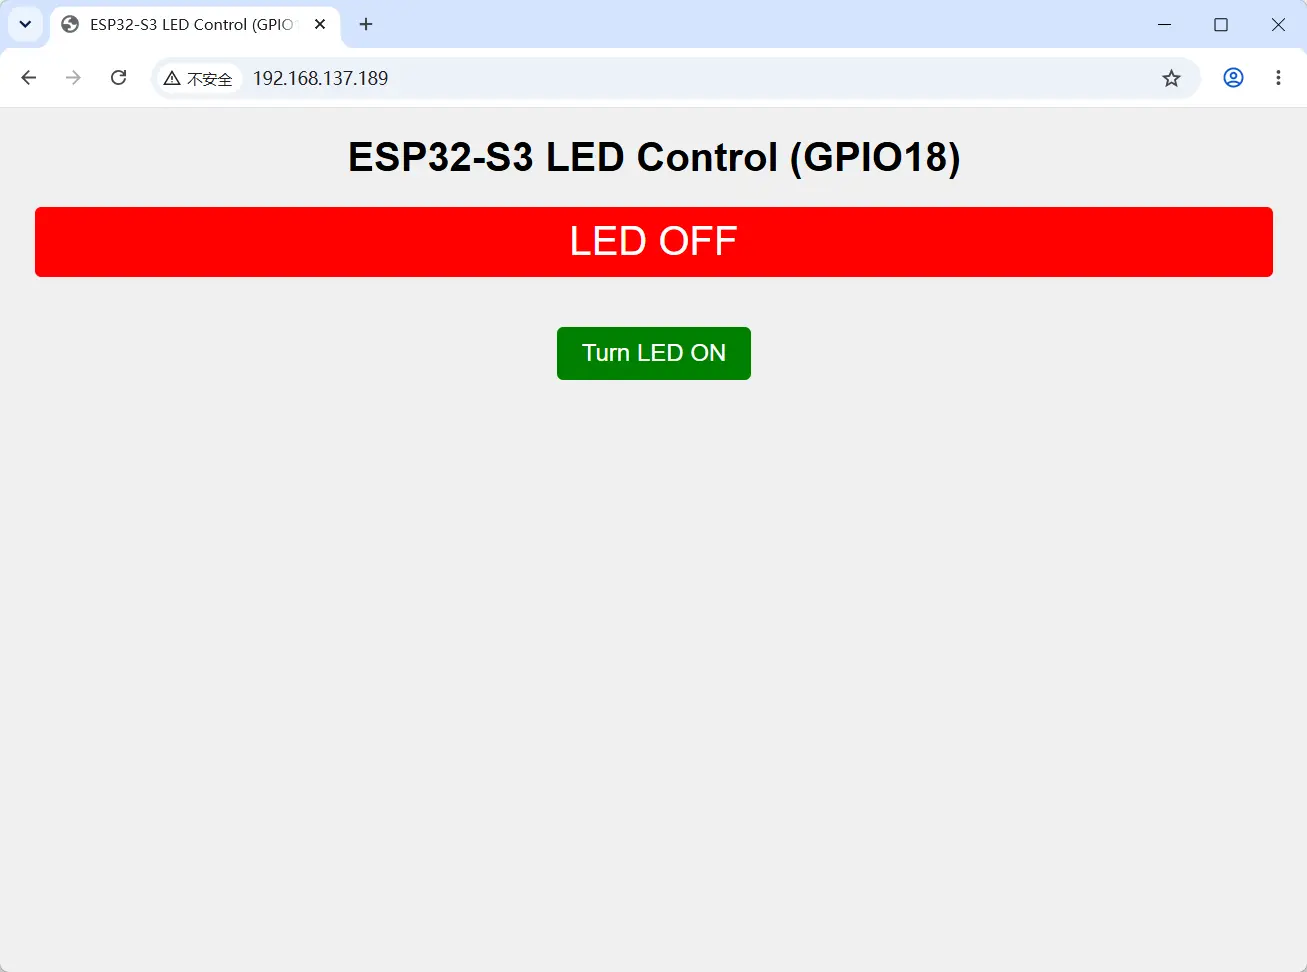
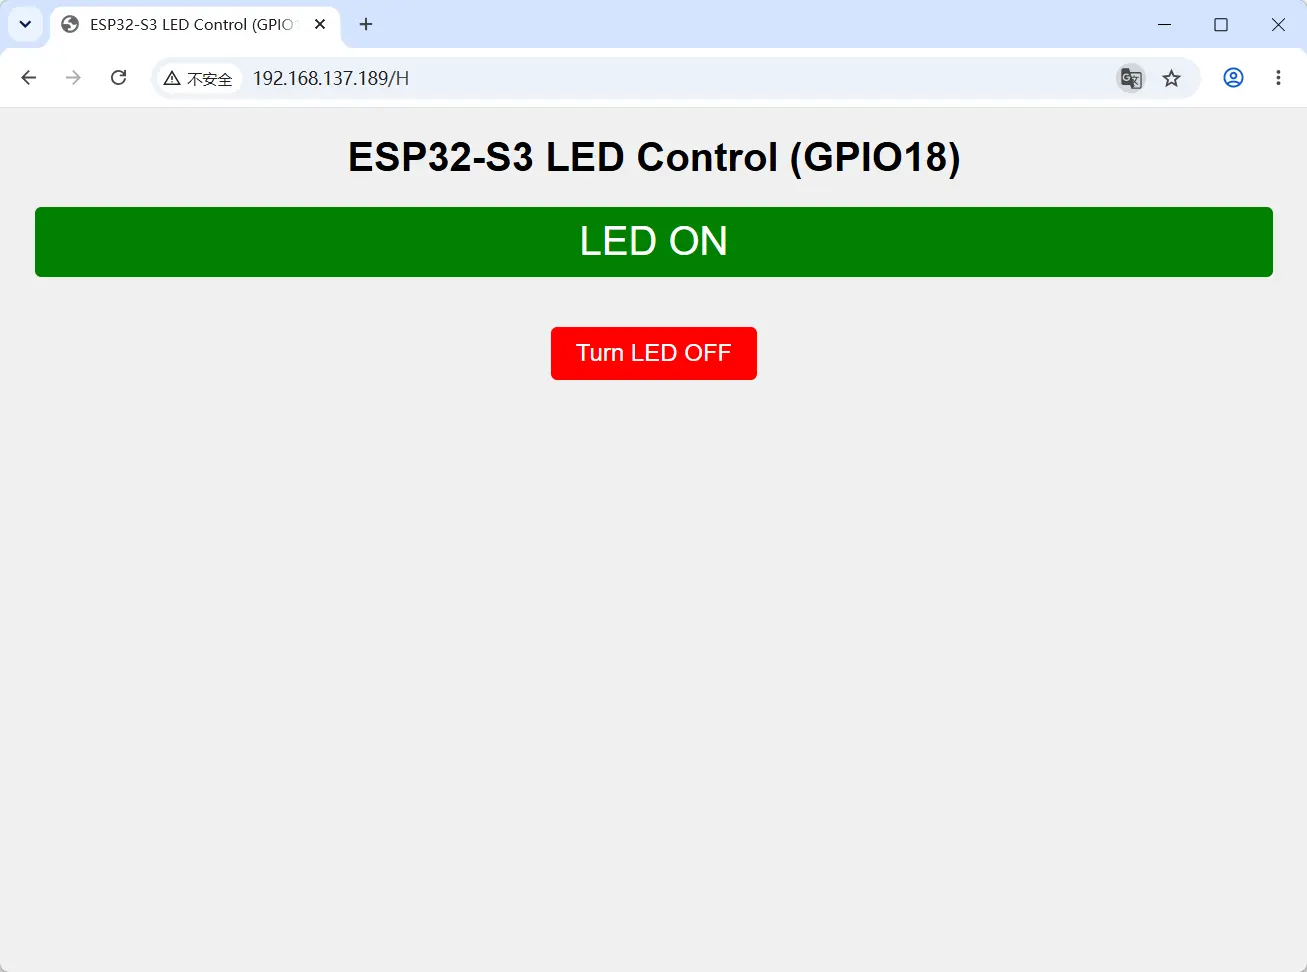
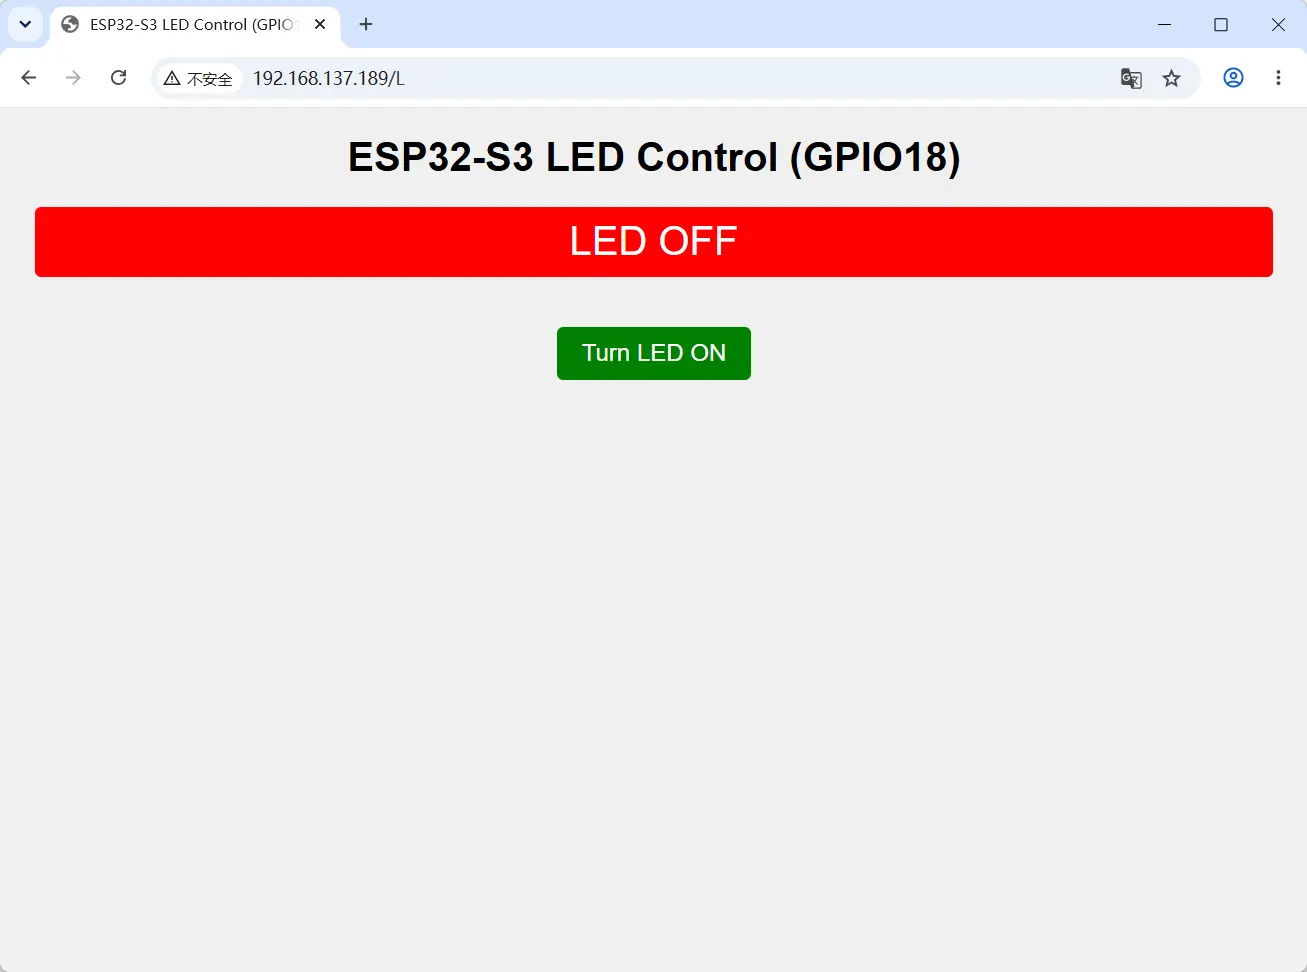
This example connects to Waveshare-AP and starts an HTTP service on port 80. Accessing /H sets GPIO18 to high level, and accessing /L sets GPIO18 to low level.
When using another network, modify WIFI_SSID and WIFI_PASSWORD in main/wifi_sta.c.
If possible, refer to the figure on the right to connect an LED in series to visually check the GPIO18 high/low level state, or measure it with a multimeter.

06_WIFI_DHCP
This example connects to Waveshare-AP and obtains an IPv4 address assigned by the router via DHCP. If the connection drops, the program automatically reconnects.
When using another network, modify the Wi-Fi parameters in main/wifi_dhcp.c.

07_WIFI_StaticIP
This example connects to Waveshare-AP and uses the following static network parameters:
- IP address:
192.168.196.100 - Gateway:
192.168.196.1 - Subnet mask:
255.255.255.0 - DNS:
192.168.196.1
The default password in the example source code is 88888888. Before use, confirm that the router is on the 192.168.196.0/24 subnet and that 192.168.196.100 is not occupied by another device.

08_WIFI_Web_CAM
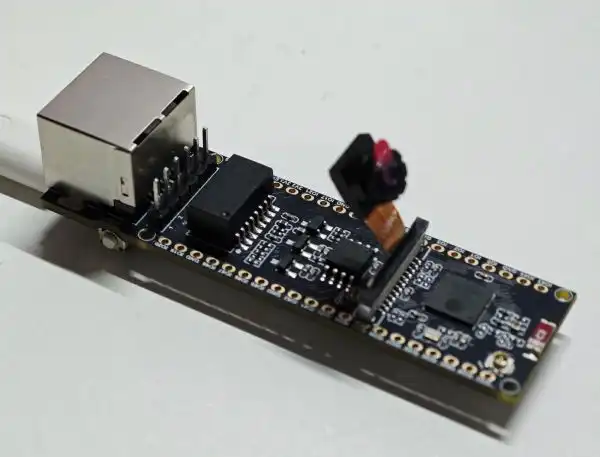
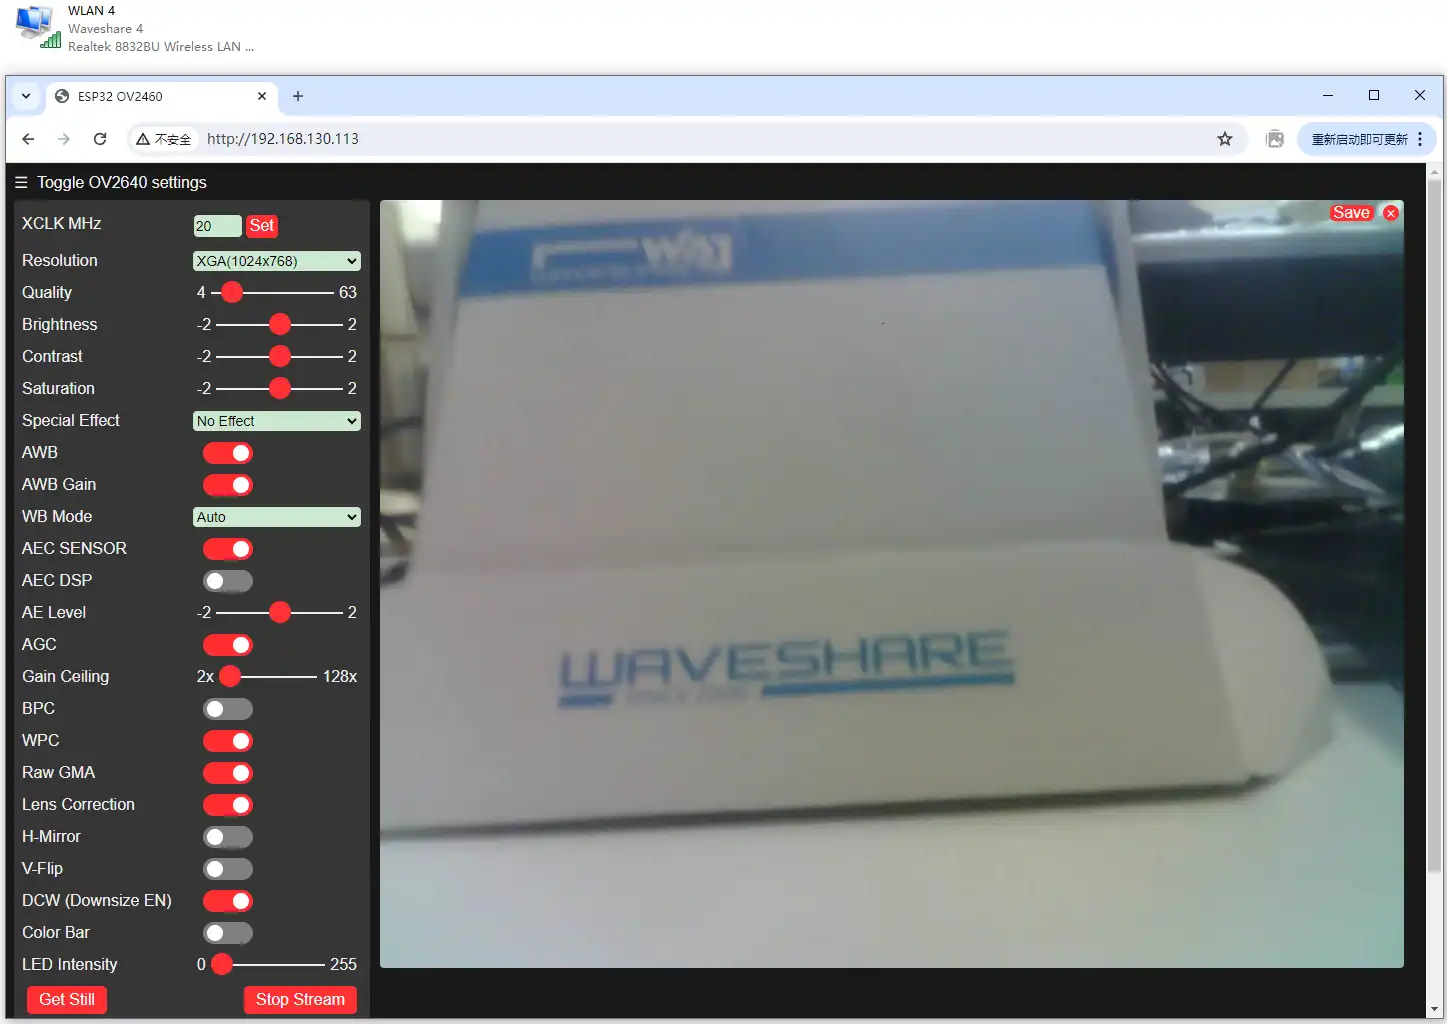
This example connects to the network over Wi-Fi, uses cam_web_common to initialize the camera, and starts the web service. The web page supports MJPEG video streaming, single-frame photo capture, and settings for image quality, brightness, contrast, and more.
Configure Wi-Fi
Run the following command:
idf.py menuconfig
Configure the SSID and password under "Wi-Fi camera configuration". After a successful connection, access the URL output in the serial log.
Camera Interface
| Camera Signal | ESP32-S3-ETH |
|---|---|
| ENABLE | GPIO8 |
| VSYNC | GPIO1 |
| HREF | GPIO2 |
| XCLK | GPIO3 |
| PCLK | GPIO39 |
| SIOD (SDA) | GPIO48 |
| SIOC (SCL) | GPIO47 |
| D7 | GPIO18 |
| D6 | GPIO15 |
| D5 | GPIO38 |
| D4 | GPIO40 |
| D3 | GPIO42 |
| D2 | GPIO46 |
| D1 | GPIO45 |
| D0 | GPIO41 |
09_ETH_DHCP
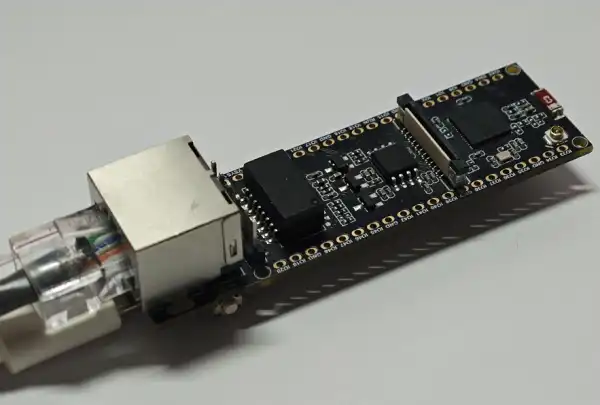
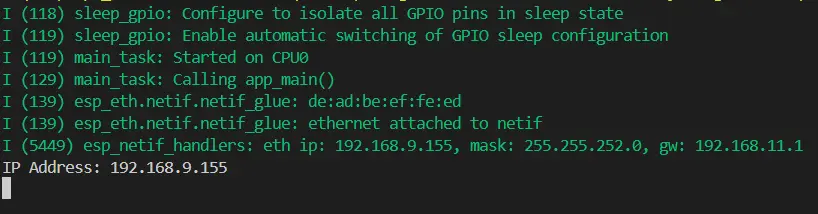
This example initializes the W5500 via eth_w5500_common, with the MAC address set to DE:AD:BE:EF:FE:ED. The program waits for a DHCP-assigned address; if no IP address is obtained within 60 seconds, it outputs a failure message and stops waiting.
10_ETH_StaticIP
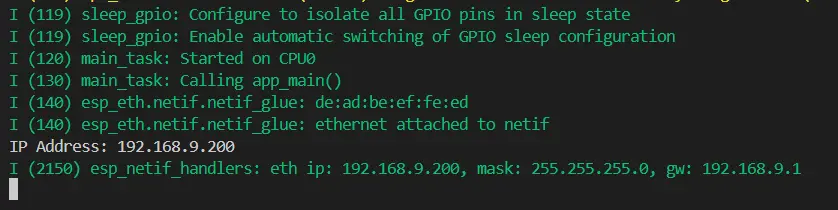
This example uses the following static network parameters over the W5500:
- IP address:
192.168.9.200 - Gateway and DNS:
192.168.9.1 - Subnet mask:
255.255.255.0 - MAC address:
DE:AD:BE:EF:FE:ED
11_ETH_MAC_DHCP_StaticIP
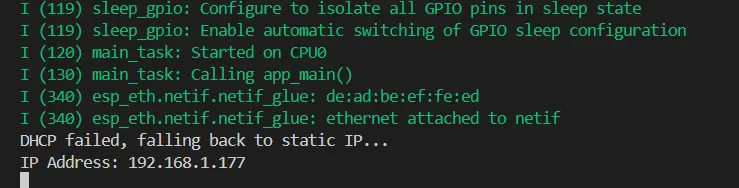
This example performs a hardware reset on the W5500 at startup and attempts to obtain an IP address via DHCP. If no address is obtained within 60 seconds, it switches to the following static network parameters:
- IP address:
192.168.1.177 - Gateway and DNS:
192.168.1.1 - Subnet mask:
255.255.255.0 - MAC address:
DE:AD:BE:EF:FE:ED
12_ETH_Web_CAM
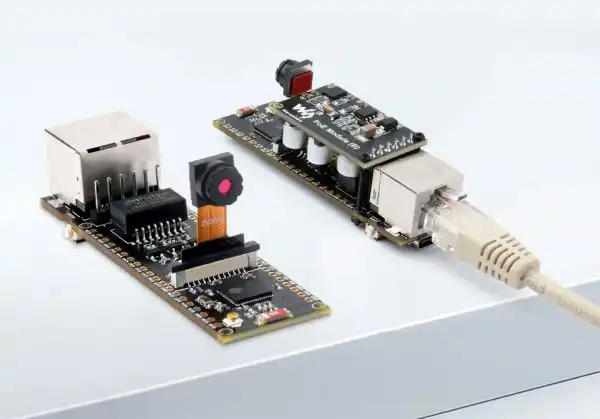
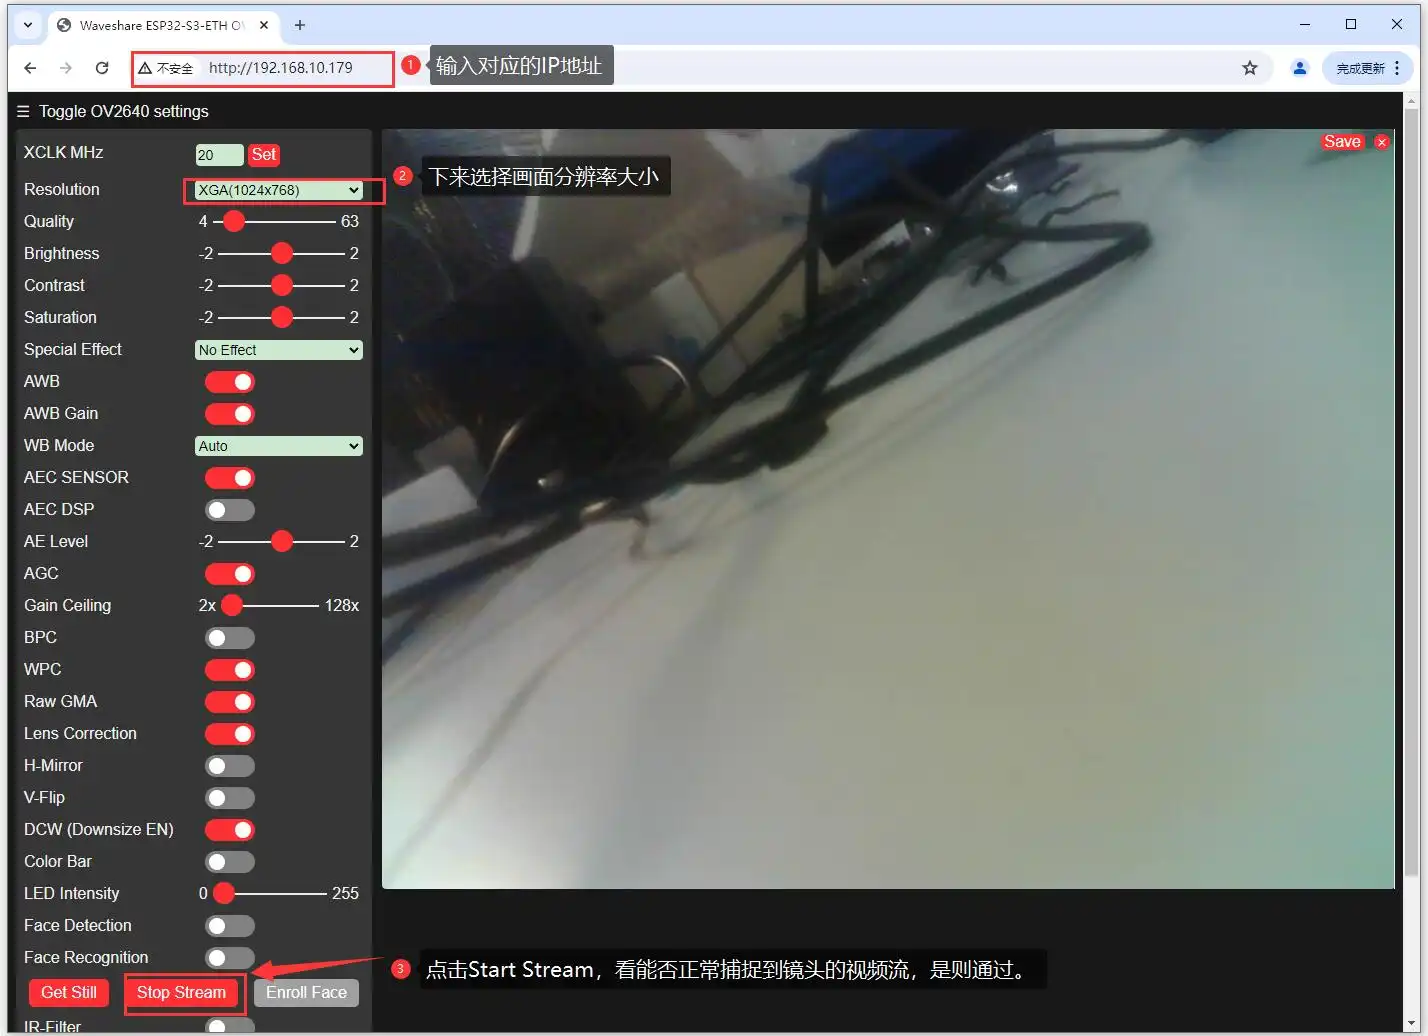
This example uses both eth_w5500_common and cam_web_common. The program first initializes the camera and the W5500, waits for a DHCP-assigned IP address, and then starts the camera web service.
After a successful connection, the serial monitor outputs the access URL. Open that URL in a browser on the same network to use MJPEG video streaming, photo capture, and image parameter settings.
Documentation Feedback
If you encounter any issues during use, feel free to leave a comment.