ESP32-S3-LCD-1.28 Working with Arduino
This chapter includes the following sections. Please read as needed:
Arduino Getting Started
New to Arduino ESP32 development and looking for a quick start? We have prepared a comprehensive Getting Started Tutorial for you.
- Section 0: Getting to Know ESP32
- Section 1: Installing and Configuring Arduino IDE
- Section 2: Arduino Basics
- Section 3: Digital Output/Input
- Section 4: Analog Input
- Section 5: Pulse Width Modulation (PWM)
- Section 6: Serial Communication (UART)
- Section 7: I2C Communication
- Section 8: SPI Communication
- Section 9: Wi-Fi Basics
- Section 10: Web Server
- Section 11: Bluetooth
- Section 12: LVGL GUI Development
- Section 13: Comprehensive Project
Note: This tutorial uses the ESP32-S3-Zero as a reference example, and all hardware code is based on its pinout. Before you start, we recommend checking the pinout of your development board to ensure the pin configuration is correct.
Setting Up the Development Environment
1. Installing and Configuring the Arduino IDE
Please refer to the tutorial Install and Configure Arduino IDE to download and install the Arduino IDE and add ESP32 support.
- ESP32-S3-LCD-1.28 Board Installation Requirements:
| Board Name | Board Installation Requirement | Version Requirement |
|---|---|---|
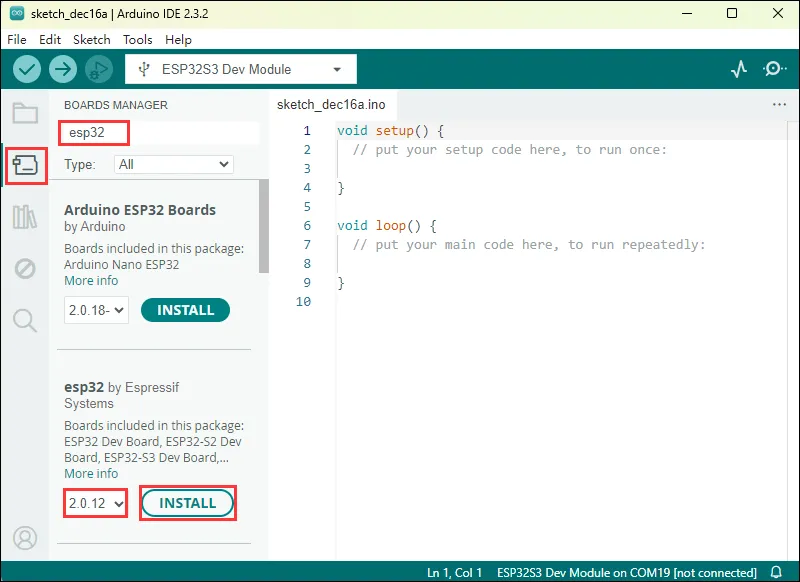
| esp32 by Espressif Systems | "Offline installation" / "Online installation" | 2.0.12 |
2. Installing Libraries
-
When installing Arduino libraries, there are typically two options: Online Installation and Offline Installation. If the library installation requires offline installation, you must use the provided library files.
-
For most libraries, you can easily search for and install them through the Arduino online Library Manager. However, some open-source or custom libraries are not synchronized to the Arduino Library Manager, so they cannot be found through online search. In this case, you can only install these libraries manually offline.
-
For a library installation tutorial, see the library installation section in the Install and Configure Arduino IDE.
-
The ESP32-S3-LCD-1.28 library files are stored in the example program. Click here to go to: ESP32-S3-LCD-1.28 Example Programs.
-
ESP32-S3-LCD-1.28 library installation instructions
Library Name Description Version Library Installation Requirement LVGL Graphics library v8.3.10 "Offline installation" TFT_eSPI LCD library v2.5.34 "Offline installation" TFT_eSPI_Setups Custom library -- "Offline installation"
Example

- ESP32-S3-LCD-1.28 Example
| Example | Basic Description | Dependency Library |
|---|---|---|
| ESP32-S3-LCD-1.28-Test | Tests onboard device functions | --- |
| LVGL_Arduino | Displays LVGL benchmark, music, etc. | LVGL, TFT_eSPI, TFT_eSPI_Setups |
| LVGL_Chinese_Font | Displays the 1000 common Chinese characters built into LVGL | LVGL, TFT_eSPI, TFT_eSPI_Setups |
| LVGL_Chinese_7500_Char | Displays the 7500 Chinese characters built into LVGL | LVGL, TFT_eSPI, TFT_eSPI_Setups |
Arduino Project Settings
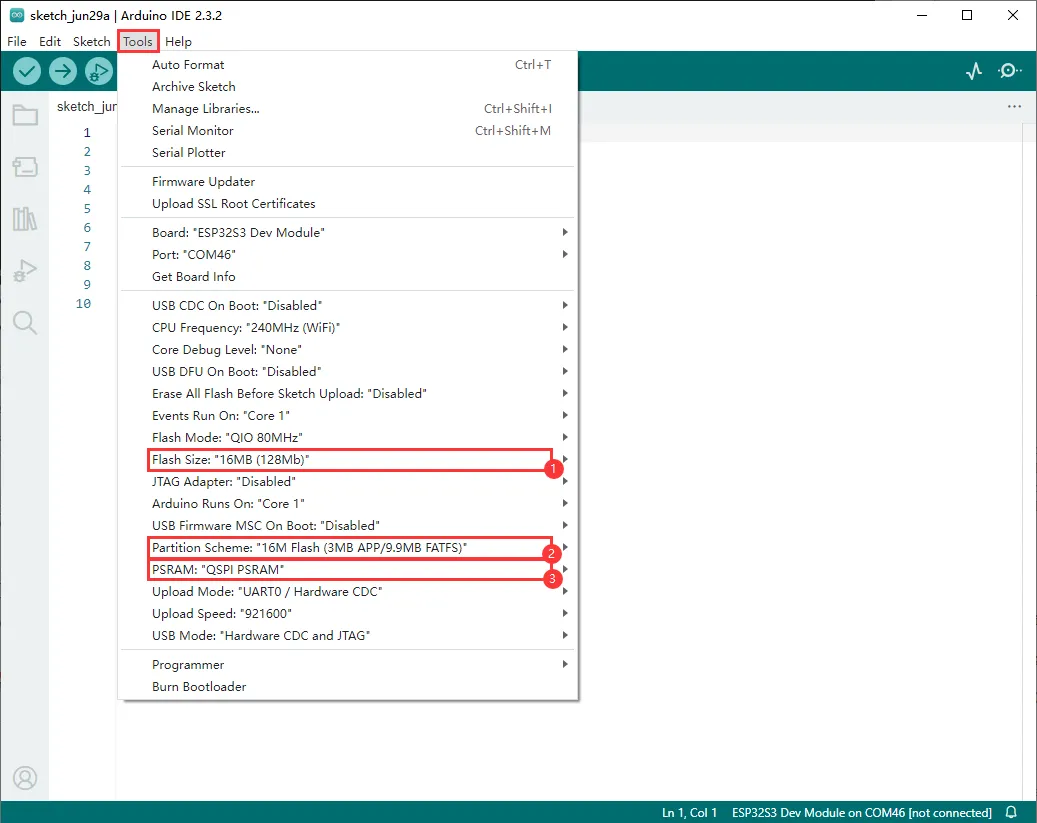
ESP32-S3-LCD-1.28-Test
Example Description
- This program is used to test the screen, six-axis sensor, and BAT.
Hardware Connection
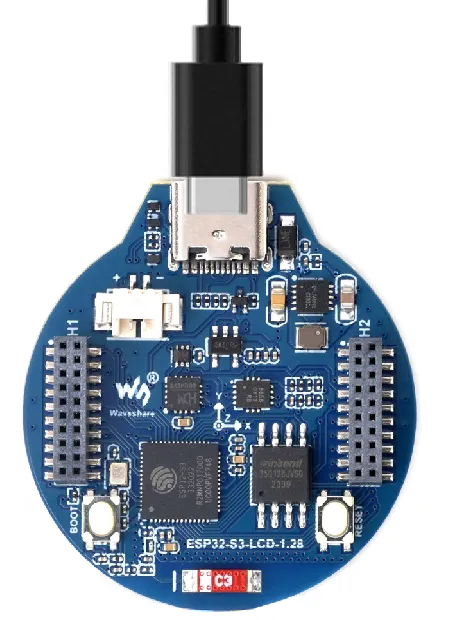
- Connect the development board to the computer.
Code Analysis
- setup()
- Initializes serial communication with a baud rate of 115200.
- Initializes external PSRAM (if available) and allocates memory for images.
- Initializes the LCD display, including setting horizontal display mode, clearing the screen to white, creating a new image buffer, and setting related parameters.
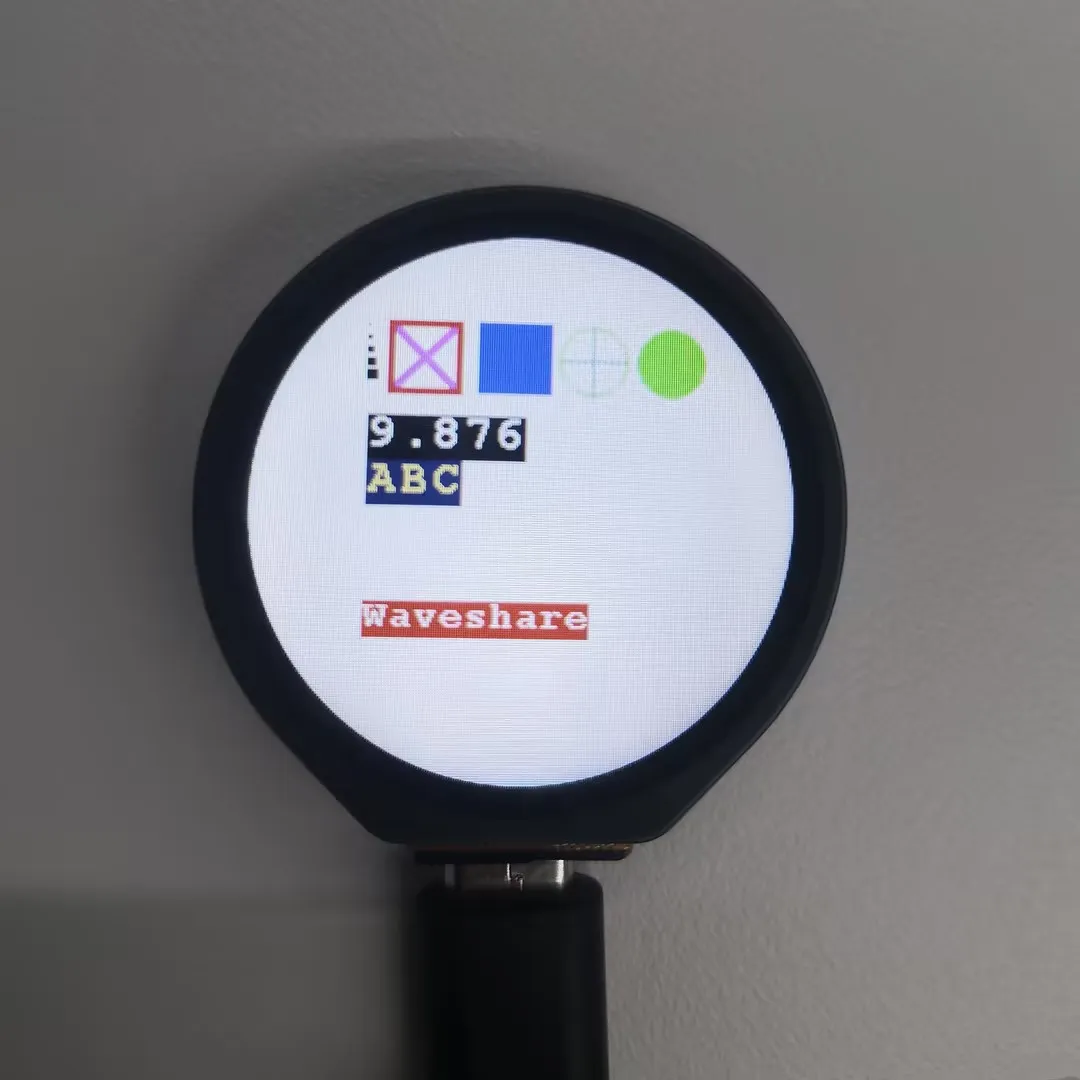
- Performs a series of drawing operations, including drawing points, lines, rectangles, circles, numbers, and strings, and displays the image on the LCD.
- Reads data from the QMI8658 sensor and displays it on the LCD. Each time, it first uses
Paint_Clear(WHITE)to clear the image buffer, then redraws the graphics and displays the sensor data and the voltage value converted by the ADC.
Expected Behavior
-
After power-on, the screen first displays white, red, green, and blue at 2-second intervals to check for light leakage and black spots. If the screen changes too quickly to see clearly, press the RESET button to restart.
-
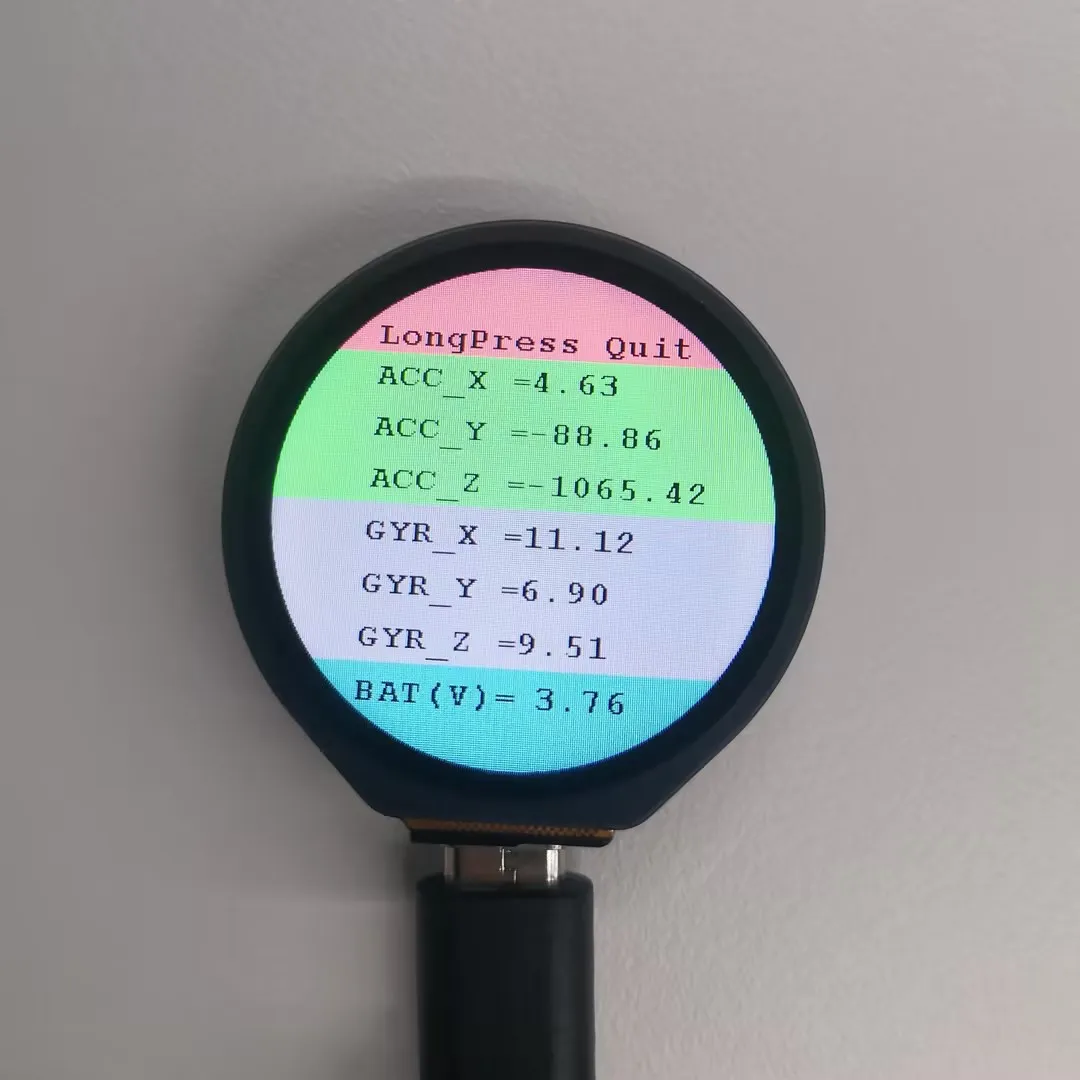
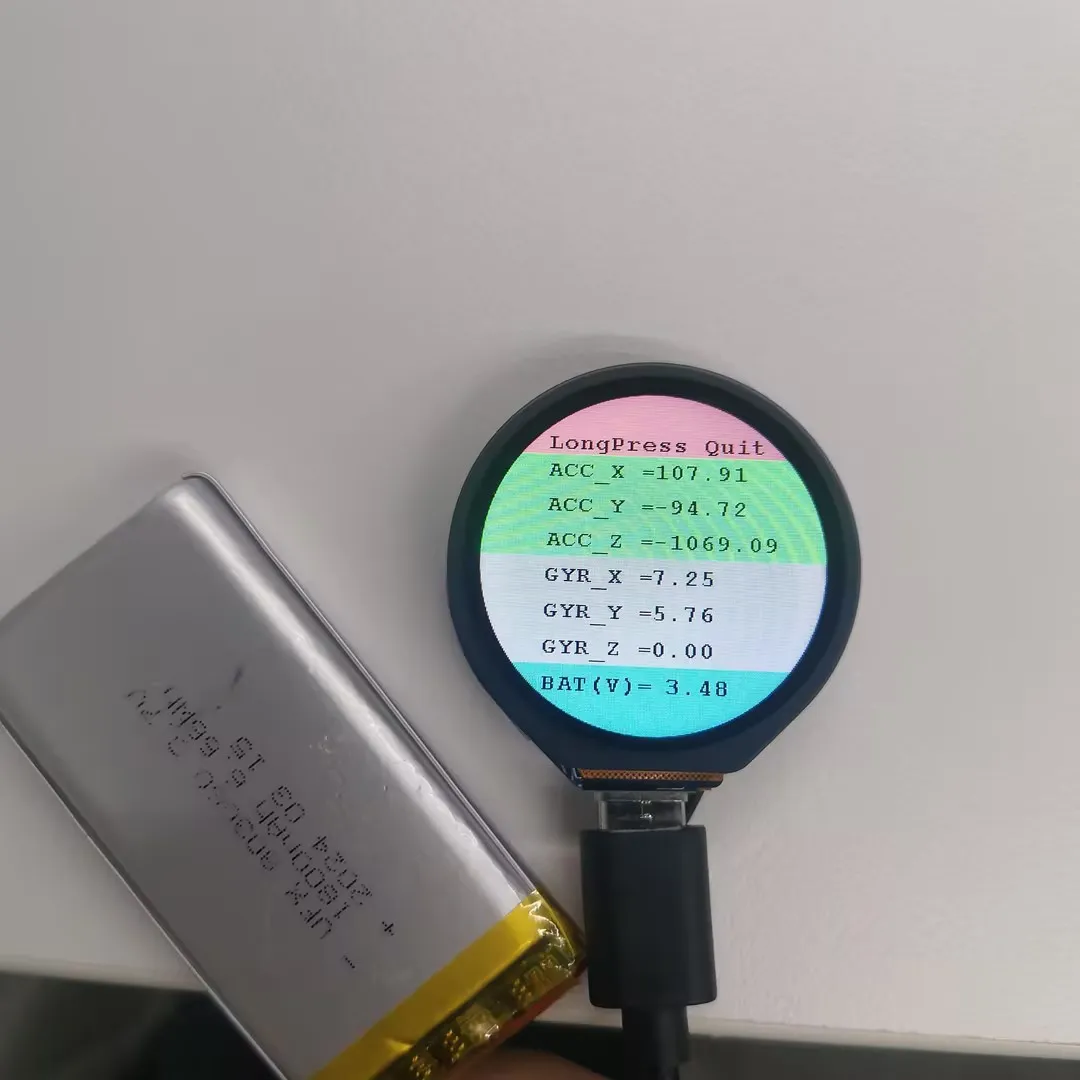
Then, the sensor test begins. After the color display, sensor data will be shown on the screen. The ACC_X, ACC_Y, and ACC_Z values change as the device's angle changes; the GYR_X, GYR_Y, and GYR_Z values change with the device's movement acceleration
-
At this point, connect a 3.7V lithium battery. Under normal conditions, the BAT (V) value will decrease.
-
You can directly flash the code. The LCD screen is shown in the figure.
-
If an error occurs, make sure the esp32 board version is 2.0.12.
LVGL_Arduino
Example Description
- The example is used to display LVGL benchmark, music, etc
Hardware Connection
- Connect the development board to the computer.
Code Analysis
-
void my_disp_flush(): Refreshes the image data from LVGL to the TFT display. It receives the LVGL display driver structure pointer, display area, and color data pointer as parameters.
- First, it calculates the width
wand heighthof the area to be freshed by taking the coordinate differences of the passed display area and adding 1. - Then it calls
tft.startWrite()to start writing data to the TFT display, and usestft.setAddrWindowto set the TFT display area to the area specified by the passedarea. - After that, it calls
tft.pushColorsto push the color data (the color data pointed to bycolor_pconverted touint16_ttype) to the TFT display for display, where the parameterw * hindicates the number of pixels to push, andtrueindicates the end-of-data-transfer operation after pushing is complete. - Finally, it calls
lv_disp_flush_ready(disp_drv)to notify LVGL that the refresh is complete, so that LVGL can perform subsequent operations.
- First, it calculates the width
-
setup(): Responsible for initializing serial communication, the LVGL library, the TFT display, and setting up the LVGL display driver, etc.
- First, it initializes serial communication with a baud rate of 115200, and prints the LVGL and Arduino version information.
- Initializes the LVGL library, initializes the TFT display, and sets it to horizontal display and flipped, initializes the LVGL display buffer and display driver, and registers the
my_disp_flushfunction as the LVGL refresh callback function. - Creates an LVGL image object and sets the image source to
test1_240_240_4. - Creates two timers, one for periodically increasing the LVGL time tick, and another for periodically executing the
example_increase_rebootfunction. - Finally, prints "Setup done" to indicate that setup is complete.
Expected Behavior


-
If an error occurs, make sure the esp32 board version is 2.0.12.
LVGL_Chinese_Font
Example Description
- This example is used to display the 1000 common Chinese characters built into LVGL.
Hardware Connection
- Connect the development board to the computer.
Code Analysis
- my_disp_flush()
- This function is the refresh callback function of the LVGL display driver.
- It calculates the width w and height h to be refreshed based on the passed display area parameter area.
- It calls the relevant functions of the TFT display
tft.startWrite(),tft.setAddrWindow(), andtft.pushColors()to write the color datacolor_pfrom LVGL to the specific area of the TFT display. - Finally, it calls
lv_disp_flush_ready()to notify LVGL that the refresh is complete.
Expected Behavior
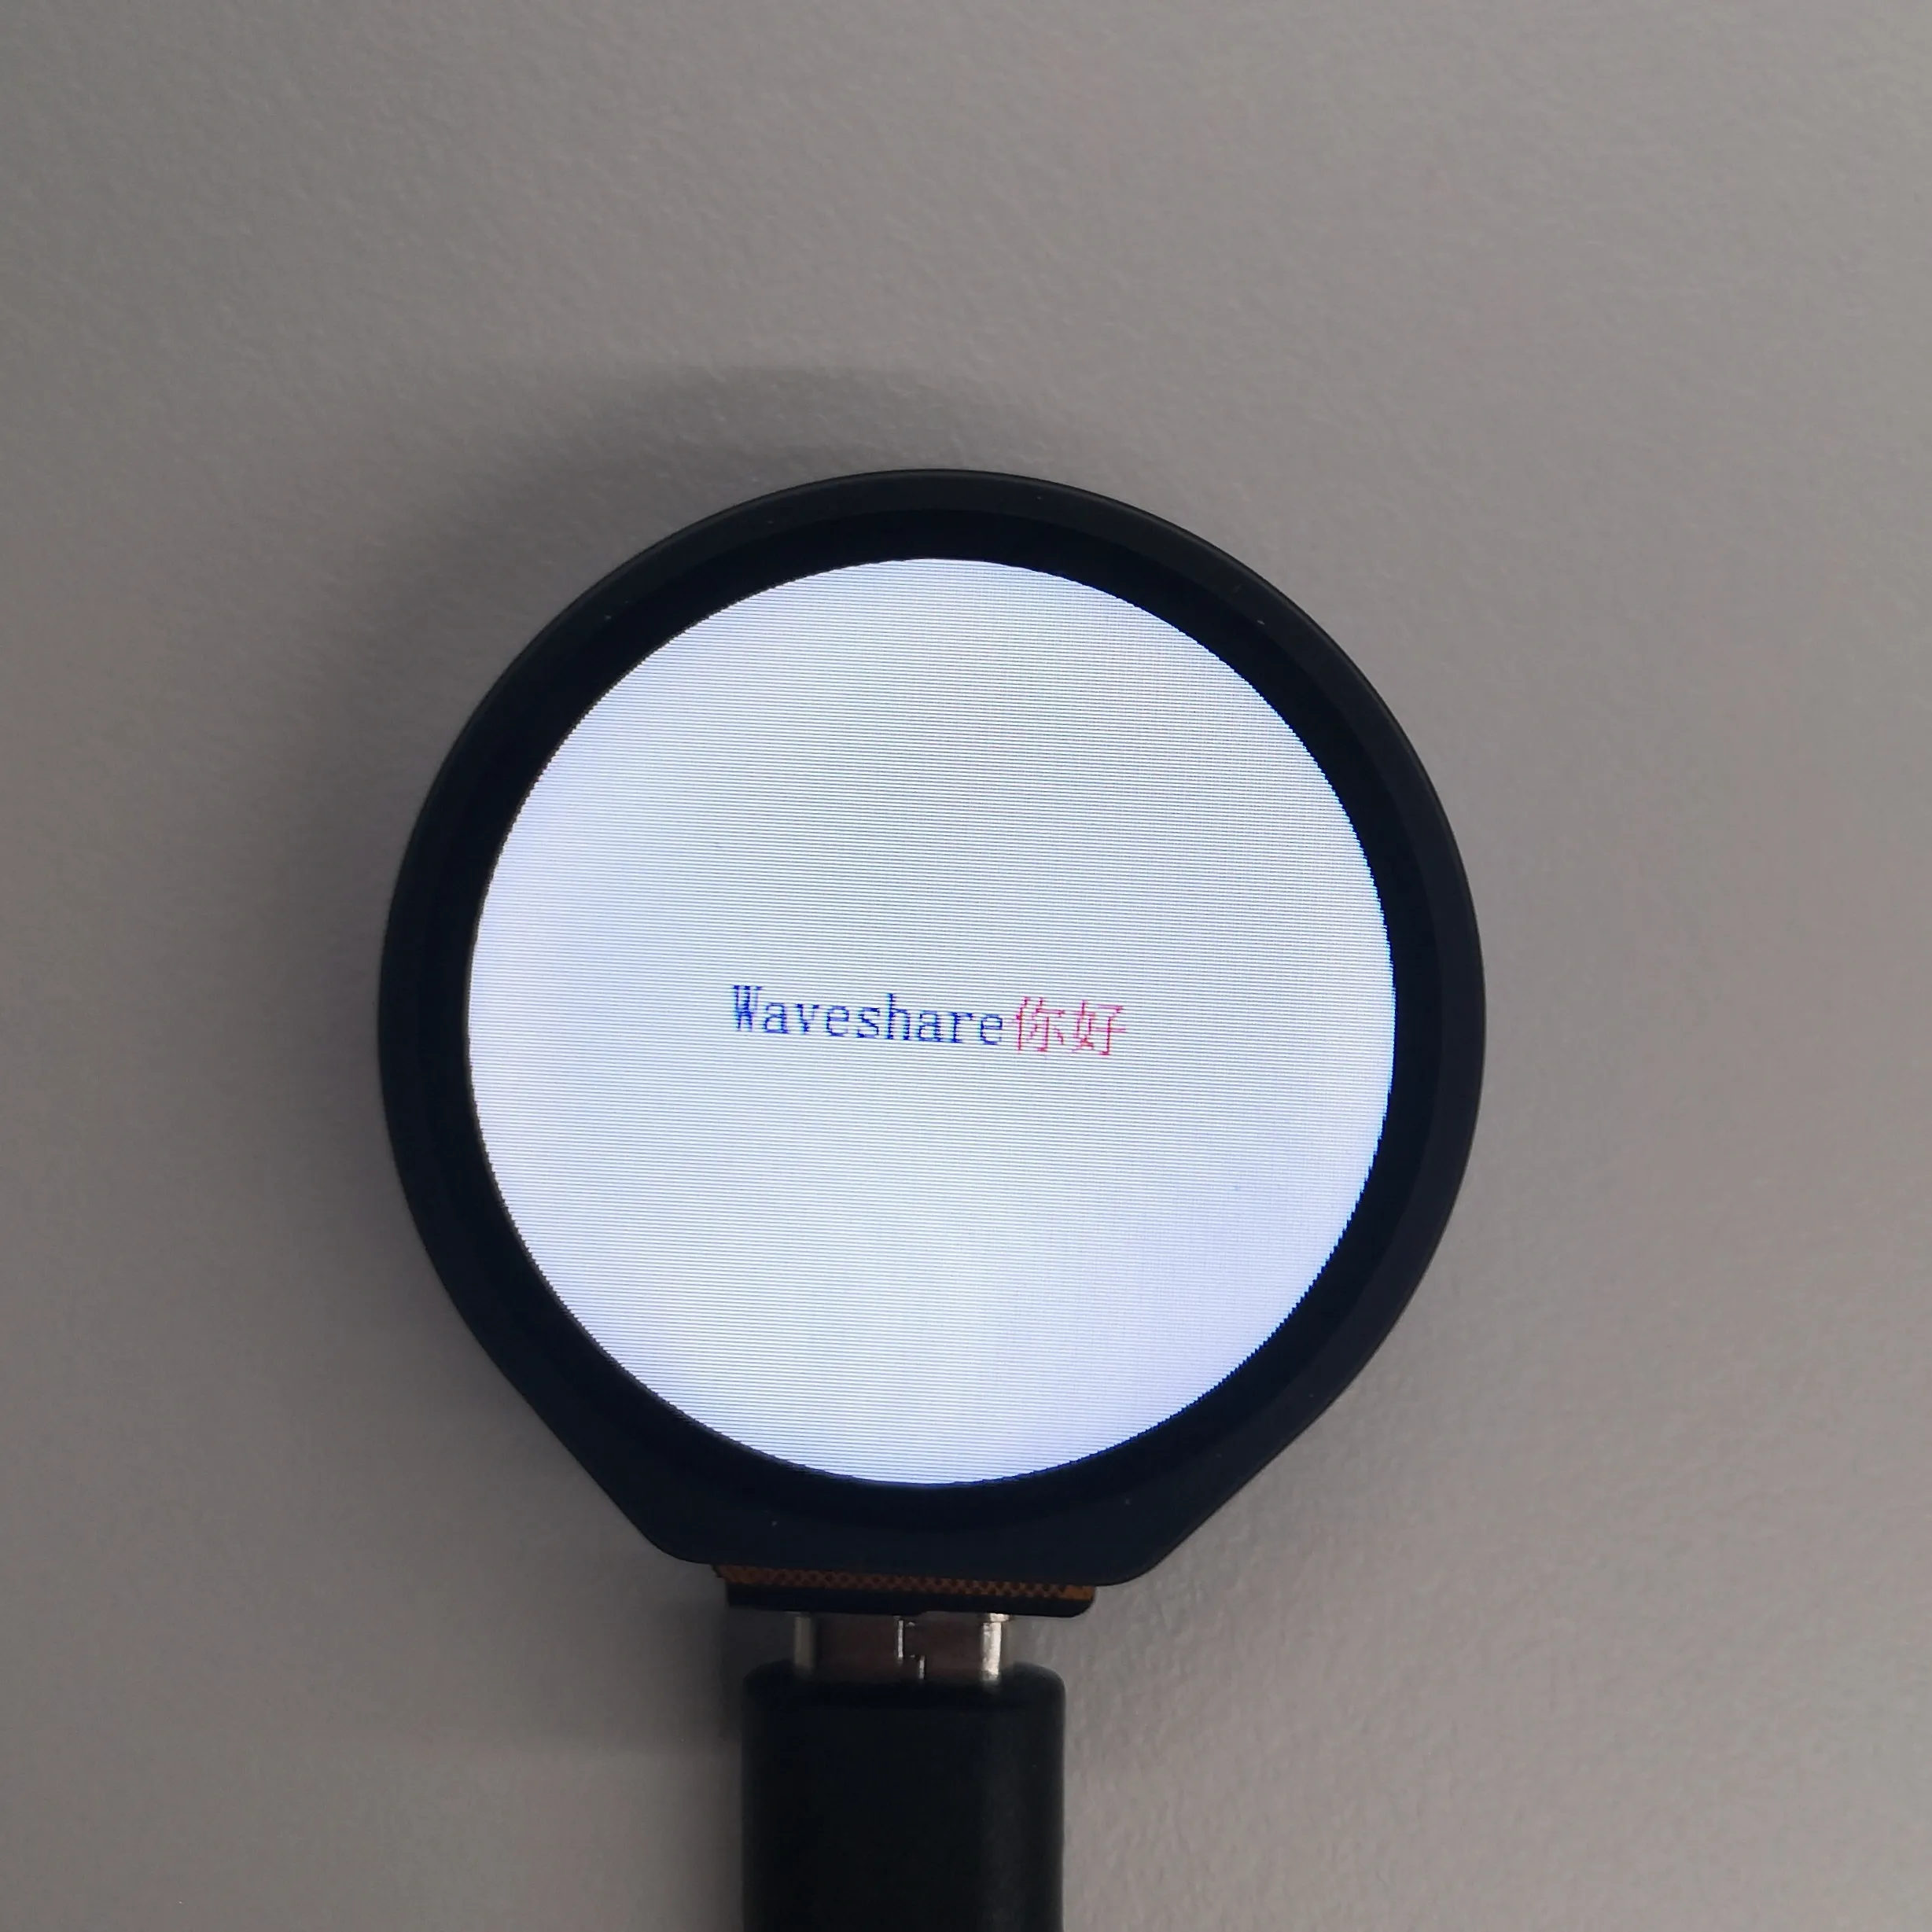
-
If an error occurs, make sure the esp32 board version is 2.0.12.
LVGL_Chinese_7500_Char
Example Description
- This example is used to display 7500 Chinese characters in LVGL. The font file is relatively large, so downloading the firmware takes a long time.
Hardware Connection
- Connect the development board to the computer.
Code Analysis
- setup()
- First, it enables serial communication with a baud rate of 115200, preparing for possible serial debugging.
- Initializes LVGL (Light and Versatile Graphics Library), including setting version information output and registering a log print callback function (if logging is enabled).
- Initializes the TFT display
tftand touch sensortouch, including setting the display rotation direction and possible touch calibration data. - Initializes the LVGL display buffer
draw_bufand display driverdisp_drv, sets the display resolution, refresh callback function, etc., and registers the display driver with LVGL. - Initializes the input device driver
indev_drv, sets it to pointer type and specifies the touch read callback function, then registers the input device driver. - Creates a label
label, sets the text font and text content (supports color redraw), and centers it on the screen. - Optionally calls LVGL example or demonstration functions to showcase different functional effects.
- loop()
- Calls the
lv_timer_handler()function to let the LVGL graphics library handle its internal timer tasks and events. - Uses the
delay(5)function to introduce a small delay, avoiding excessive CPU usage.
- Calls the
Expected Behavior
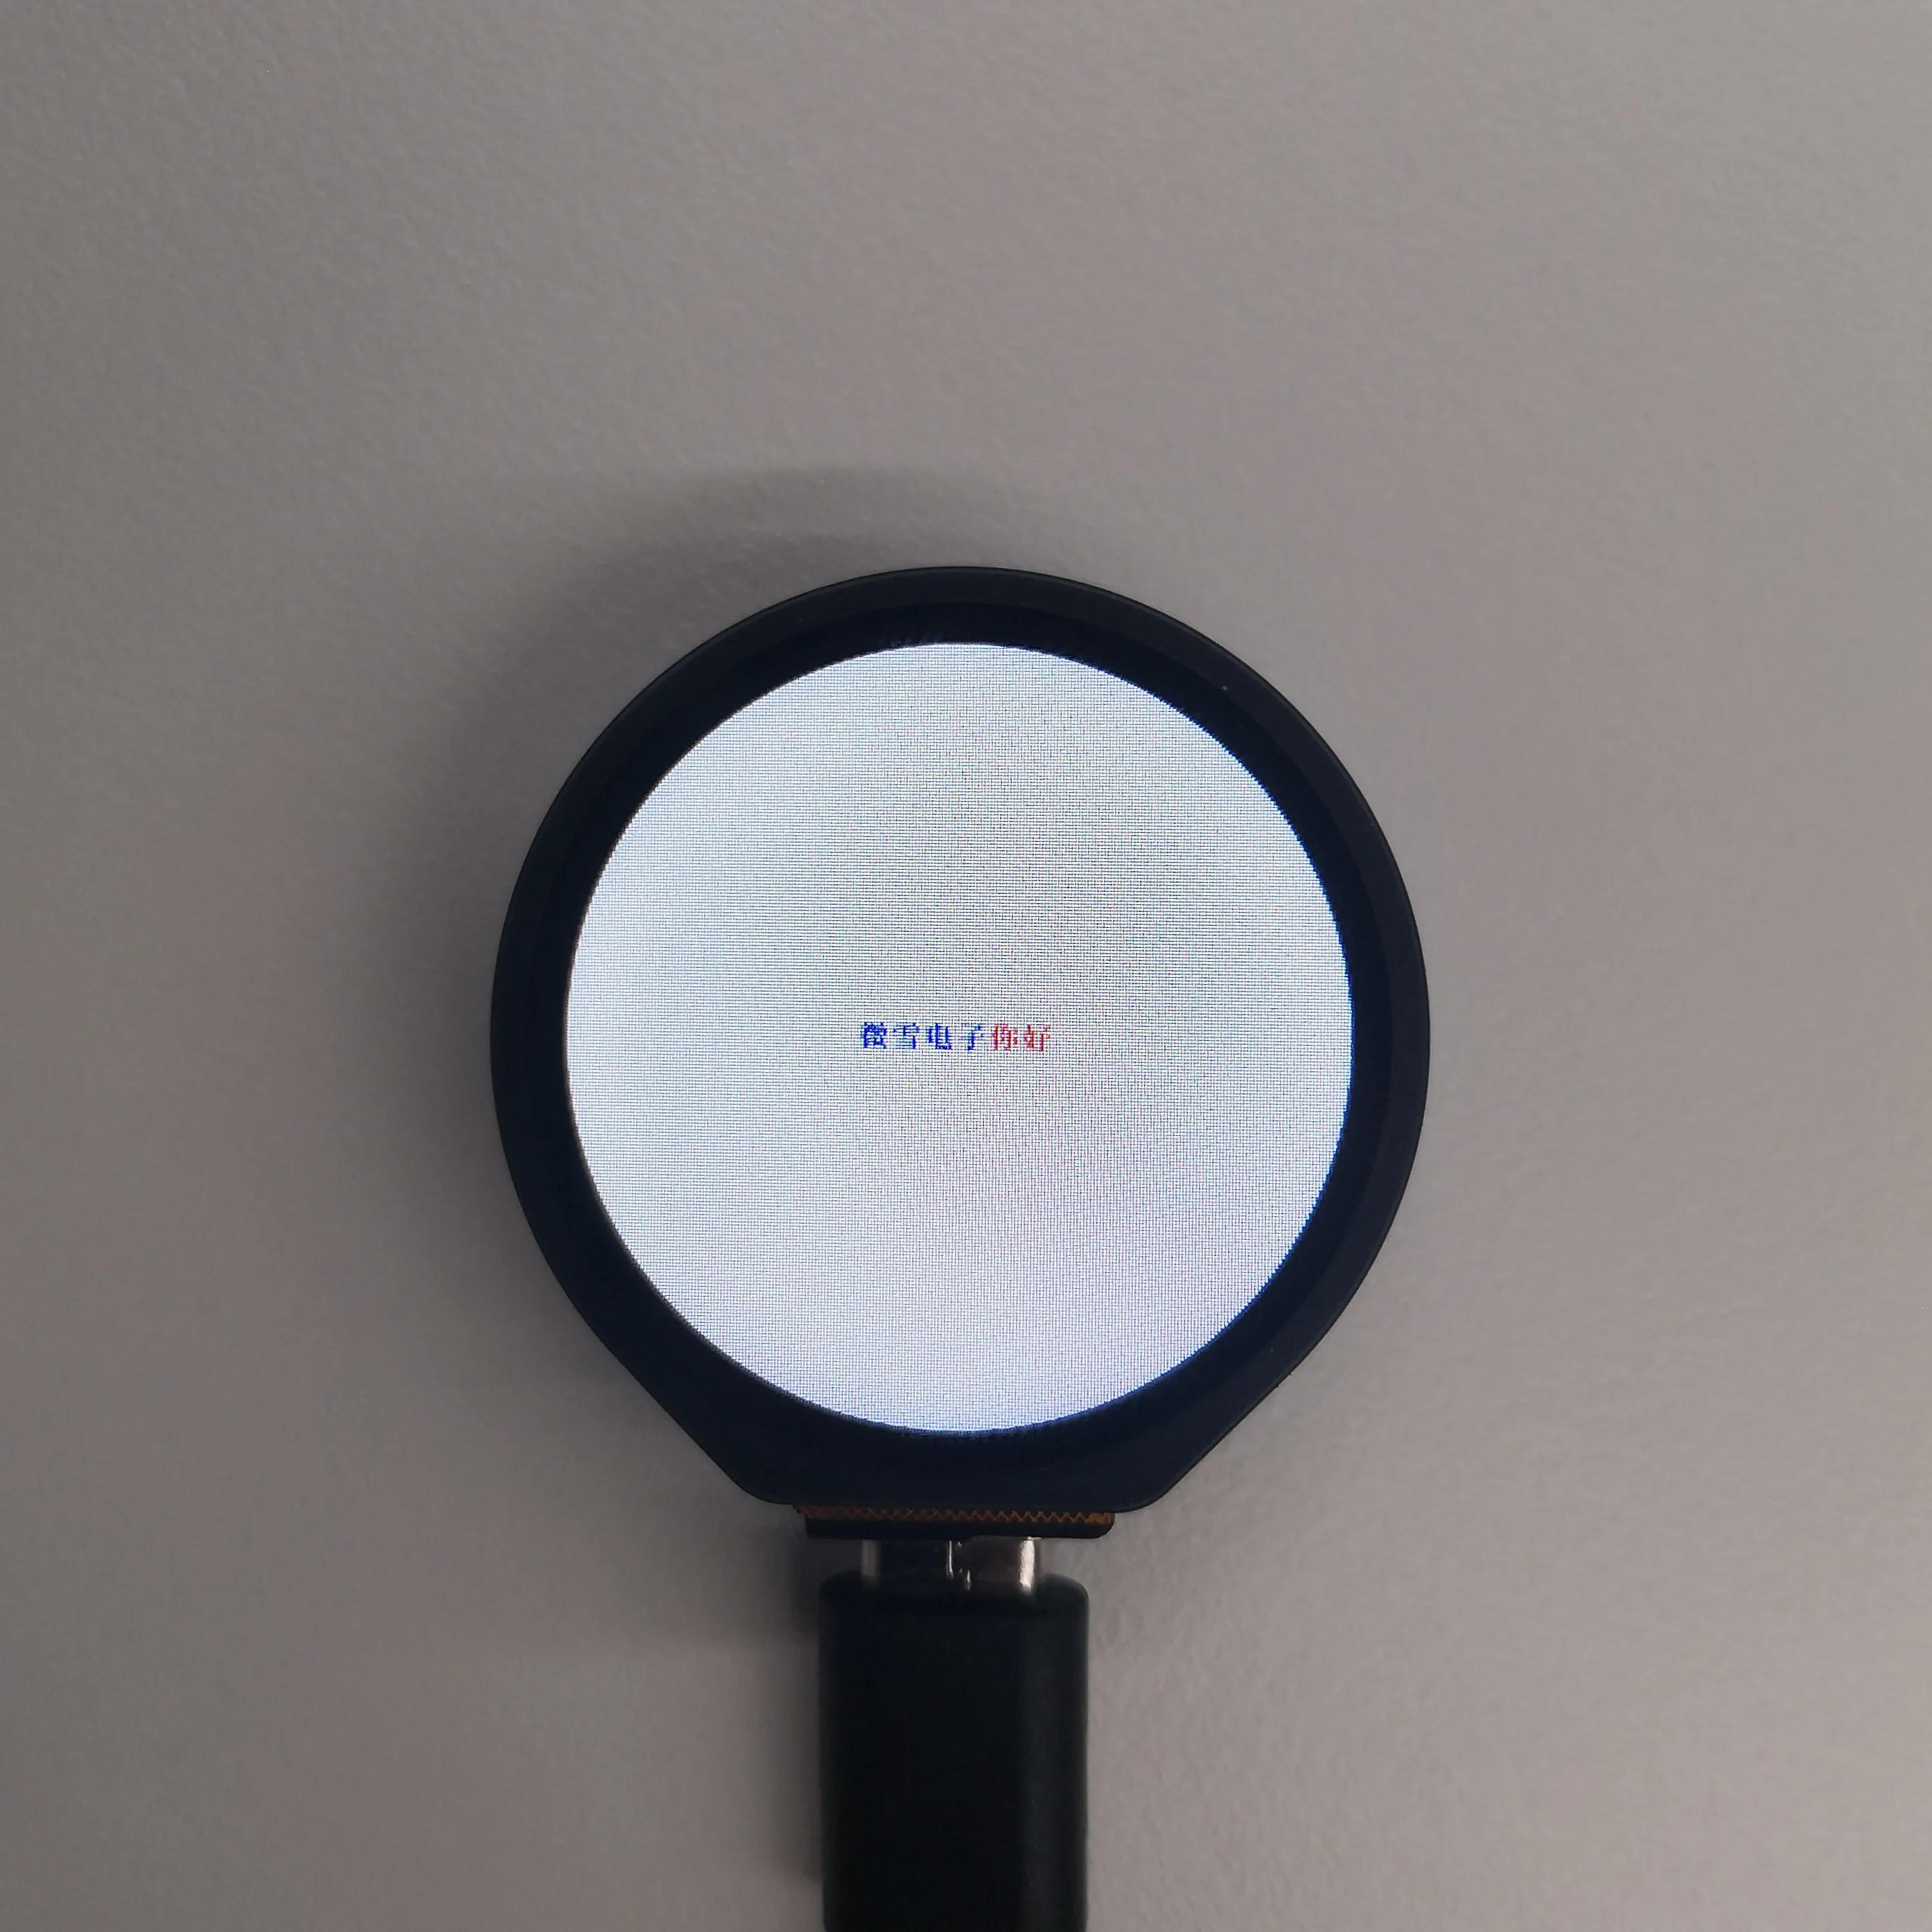
-
If an error occurs, make sure the esp32 board version is 2.0.12.