Working with Arduino
This chapter contains the following sections. Please read as needed:
Arduino Getting Started
New to Arduino ESP32 development and looking for a quick start? We have prepared a comprehensive Getting Started Tutorial for you.
- Section 0: Getting to Know ESP32
- Section 1: Installing and Configuring Arduino IDE
- Section 2: Arduino Basics
- Section 3: Digital Output/Input
- Section 4: Analog Input
- Section 5: Pulse Width Modulation (PWM)
- Section 6: Serial Communication (UART)
- Section 7: I2C Communication
- Section 8: SPI Communication
- Section 9: Wi-Fi Basics
- Section 10: Web Server
- Section 11: Bluetooth
- Section 12: LVGL GUI Development
- Section 13: Comprehensive Project
Note: This tutorial uses the ESP32-S3-Zero as a reference example, and all hardware code is based on its pinout. Before you start, we recommend checking the pinout of your development board to ensure the pin configuration is correct.
Setting Up Development Environment
1. Installing and Configuring Arduino IDE
Please refer to the tutorial Installing and Configuring Arduino IDE to download and install the Arduino IDE and add ESP32 support.
2. Installing Libraries
- When installing Arduino libraries, there are typically two methods: Install Online and Install Offline. If the library installation requires Install Offline, you must use the provided library file.
- For most libraries, users can easily search for and install them via the Arduino IDE's online Library Manager. However, some open-source or custom libraries are not synchronized to the Arduino Library Manager and therefore cannot be found through online search. In this case, users can only install these libraries manually via offline methods.
You can click this link to download the example package for the ESP32-S3-LCD-2.8 board from the
Arduinodirectory. TheArduino\librariesdirectory within this package contains all the necessary library files required for this tutorial.
| Library/File Name | Description | Version | Installation Method |
|---|---|---|---|
| LVGL | Graphics Library | v8.3.10 | "Install Offline" |
| ESP32-audioI2S-master | Audio Decoding Library | v2.0.0 | "Install Offline" |
There are strong dependencies between versions of LVGL and its driver libraries. For example, a driver written for LVGL v8 may not be compatible with LVGL v9. To ensure that the examples can be reproduced reliably, it is recommended to use the specific versions listed in the table above. Mixing different versions of libraries may lead to compilation failures or runtime errors.
Installation Steps:
-
Download the example package.
-
Copy all the folders (e.g., LVGL, ESP32-audioI2S-master) from its
Arduino\librariesdirectory to your Arduino libraries folder.infoThe path to the Arduino libraries folder is typically:
c:\Users\<username>\Documents\Arduino\libraries.You can also locate it in the Arduino IDE by going to File > Preferences and checking the "Sketchbook location". The libraries folder is the
librariessubfolder within this path. -
For other installation methods, please refer to: Arduino Library Management Tutorial.
Required Board Installation Instructions for ESP32-S3-LCD-2.8
| Board Name | Installation Requirement | Version Requirement |
|---|---|---|
| ESP32 by Espressif Systems | "Install Offline" / "Install Online” | ≥3.0.0 |
Example
The Arduino examples are located in the Arduino directory of the example package.
01_LVGL_Arduino
Example Description
- This example demonstrates how to integrate the LVGL graphics library on an embedded device. By coordinating hardware initialization and graphics library initialization, a complete graphical interface runtime environment is built. Continuously calling the LVGL core loop ensures that the graphical interface responds to user interactions and refreshes system status in real time while properly managing CPU resource usage.
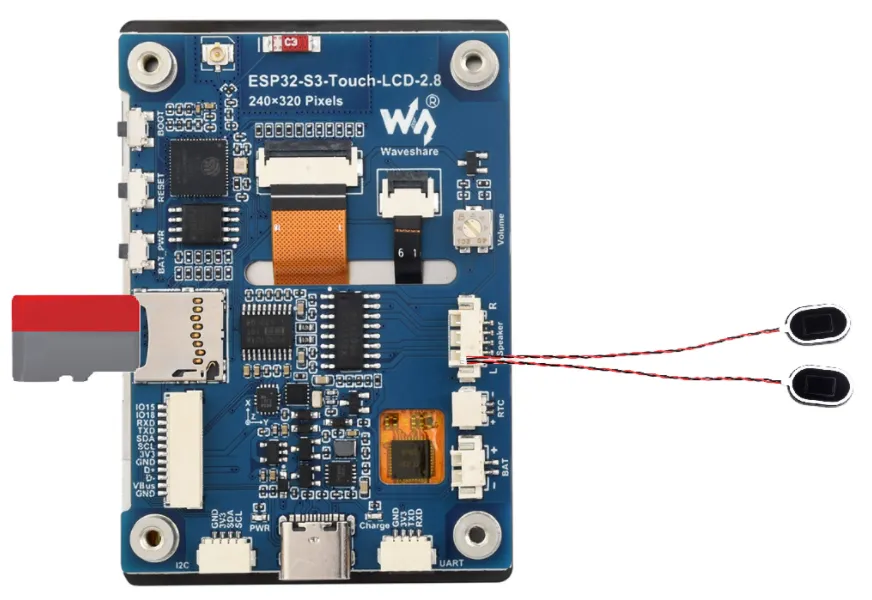
Hardware Connection
- Insert the TF card into the development board
- Connect the board to the computer
Code Analysis
-
setup():- Initializes multiple hardware modules, including flash test, power, battery, I2C bus, real-time clock, gyroscope, backlight, TF card, audio, and display. This ensures that each hardware component works properly and provides necessary functional support for the system.
- Initializes LVGL to prepare for graphical interface display and interaction.
- Optionally calls different LVGL examples or specific functions to demonstrate various graphical effects and interaction methods.
-
loop():- Continuously calls
Lvgl_Loopto ensure that the LVGL graphical interface is constantly updated, responds to user interactions, and reflects system status changes. - Adds a short delay to avoid excessive CPU usage while allowing the system time to process other tasks or wait for external events.
- Continuously calls
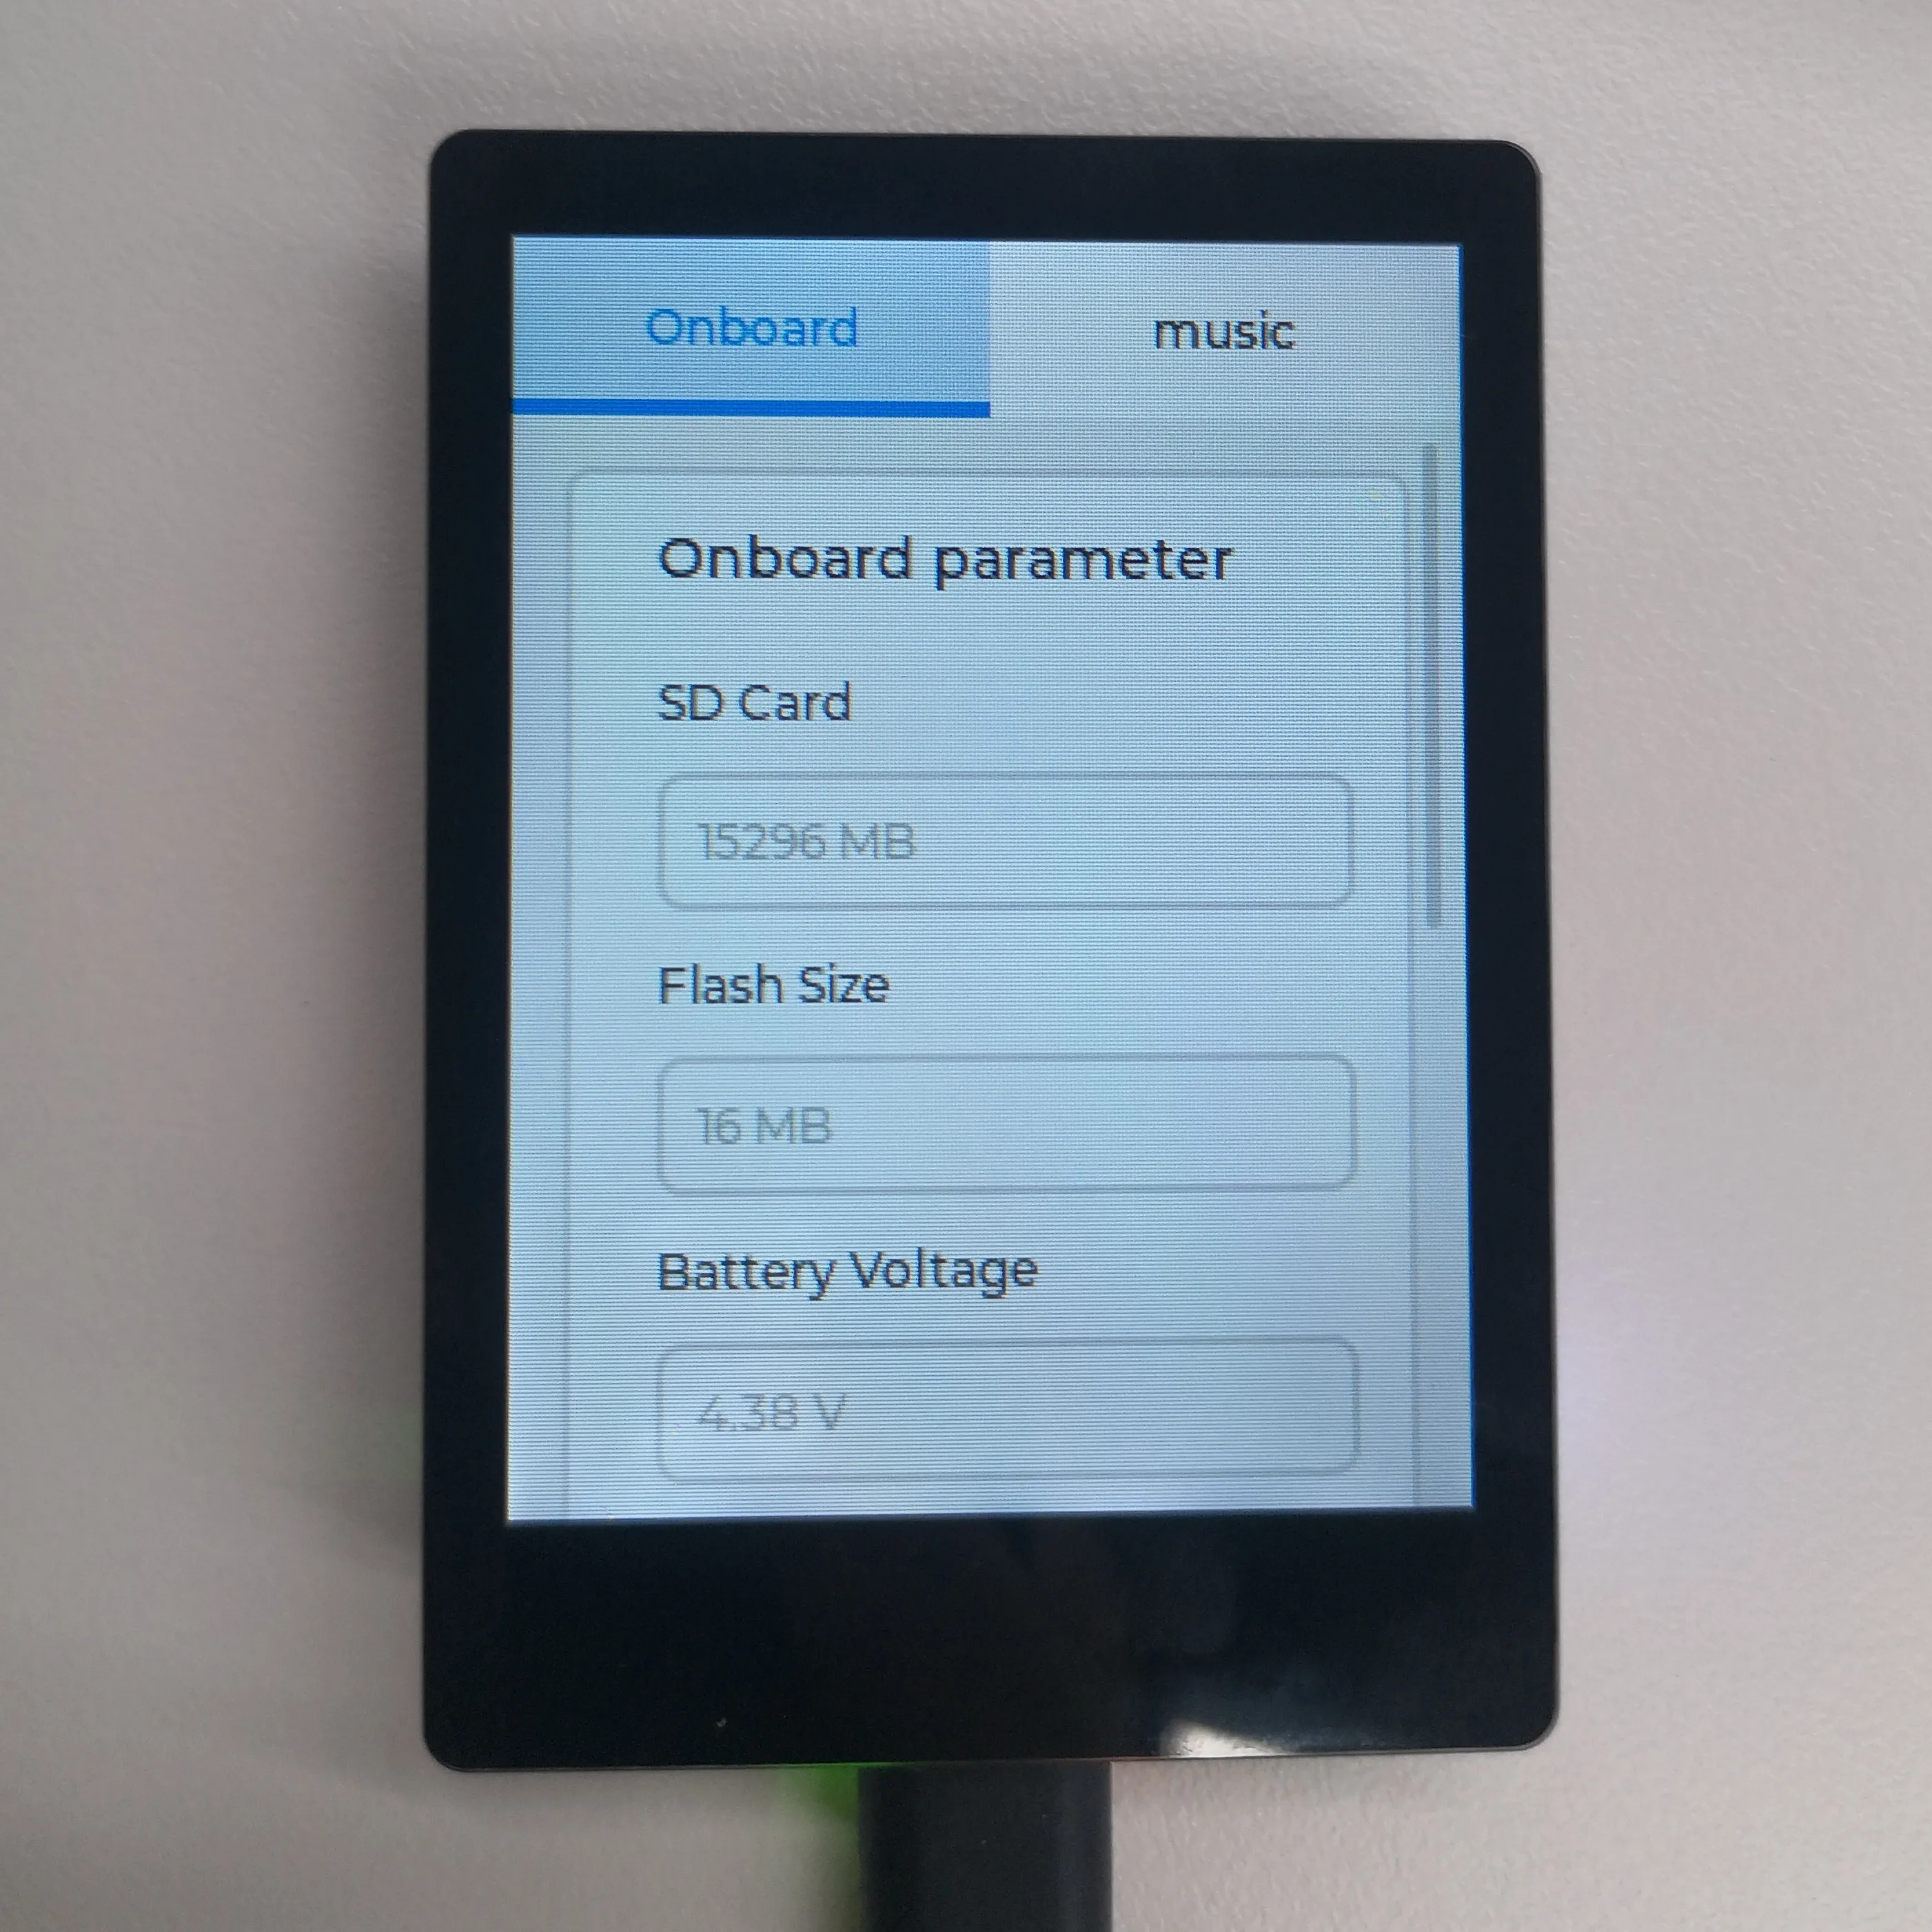
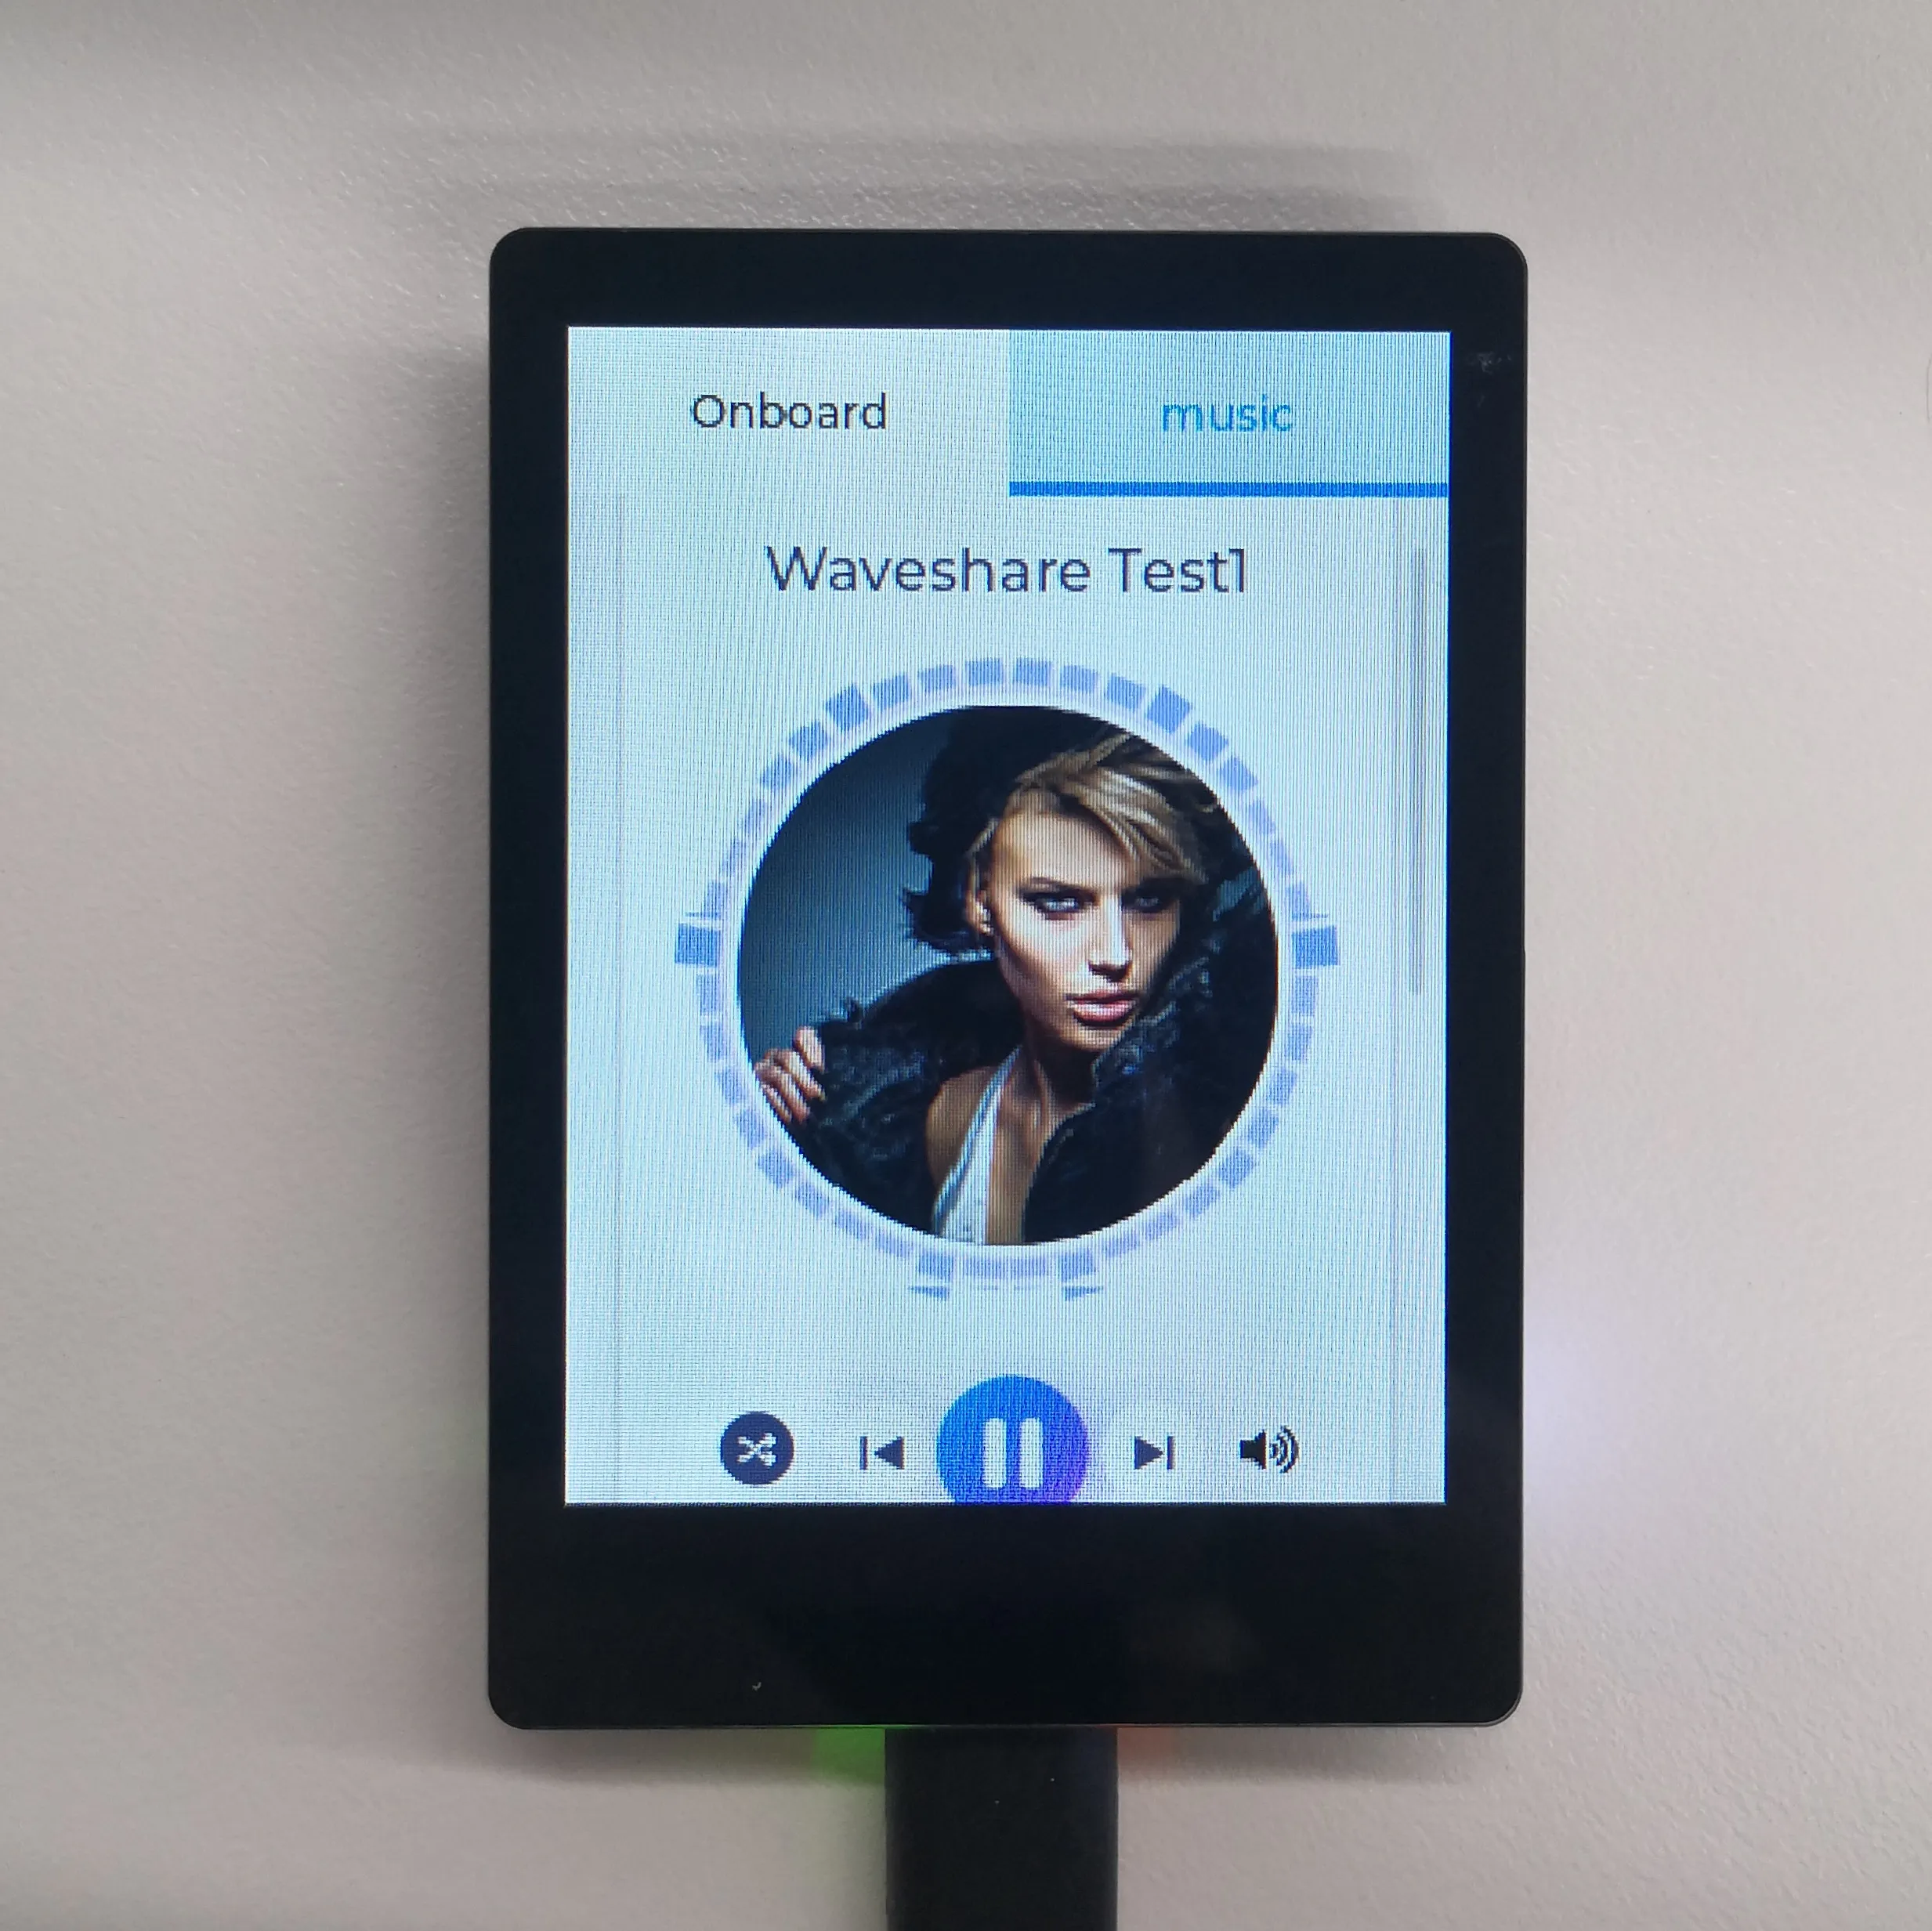
Operation Result
- LCD screen display:
 |  |
|---|
- Parameter description:
| Parameter | Function | Description |
|---|---|---|
| SD Card | Displays the TF card size | Connect a TF card. If recognition fails, please format the TF card to FAT32 (if initial recognition fails, wait a moment and then reset to check again) |
| Flash Size | Displays the Flash size | Onboard 16MB Flash |
| Battery Voltage | Battery voltage | Battery voltage can be detected when a battery is connected |
| Angular deflection | Displays the board's angular deviation | Displays deviation in three directions |
| RTC Time | Displays RTC time | The RTC time may not match the current time because data cannot be retained when power is off. To keep the RTC time accurate, you need to connect an RTC battery and update the RTC time |
| Wireless scan | Displays the number of Wi-Fi networks scanned | Scan ends with "Scan Finish" at the end |
| Backlight brightness | Brightness slider | Adjusts screen brightness |