User Guide
To help users quickly understand the various functions of the product, we provide a series of test examples to familiarize customers with the use of each interface. In addition to the ESP32-S3-LCD-Driver-Board main unit and its included cables, the following components are required to run the examples:
Component Preparation
- ESP32-S3-LCD-Driver-Board ×1
- Waveshare display models currently supported by the example programs
Model Size Display Driver Touch Driver 1.28inch Touch LCD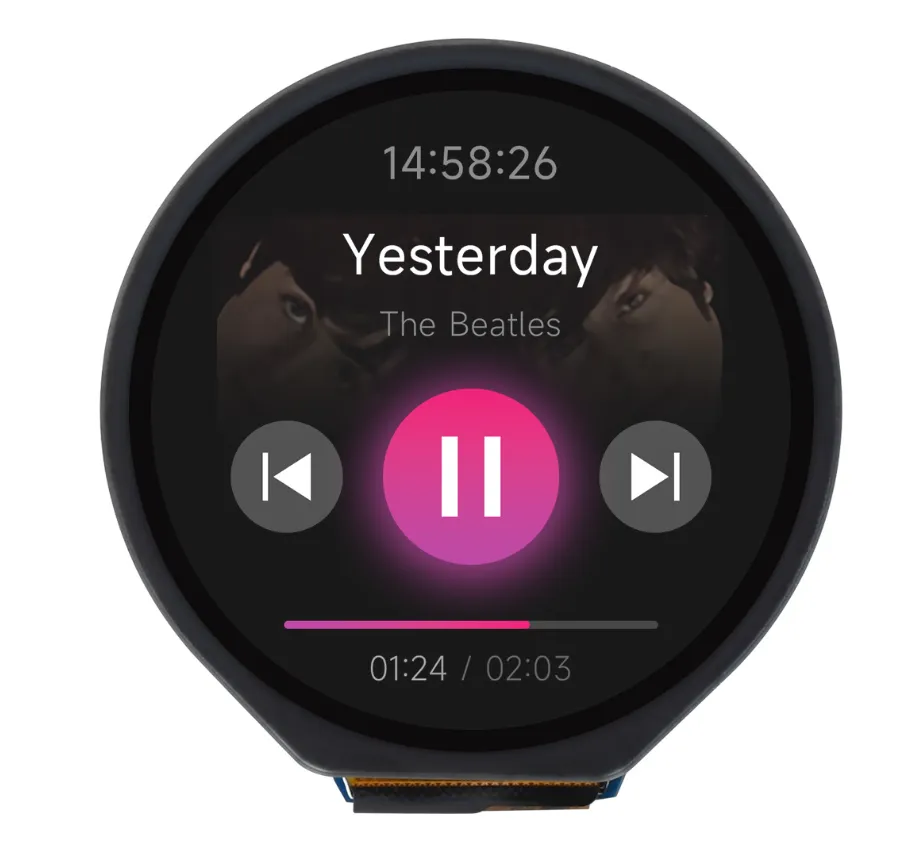
240×240 GC9A01 CST816 1.69inch Touch LCD Module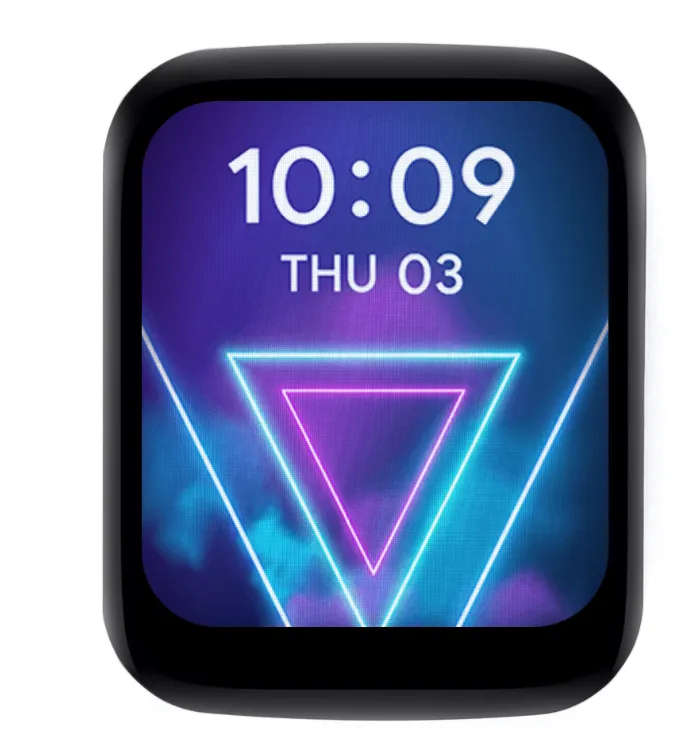
240×280 ST7789 CST816T 1.83inch Touch LCD Module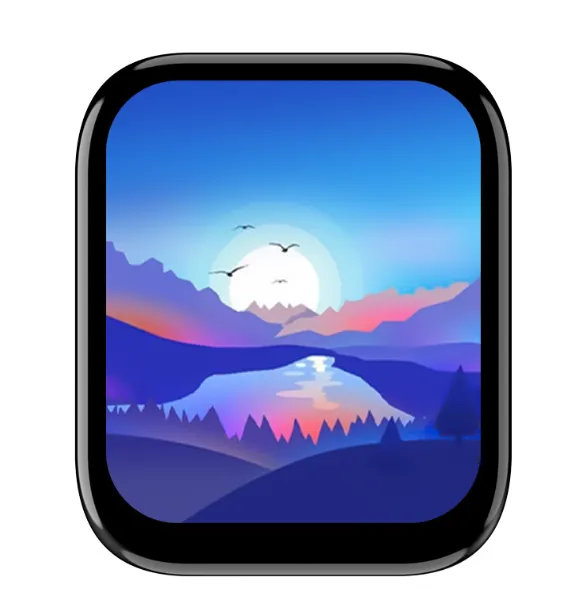
240×284 ST7789 CST816S 1.9inch Touch LCD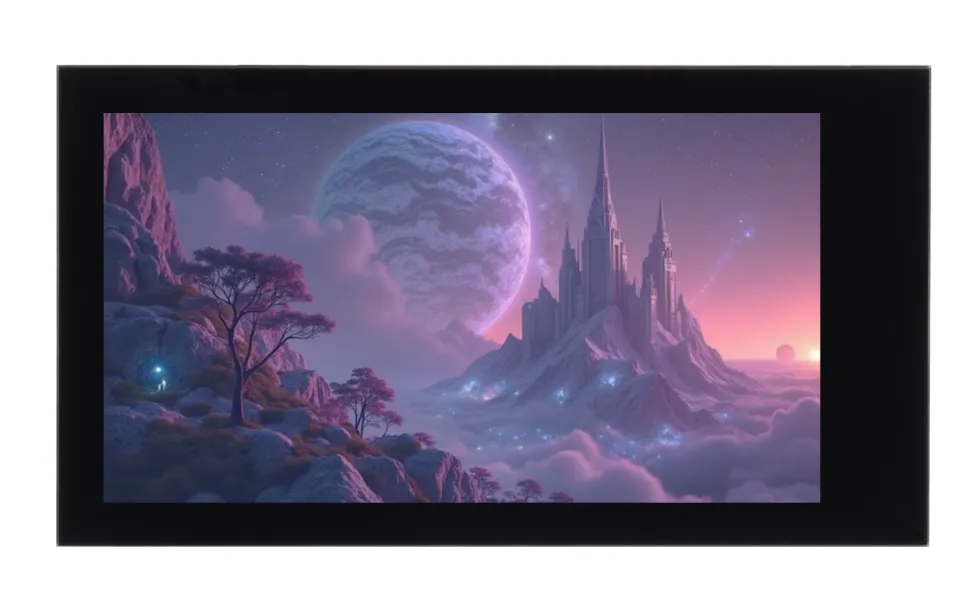
170×320 ST7789 CST816S 2inch Capacitive Touch LCD
240×320 ST7789 CST816S 2.8inch Capacitive Touch LCD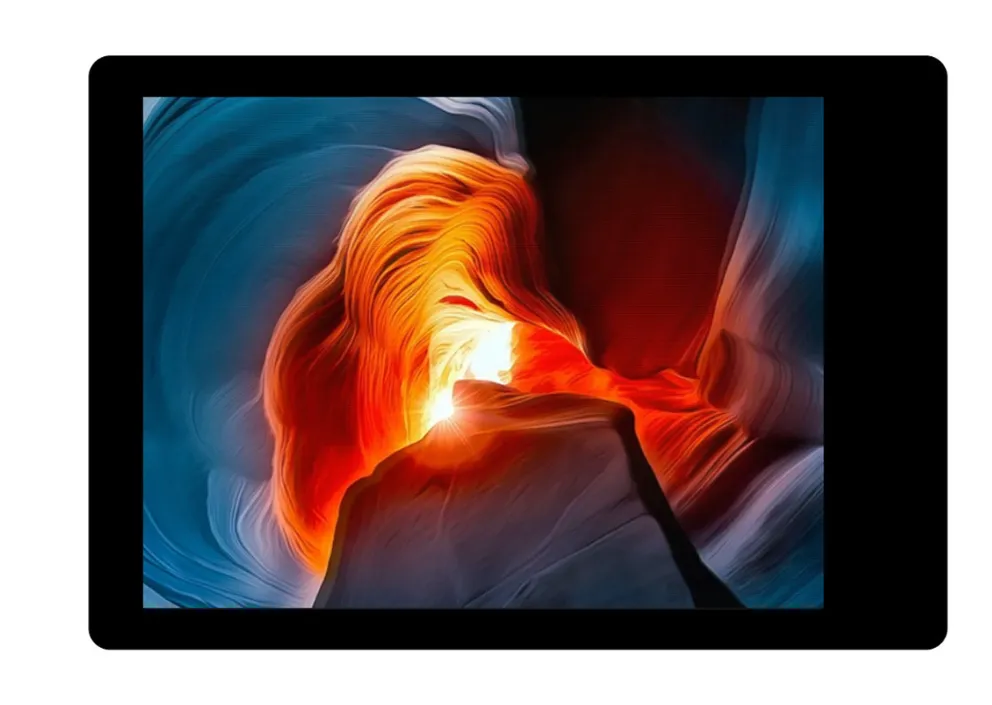
240×320 ST7789 CST328 3.5inch Capacitive Touch LCD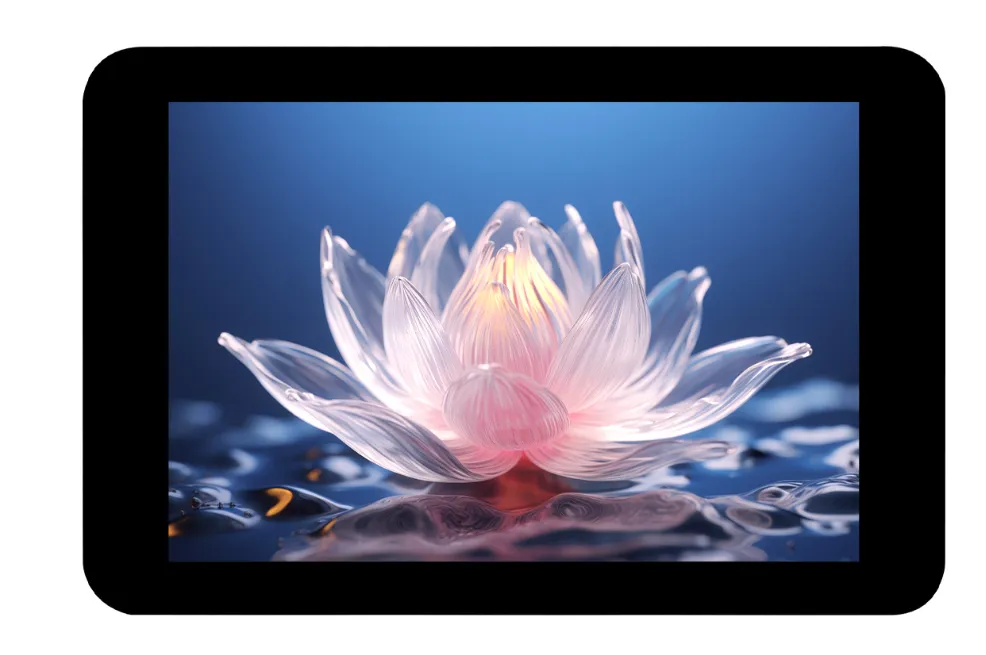
320×480 ST7796S FT6336U 3.5inch RPi LCD (F)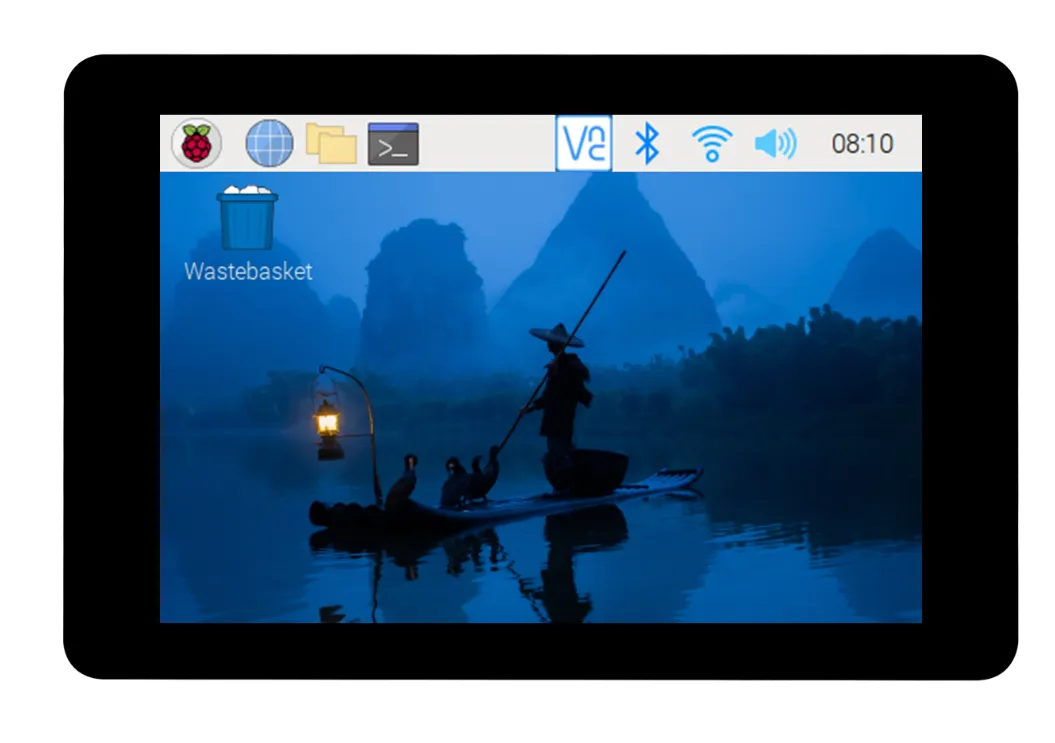
320×480 ST7796S GT911
Precautions
- The GH1.25 lithium battery connector supports only a single 3.7 V lithium battery. Do not connect multiple battery packs simultaneously for charging/discharging. It is recommended to use a single cell with a capacity of below 2000 mAh.
⚠️ USB Download Precautions (Important)
If the port is not recognized, please enter Boot mode:
- Press and hold the BOOT button
- Connect the USB cable to the computer
- Release the BOOT button
After the download is complete, power cycle the board to run the program.
Board Package Screen Configuration Method
1. menuconfig Configuration Method
-
Refer to the ESP-IDF Environment Setup Tutorial to configure the development environment.
tipWhen setting the target device, ESP-IDF will automatically configure the corresponding toolchain and libraries. This process may take some time, please be patient. For more details, please refer to the Official Documentation.
-
Click
 to open the ESP-IDF terminal, run the
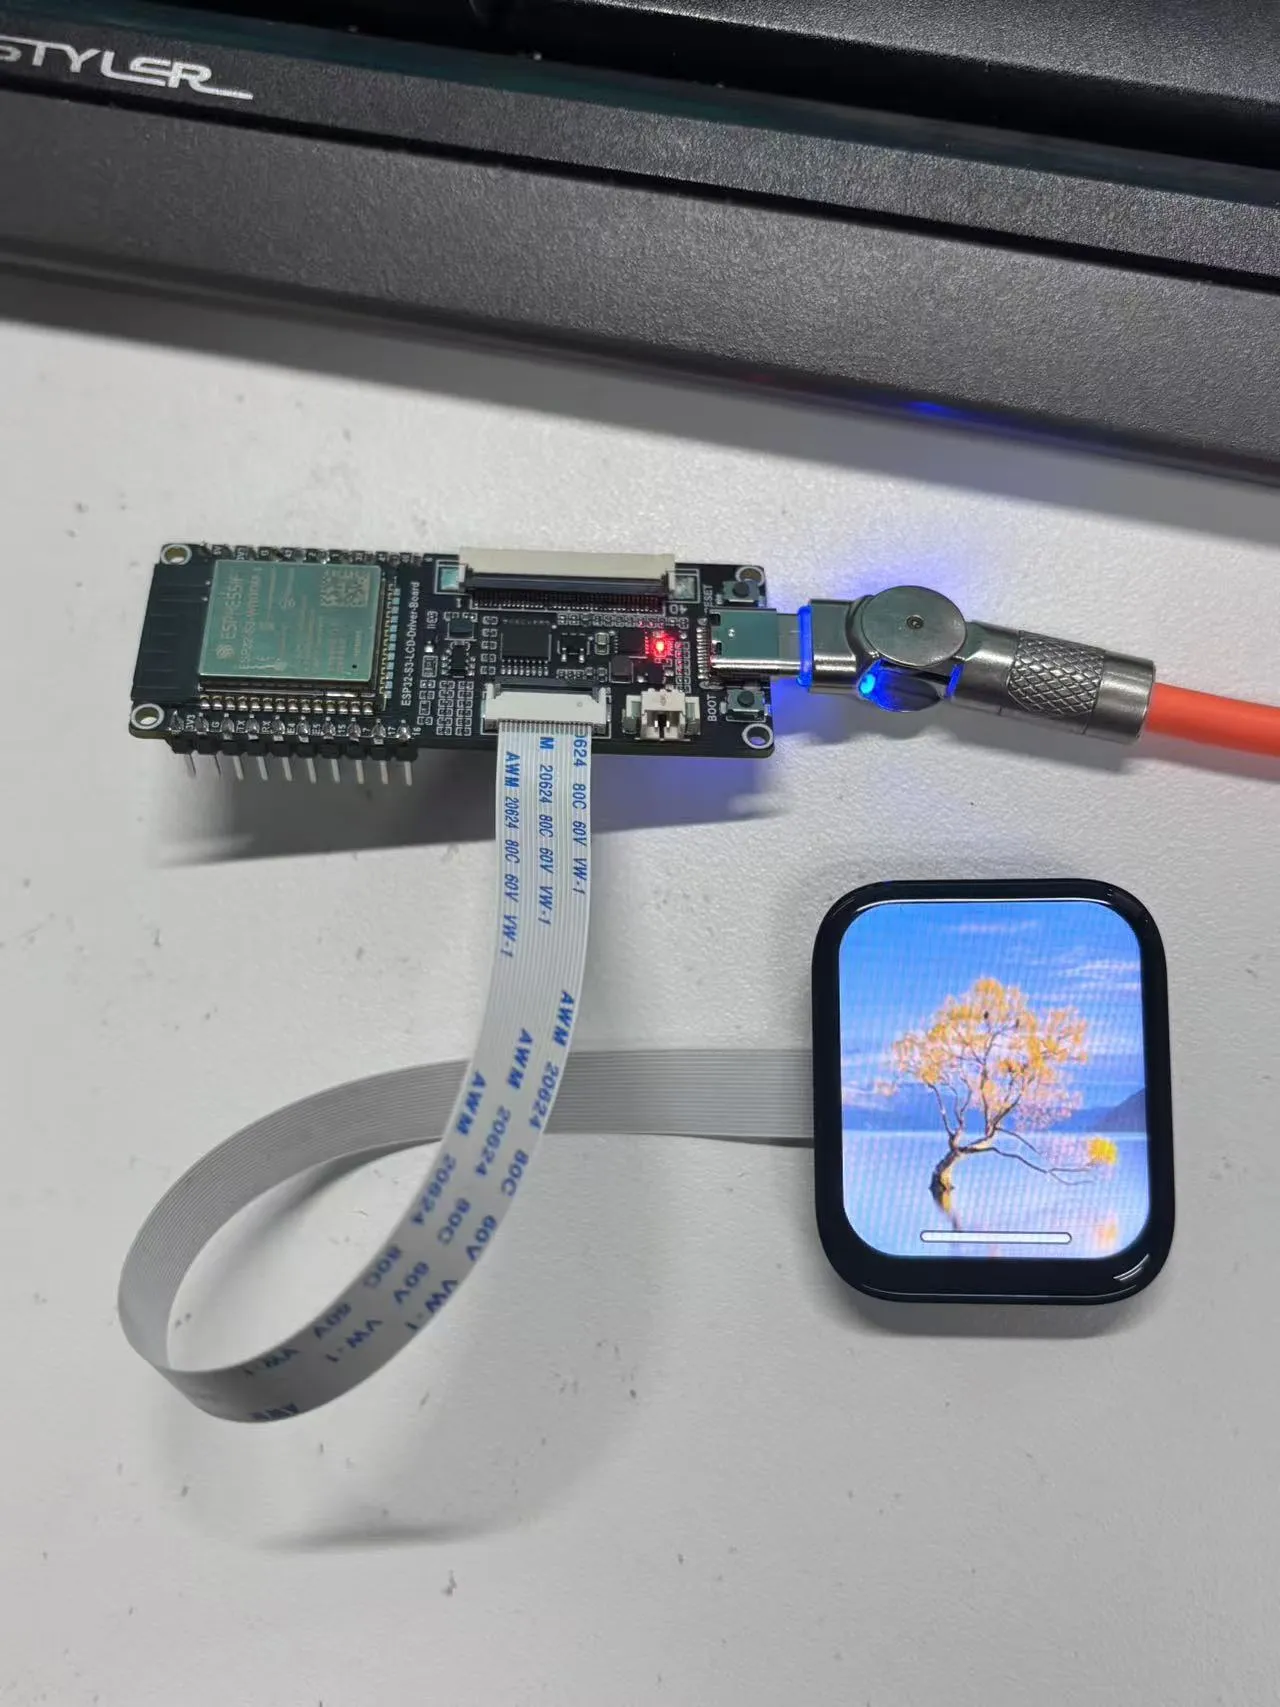
 idf.py menuconfigcommand to enter the configuration interface, type /, and globally search for LCD screen type:
-
Select LCD screen type to choose the screen type:
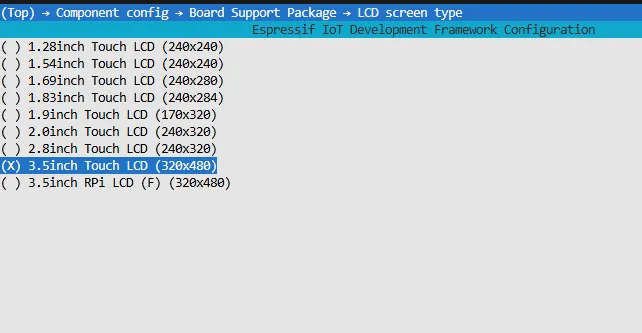
-
Press S to save the configuration and exit, then click
 .
.
2. SDK Configuration Method
-
Refer to the ESP-IDF Environment Setup Tutorial to configure the development environment.
tipWhen setting the target device, ESP-IDF will automatically configure the corresponding toolchain and libraries. This process may take some time, please be patient. For more details, please refer to the Official Documentation.
-
Open the SDK terminal:

-
Globally search for LCD screen type, select the corresponding screen type under Board Support Package, click Save and exit the configuration interface:
-
Finally, click
.
Firmware Download
The example programs are located in the Firmware directory of the example package
Example Introduction
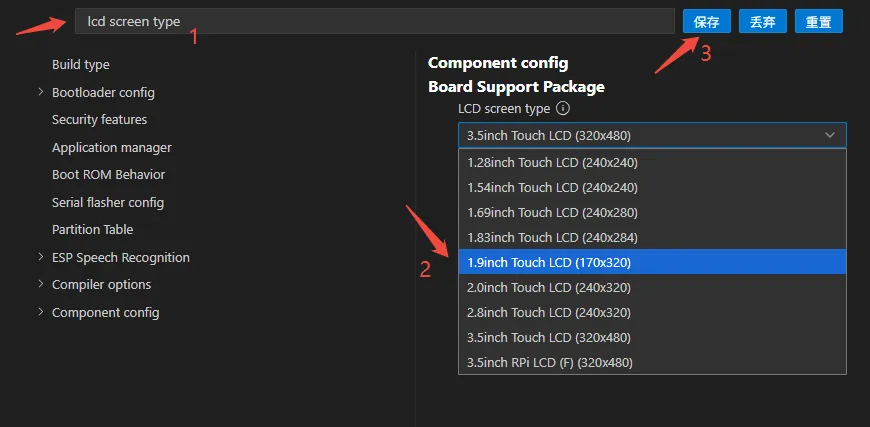
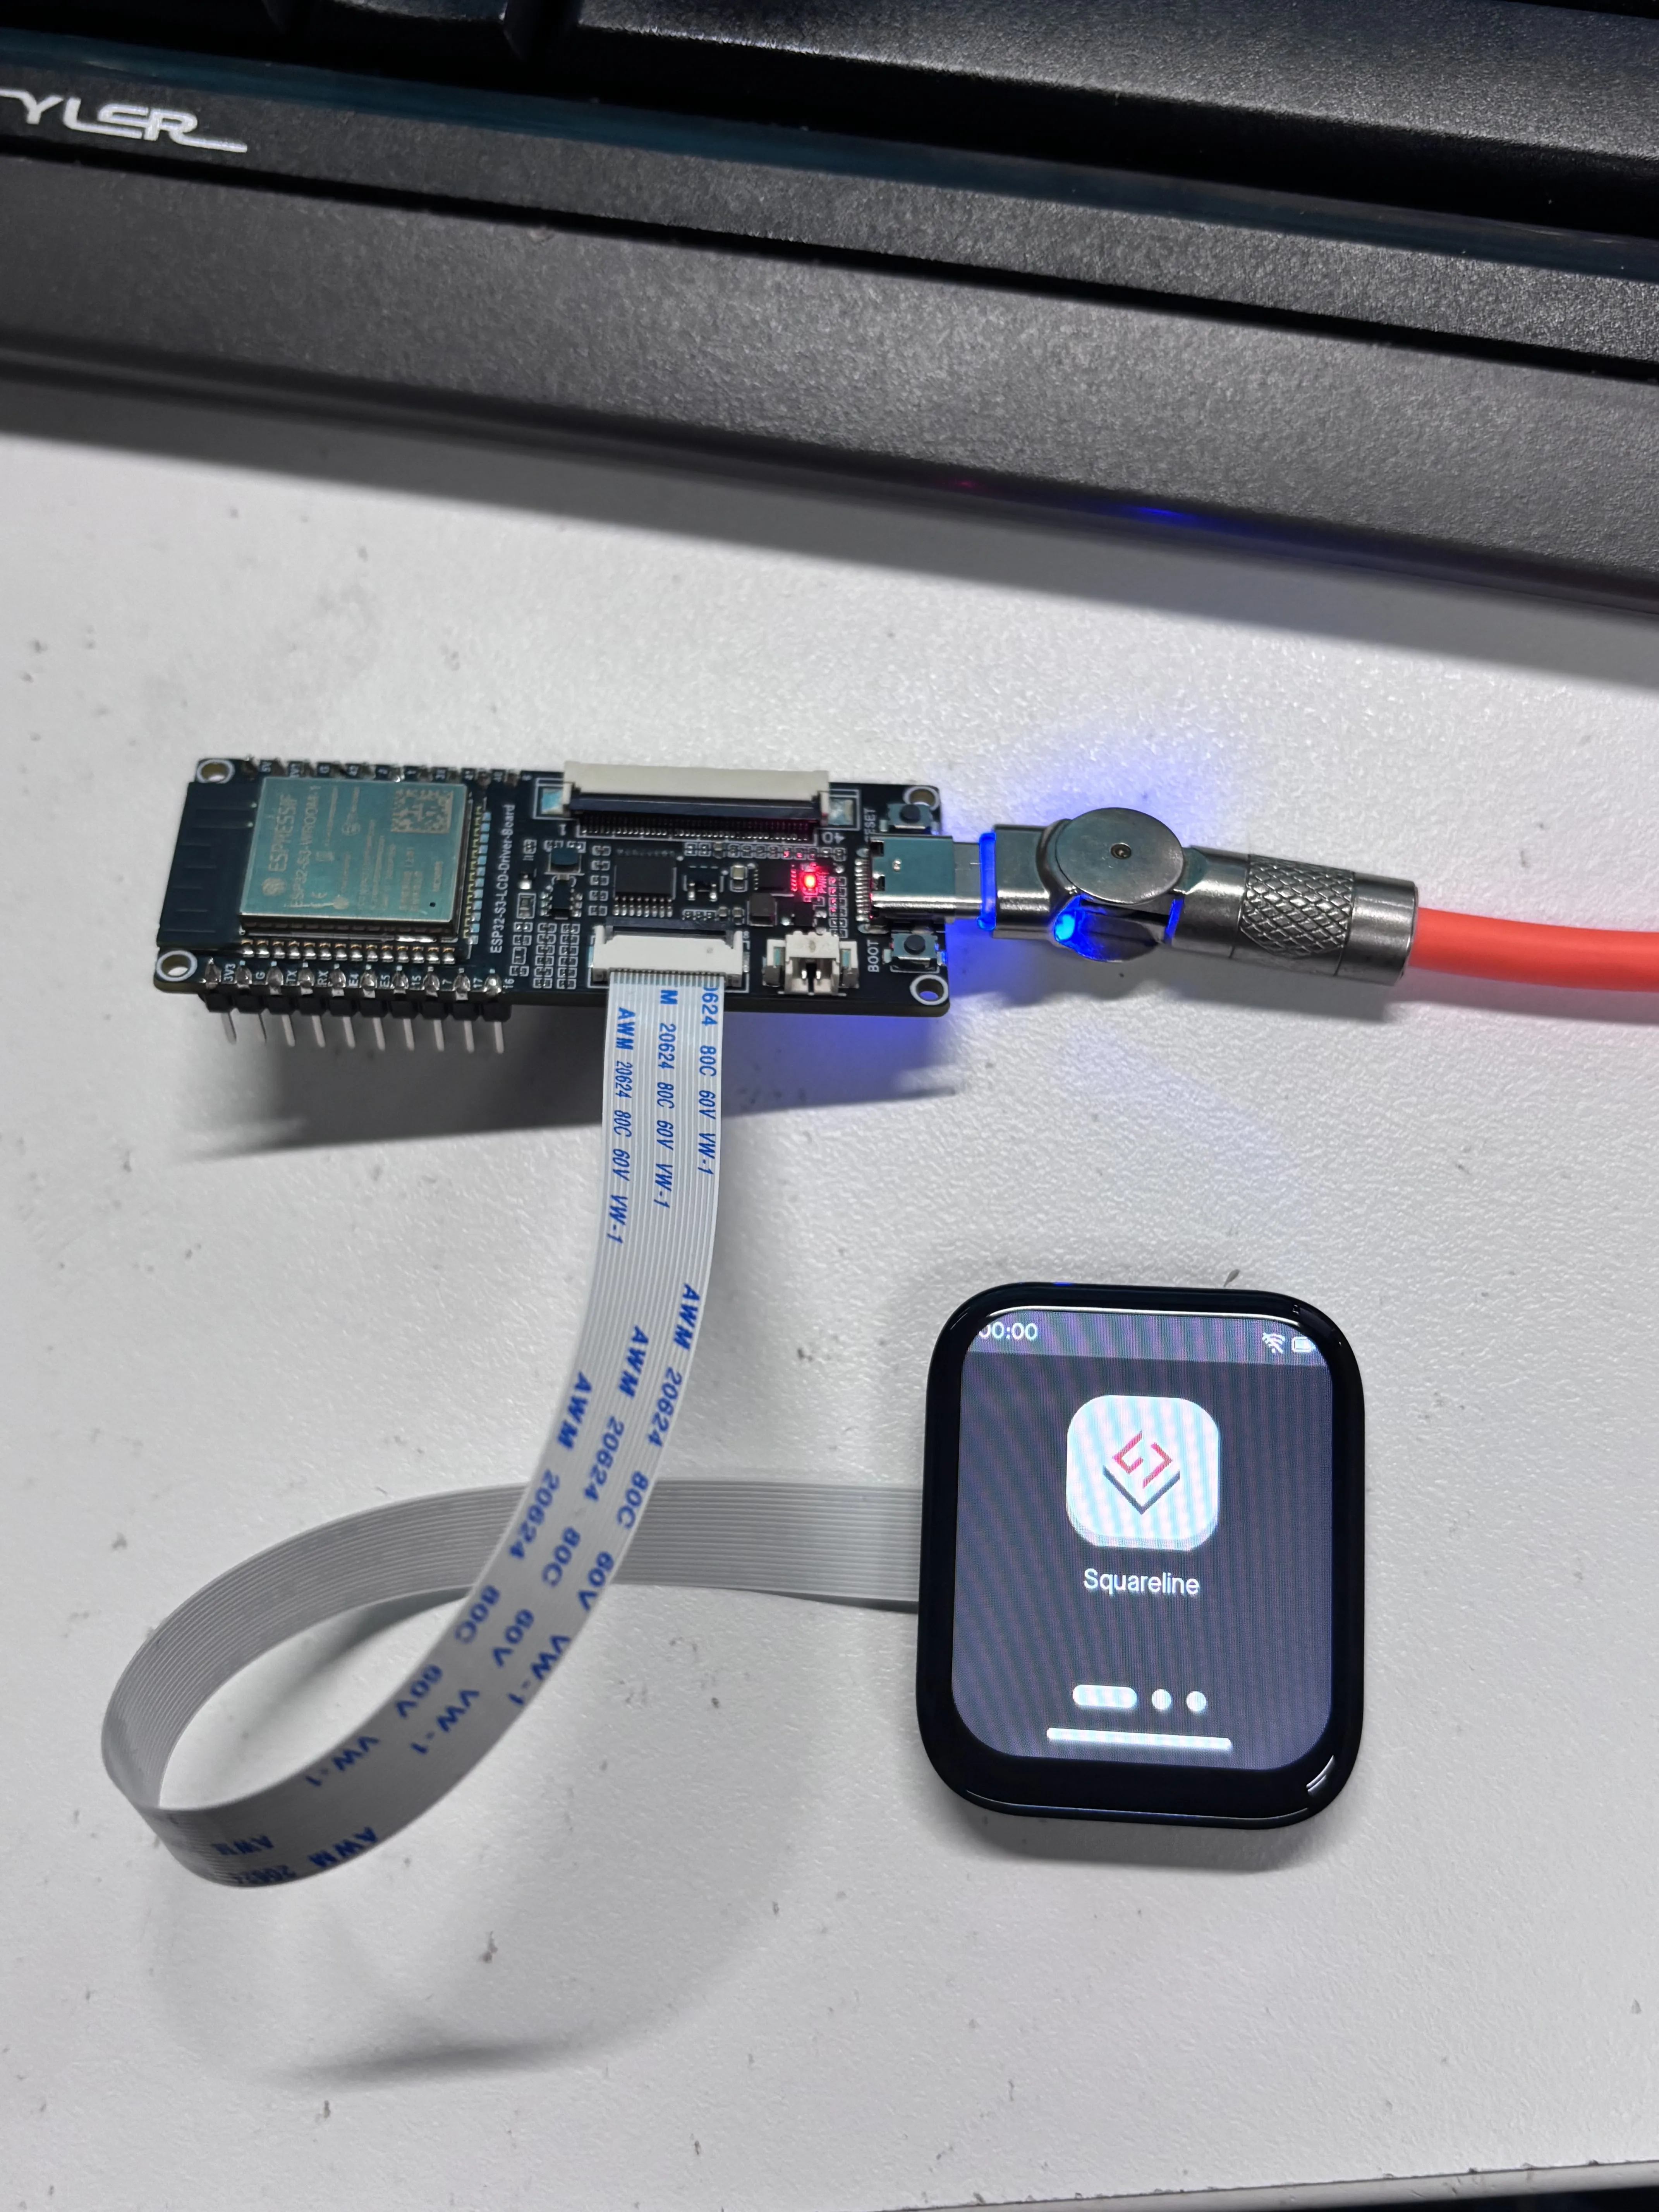
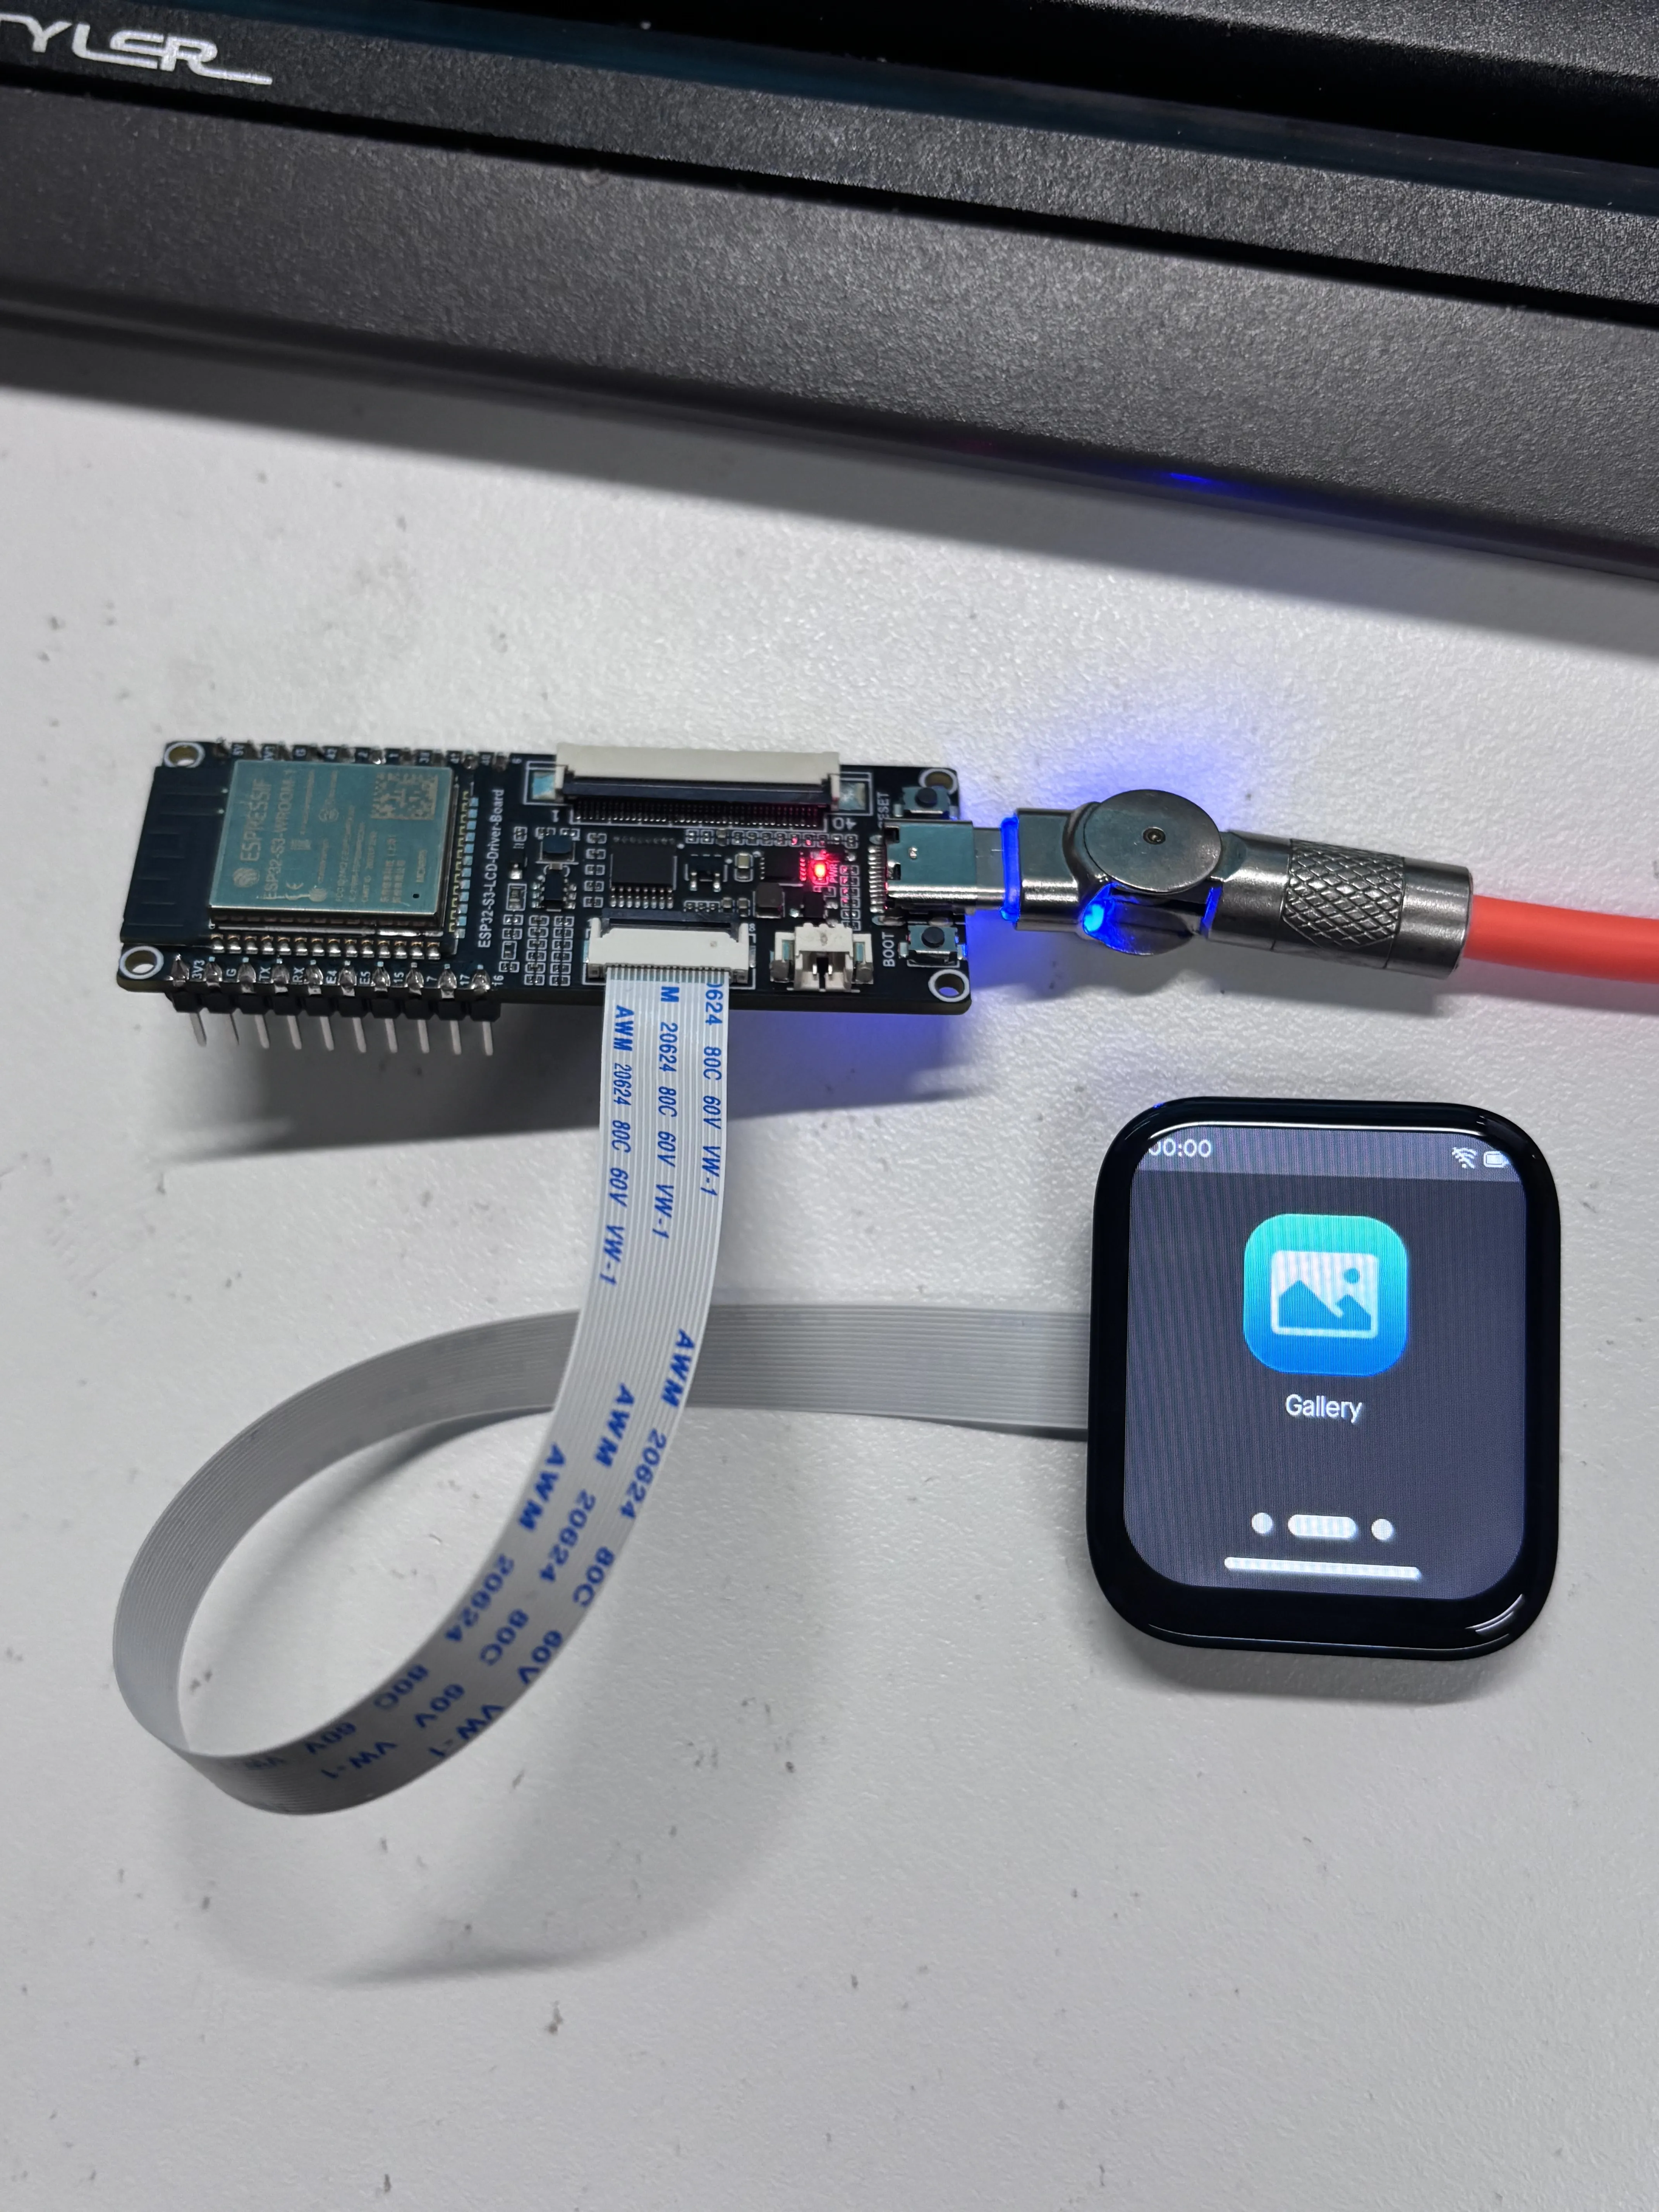
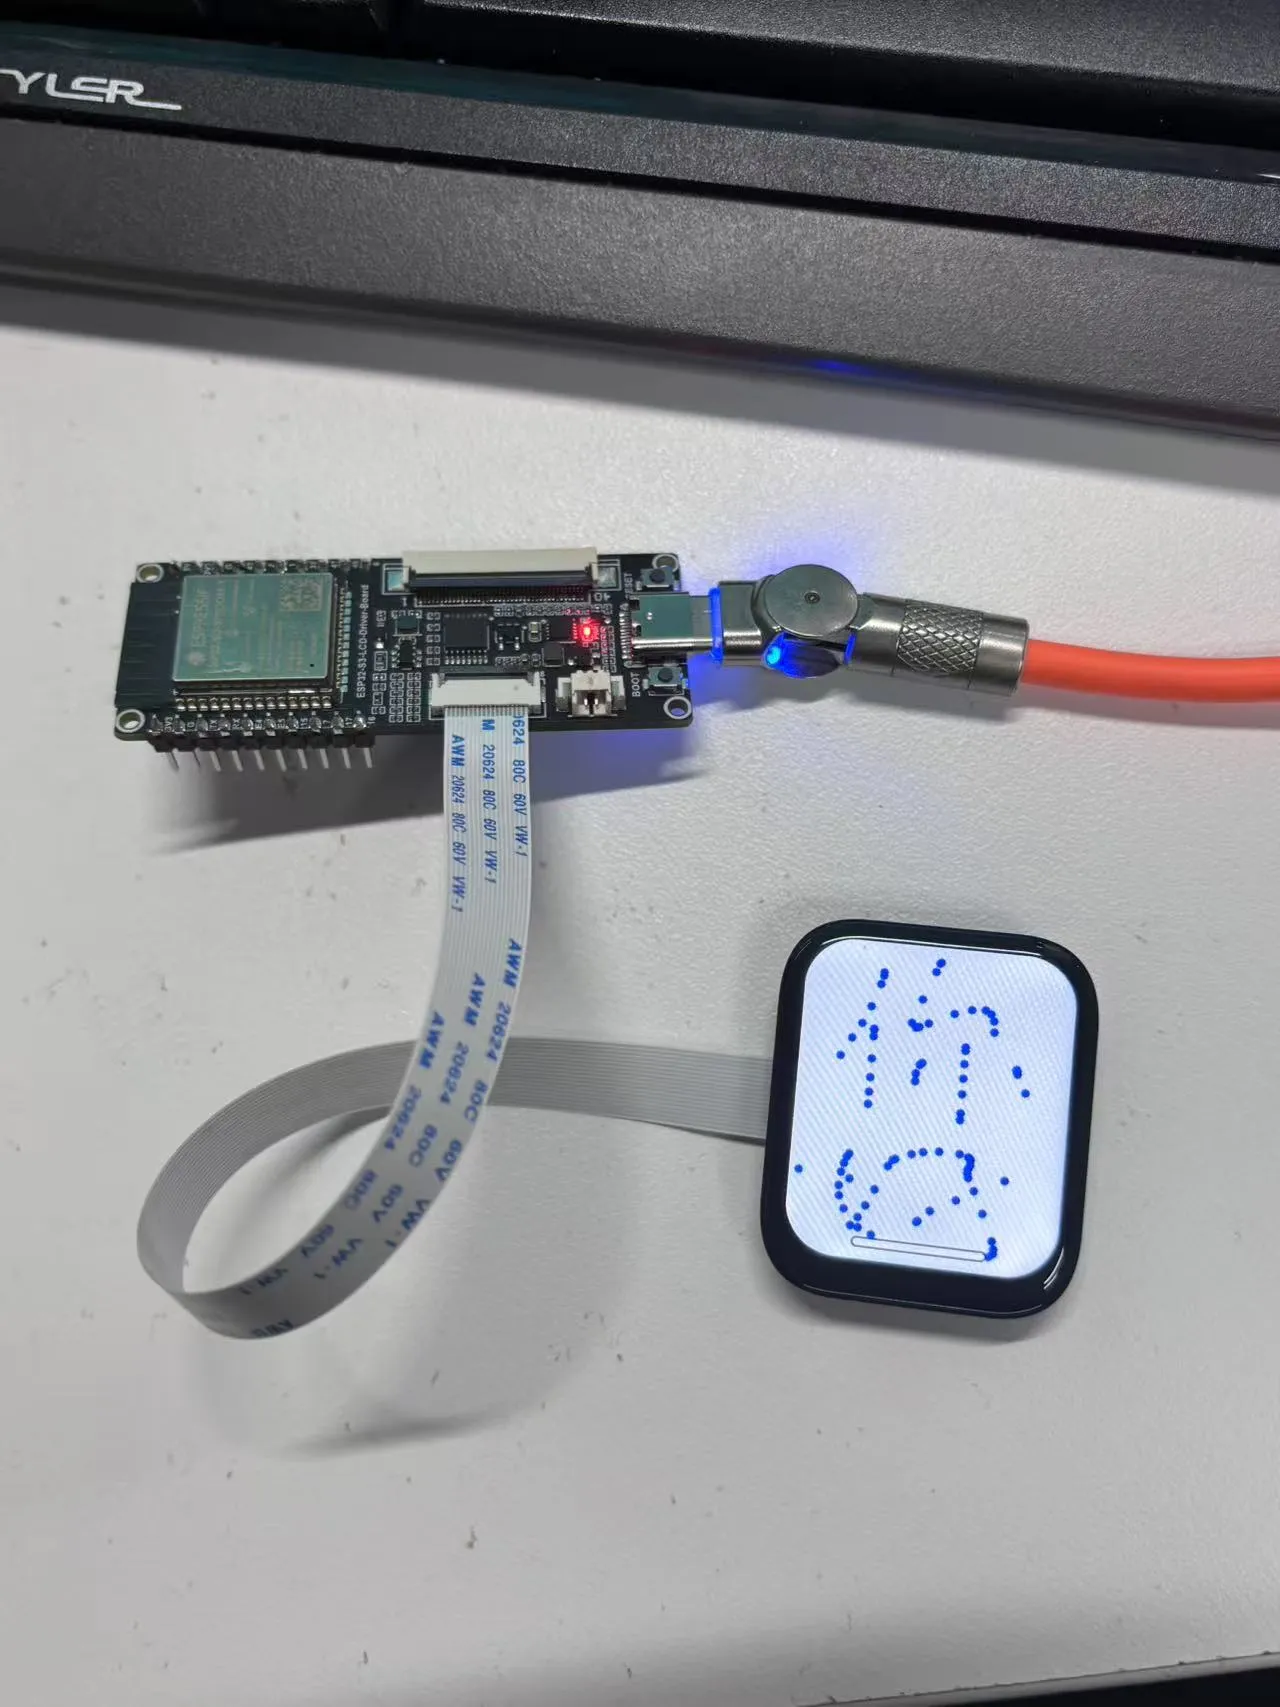
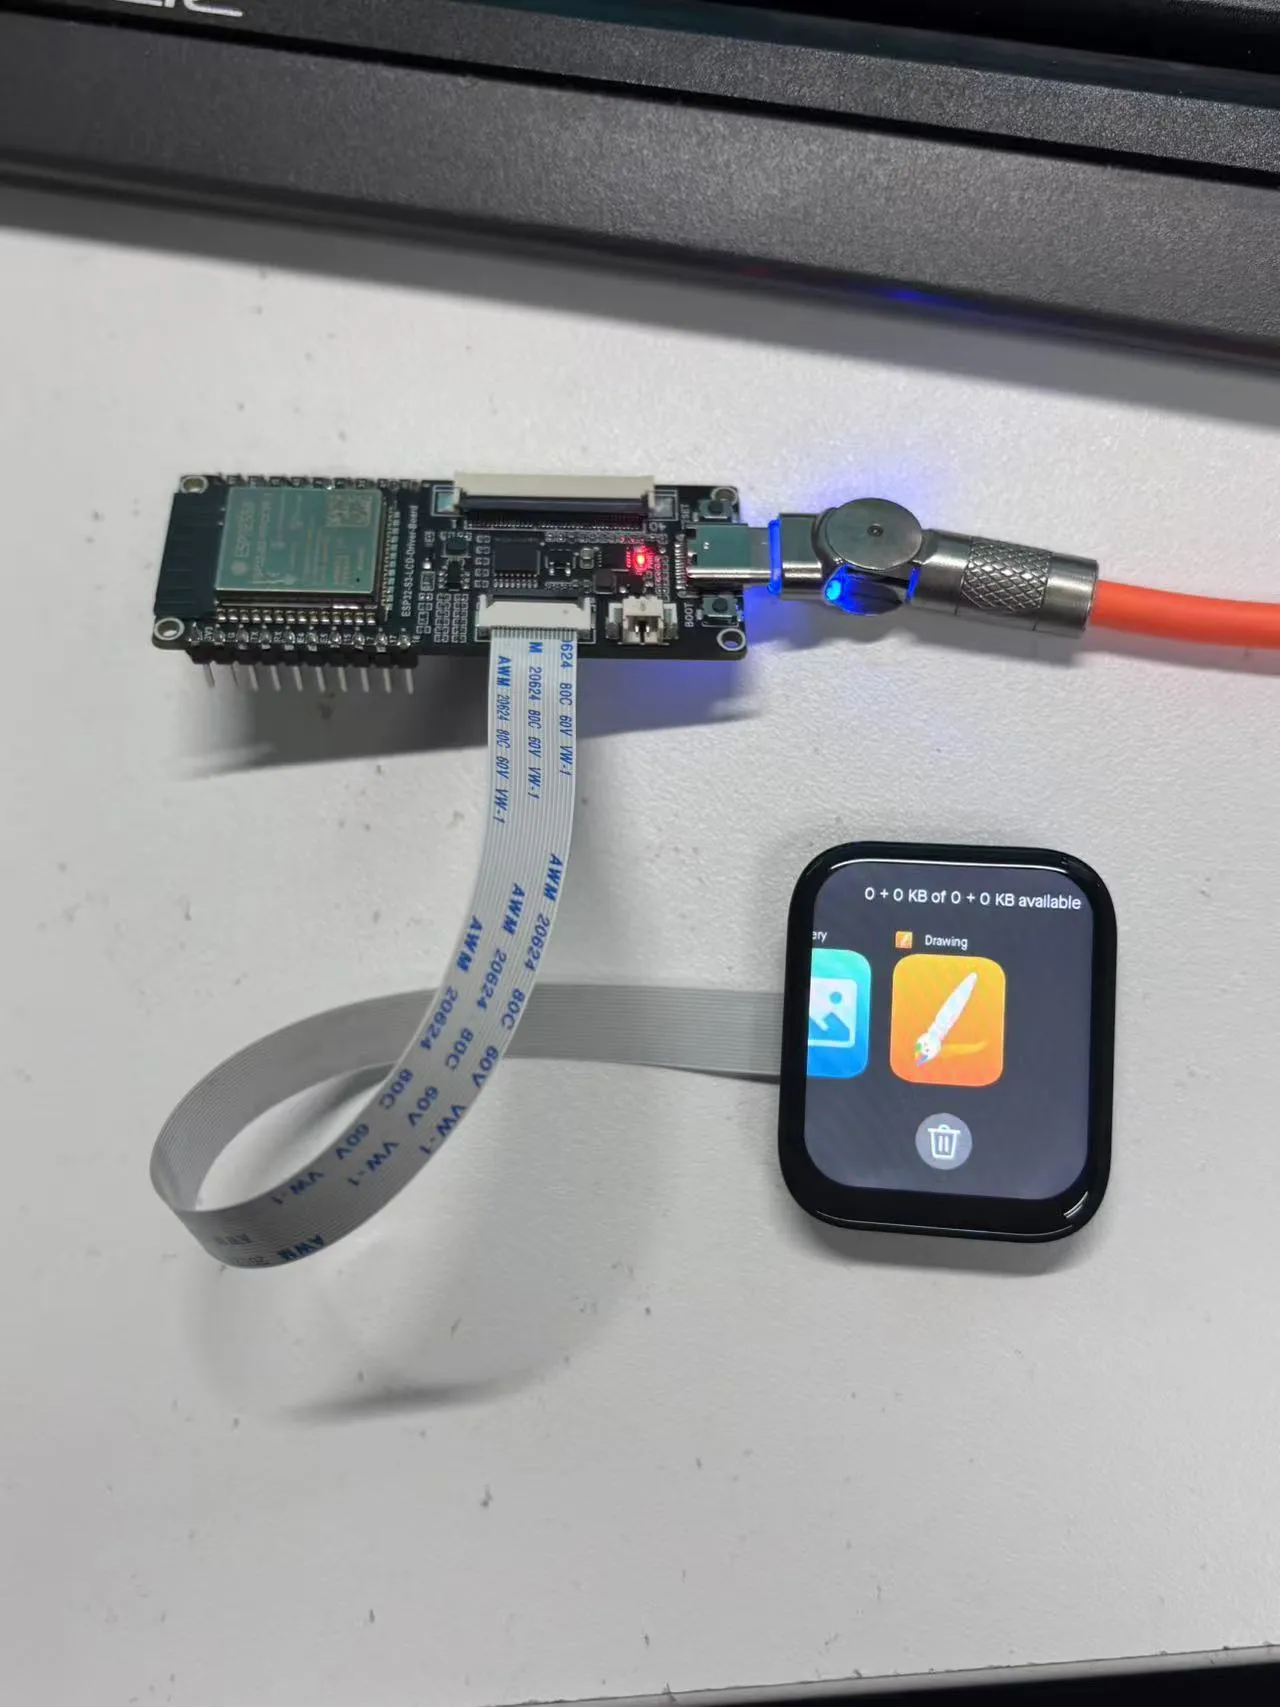
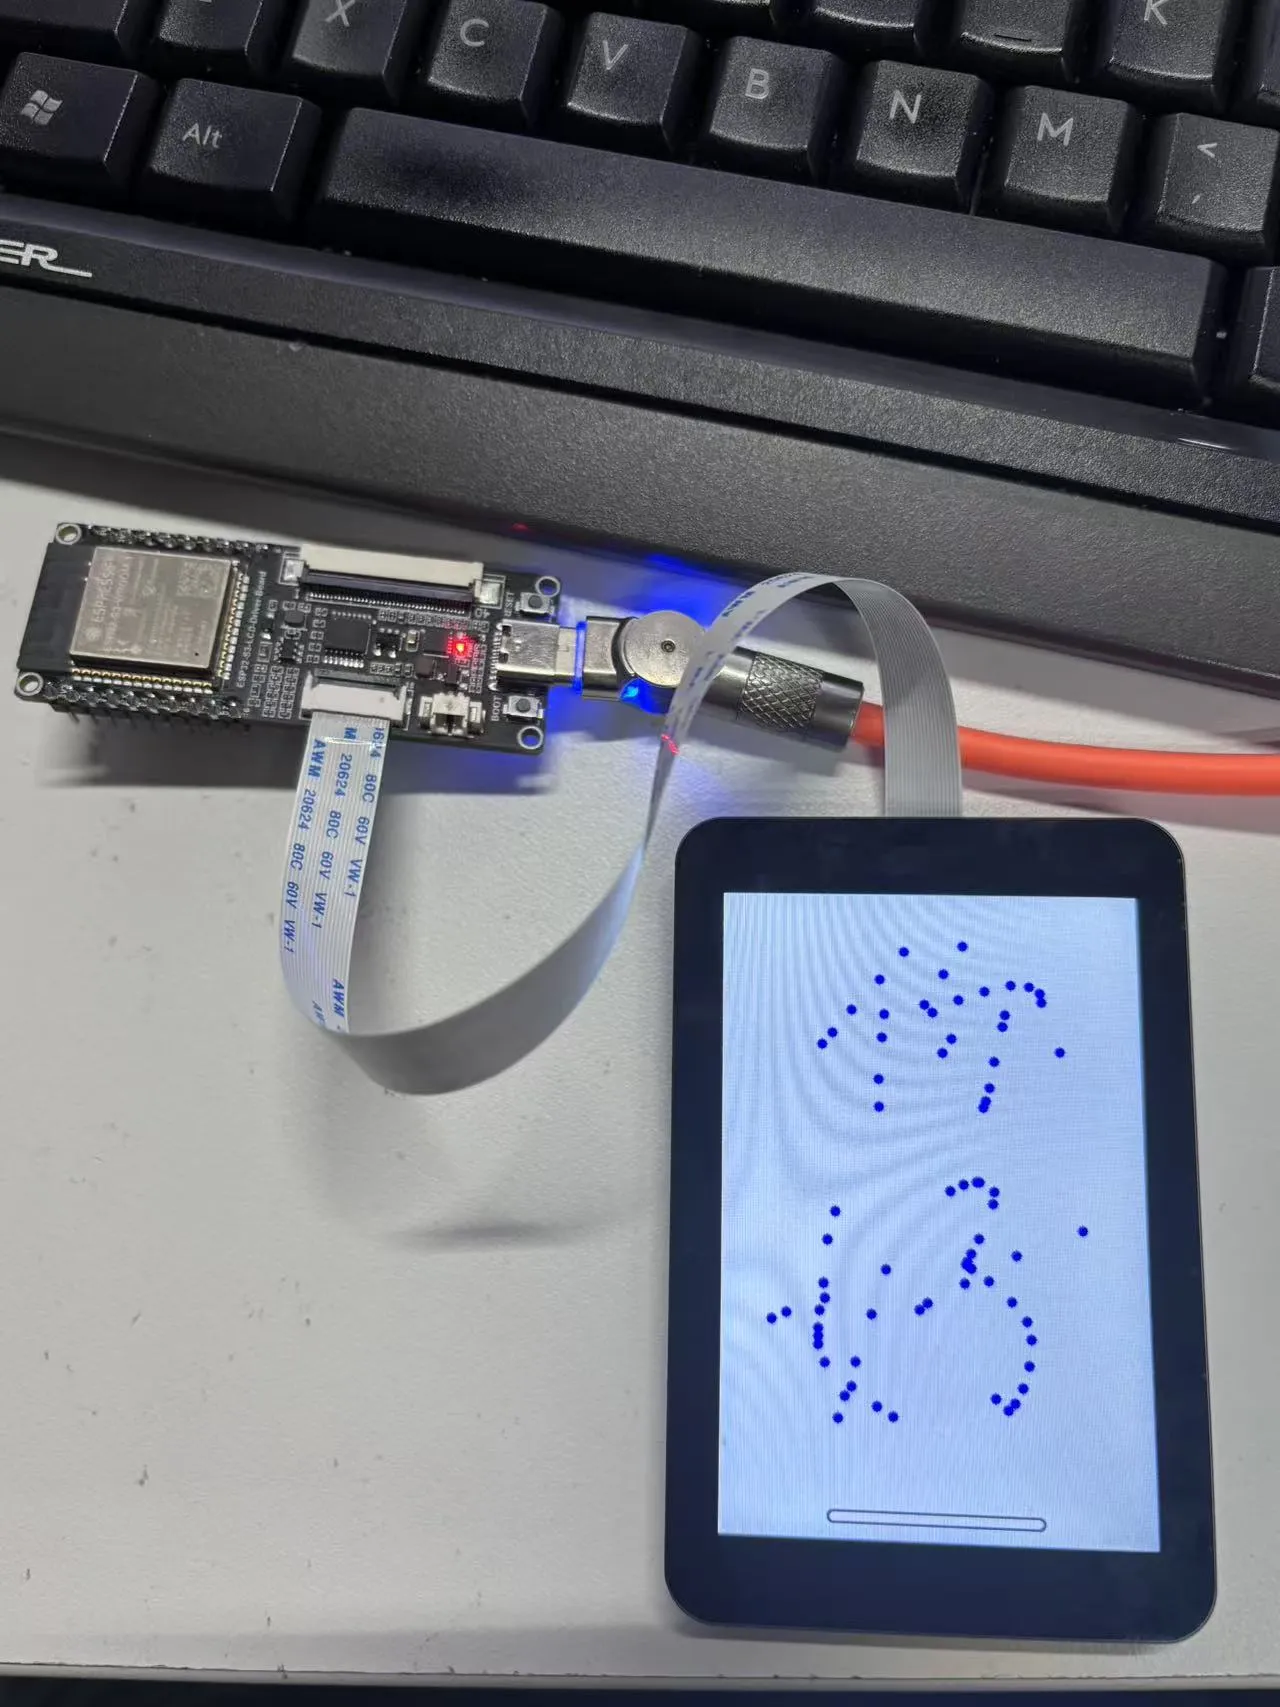
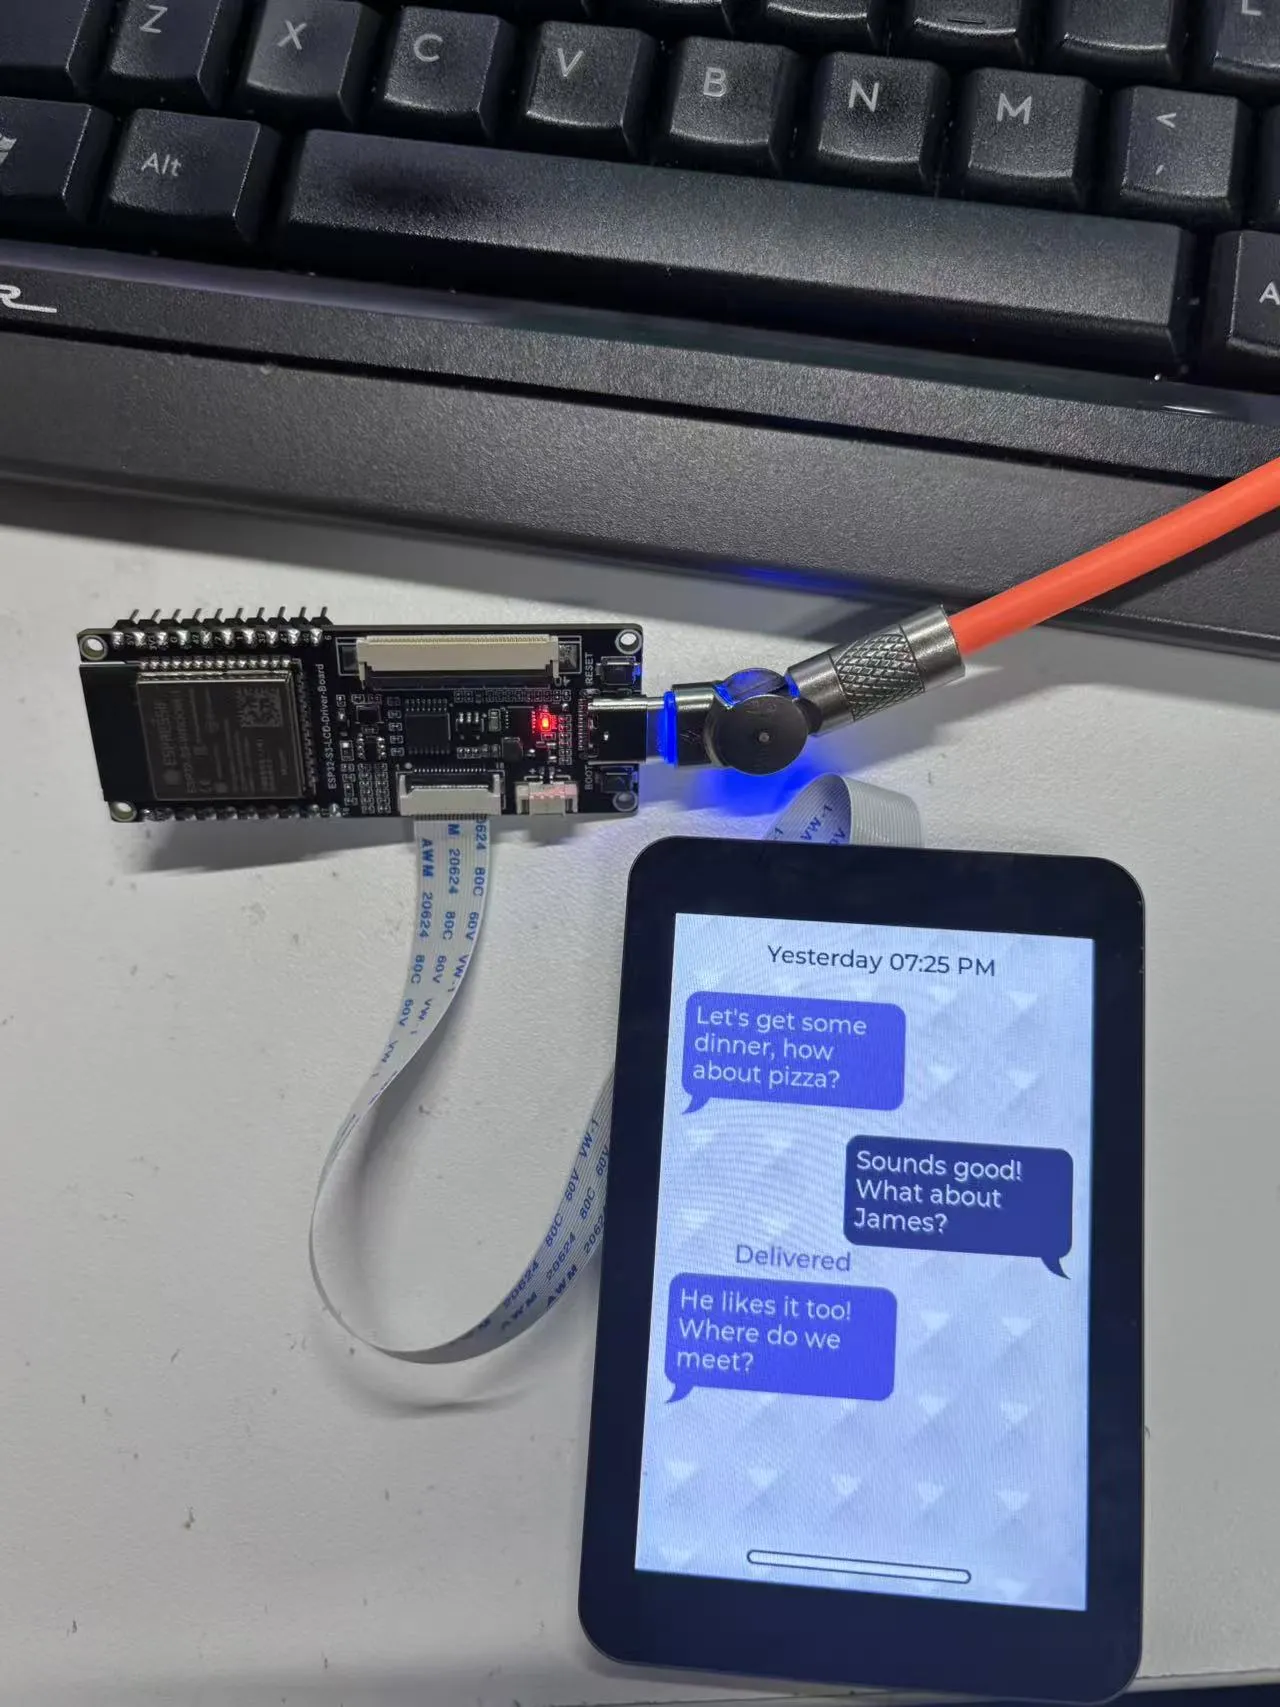
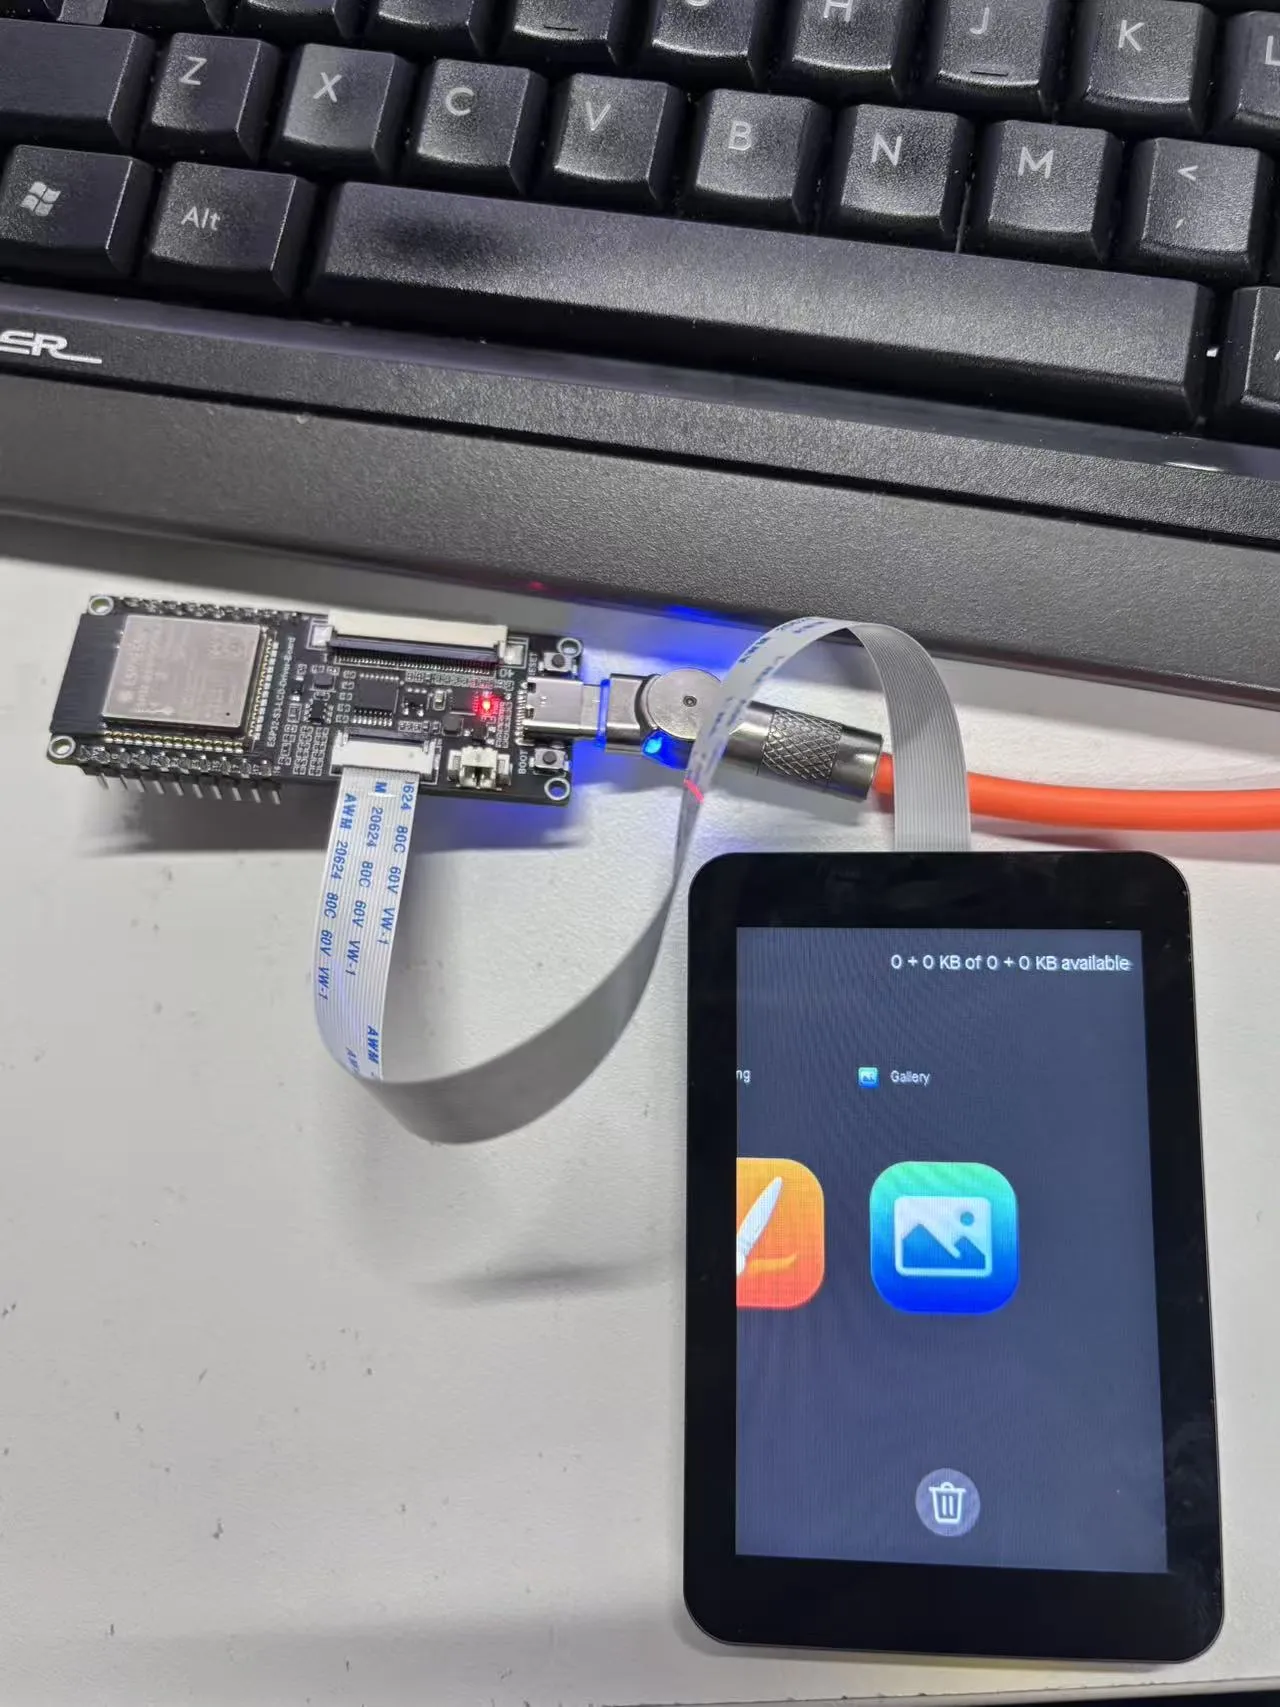
- The firmware uses the Brookesia component, showcasing various applications in an APP style, including Squareline, Gallery, Painting, etc.
1.83inch Touch LCD Module APP Example Display
 |  |  |  |  |
|---|
- To exit an app, swipe up from the bottom of the screen
- Swipe up from the bottom and pause in the middle of the screen to view recently used apps. Swipe up again on an app preview to close it
3.5inch Capacitive Touch LCD APP Example Display
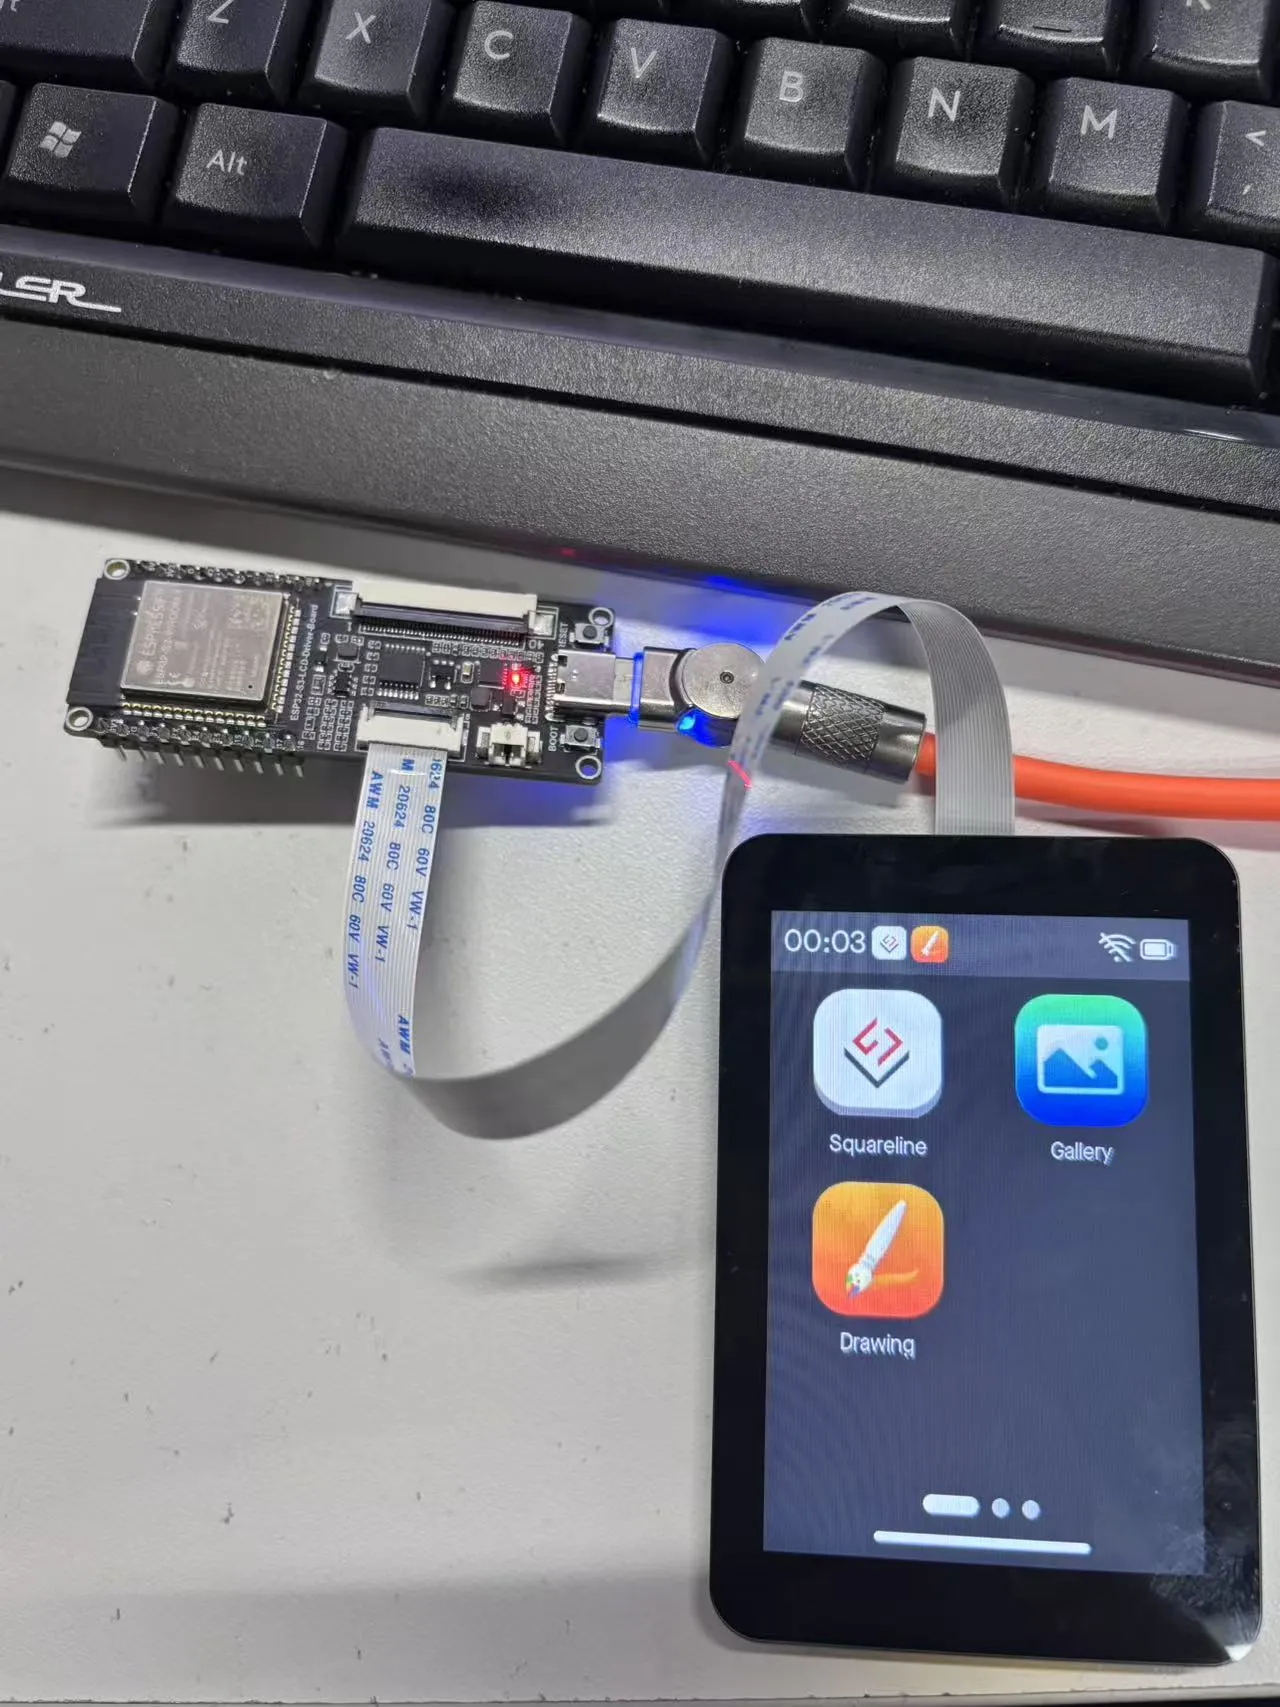 | 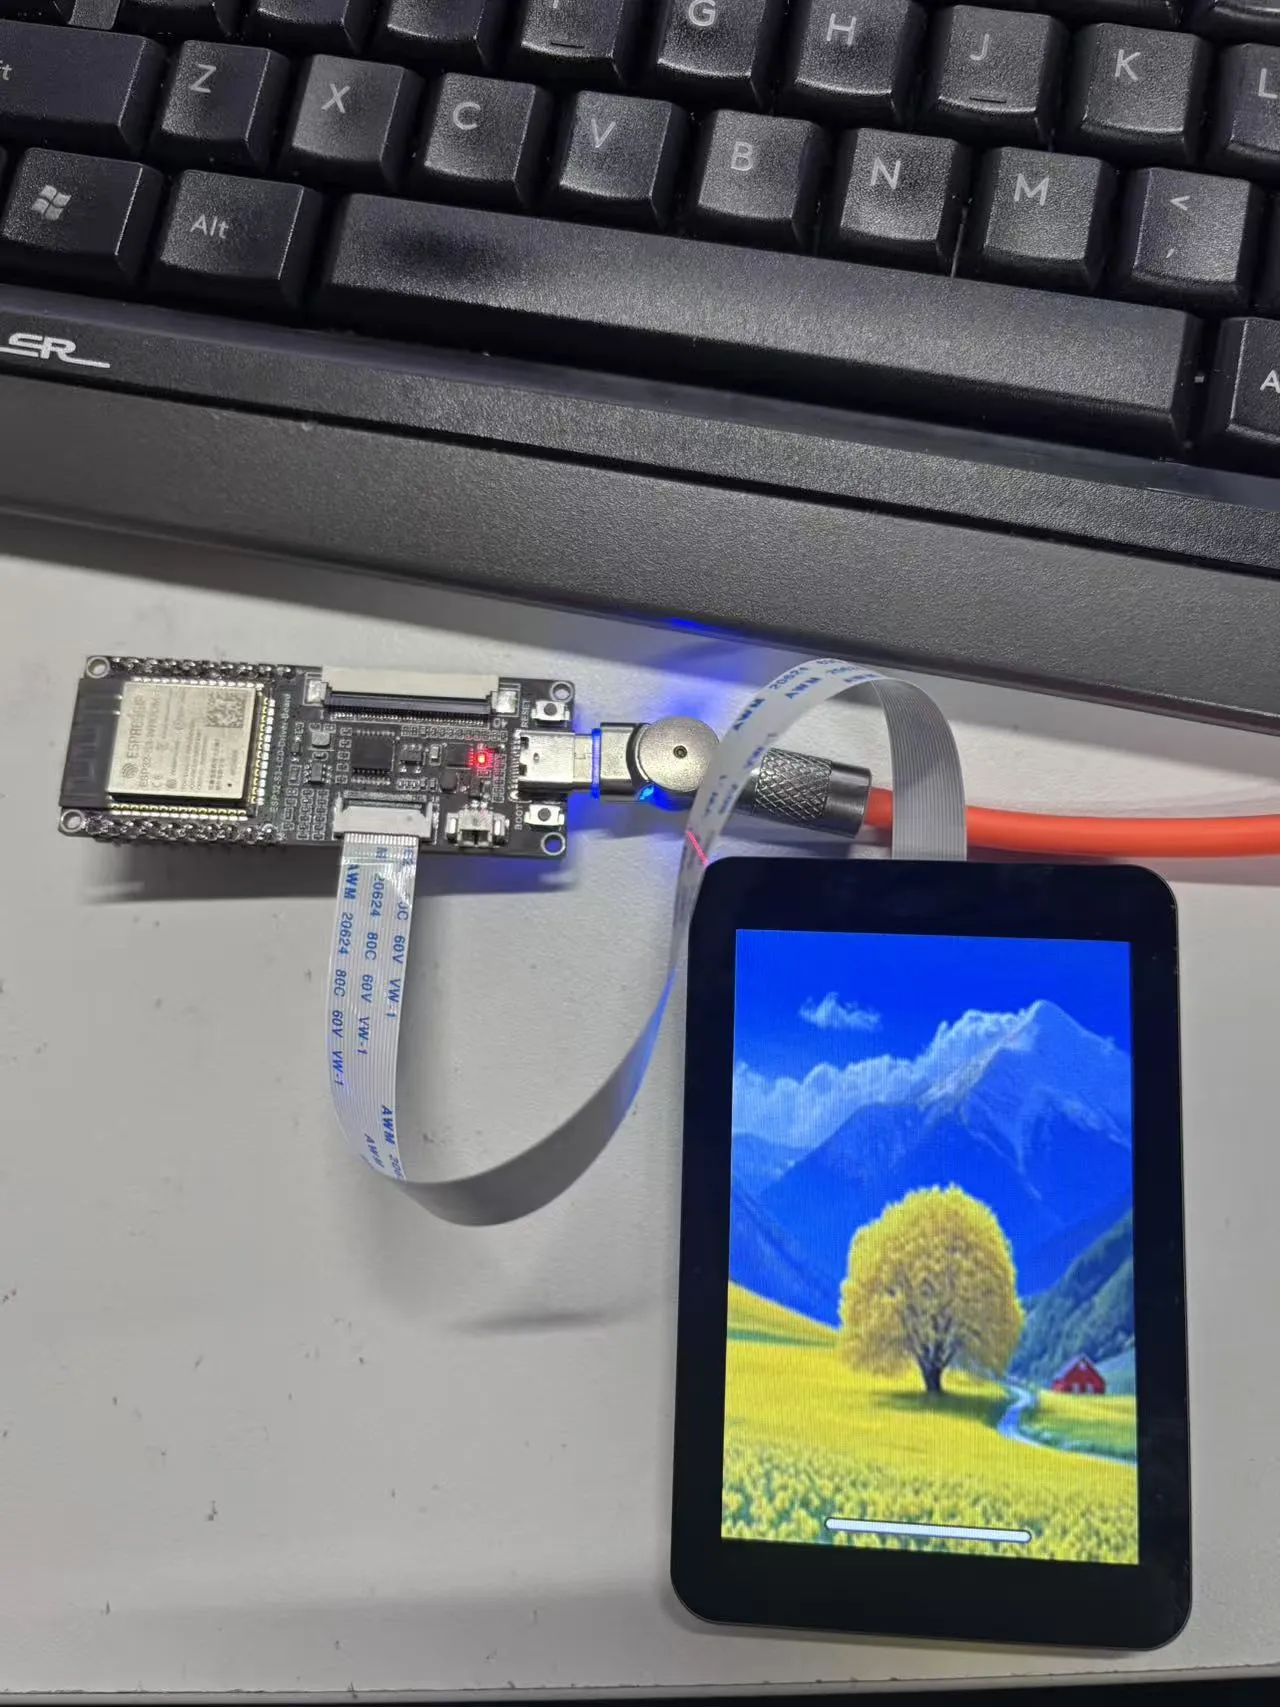 |  |  |  |
|---|