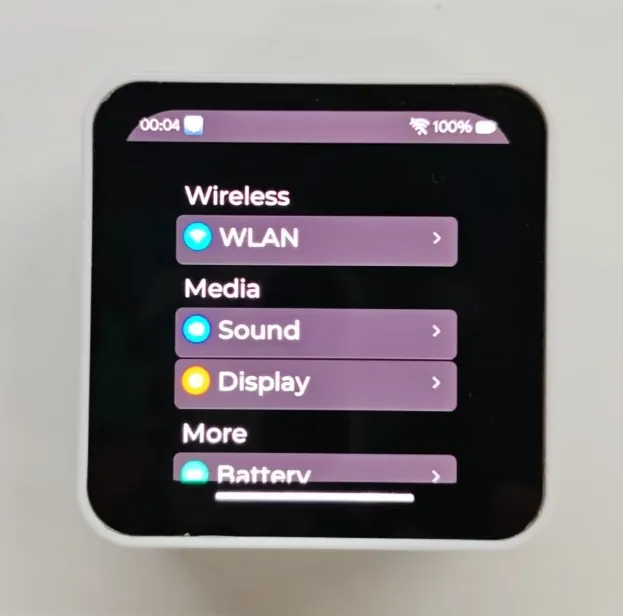
Using Factory Firmware
To help users quickly understand the various functions of the product, the factory firmware is pre-flashed. This allows users to learn how to use each interface. In addition to the ESP32-S3-Touch-AMOLED-2.16 main unit and the included components, the following items are required to run the firmware:
Required Components
- ESP32-S3-Touch-AMOLED-2.16 ×1
- TF card ×1 (not required, needed only for TF card examples)
Assembly Guide
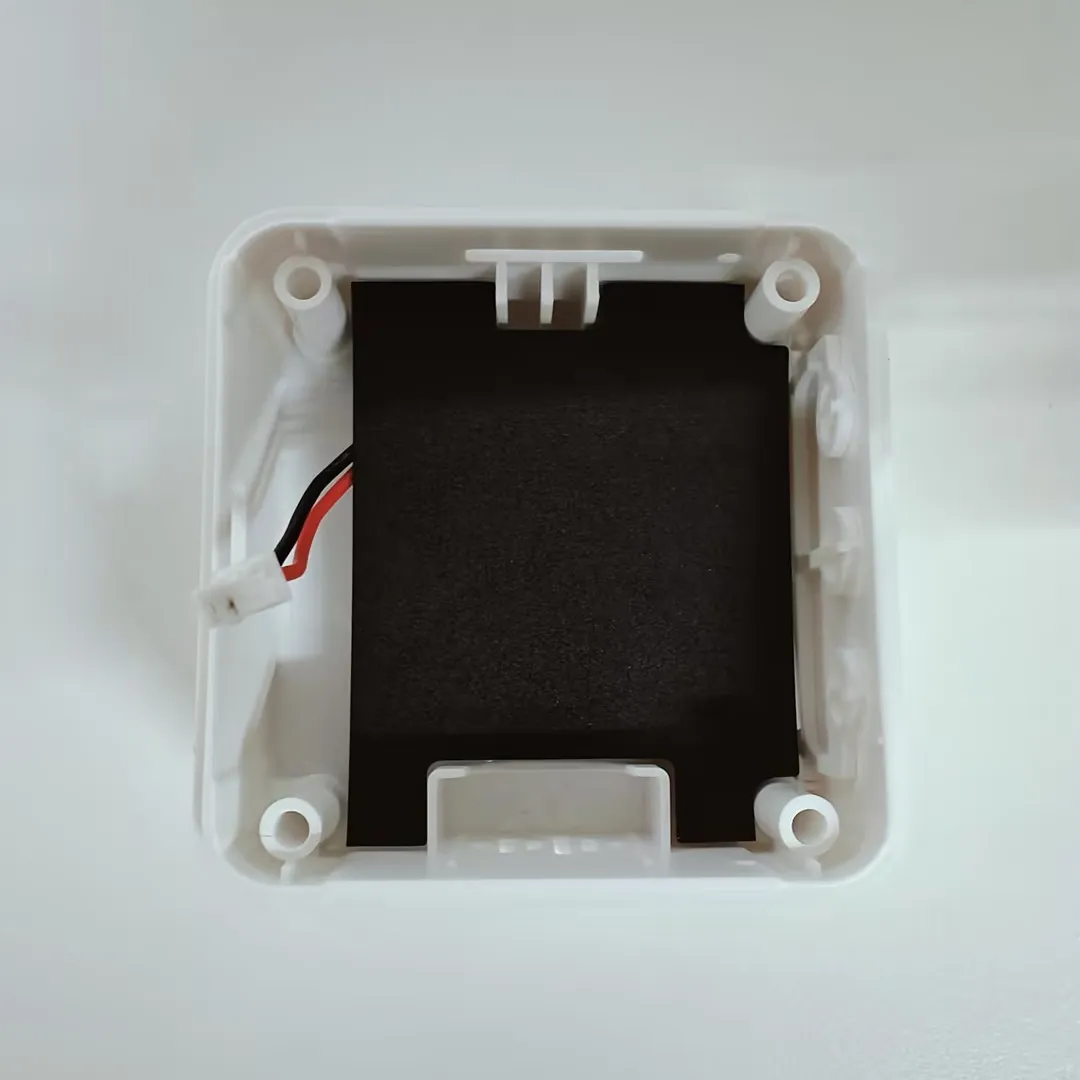
When installing the battery, assemble the PC insulating sheet. It provides insulation and flame retardancy to isolate the battery from the PCB board.
Precautions
⚠️ USB Download Precautions (Important)
If the port is not recognized, please enter Boot mode:
- Press and hold the BOOT button.
- Connect the USB cable to the computer
- Release the BOOT button.
After the download is complete, power cycle the board to run the program.
Firmware Download
- The example programs are located in the
Firmwaredirectory of the example package
Firmware Flashing
-
Unzip the software resource package (Flash_download_tool)
-
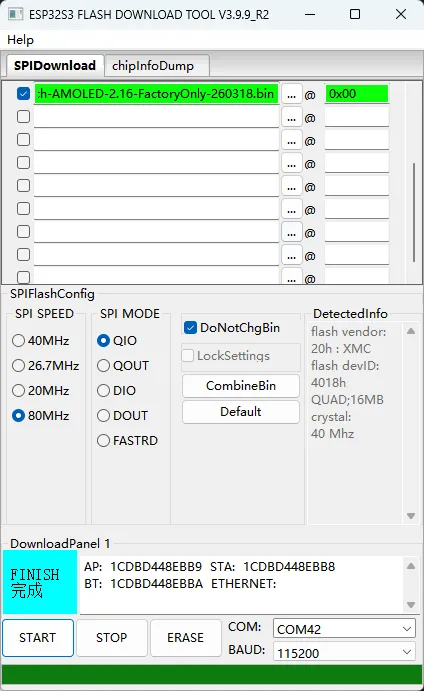
Open the flash_download_tool_3.9.7.exe software. Select
ESP32-S3andUSBbased on the development board's MCU and interface.ESP32-S3andUSB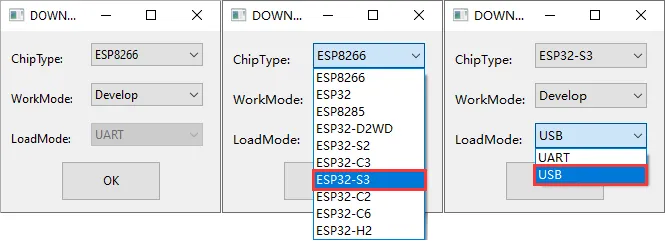
-
Parameter Settings
-
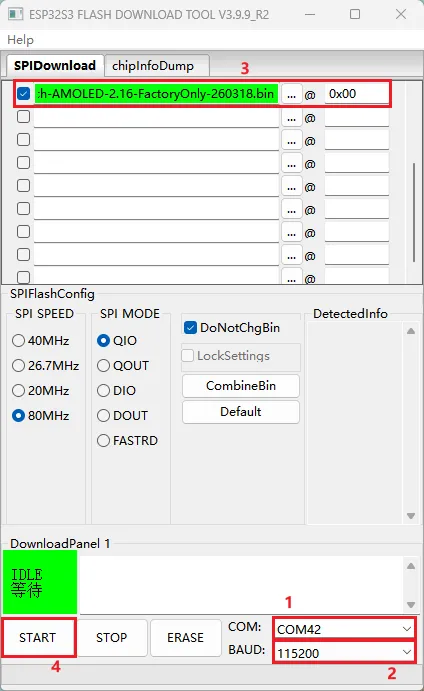
①. Select the COM port corresponding to the development board
-
②. Select the highest baud rate, 1152000
-
③. Click "..." to select the bin file from the
esp32-s3-touch-amoled-2.16-main\firmwaredirectory provided in the example package, manually enter the download address "0x00", and check the box on the far left -
④. Start flashing
-
-
Flashing complete (the flashing process takes some time, please be patient)
-
Press the reset button and observe the result
If it remains in the "Waiting for power-on sync" state, hold the "Boot" button and power cycle the device to enter download mode; this will resolve the issue.
Example Overview
-
The firmware uses the Brookesia component and showcases various applications in an APP-style interface, including Settings, Drawing Pad, Music Player, Video Player, Audio Analyzer, SquareLine, XiaoZhi AI, Gravity Ball, and other apps.
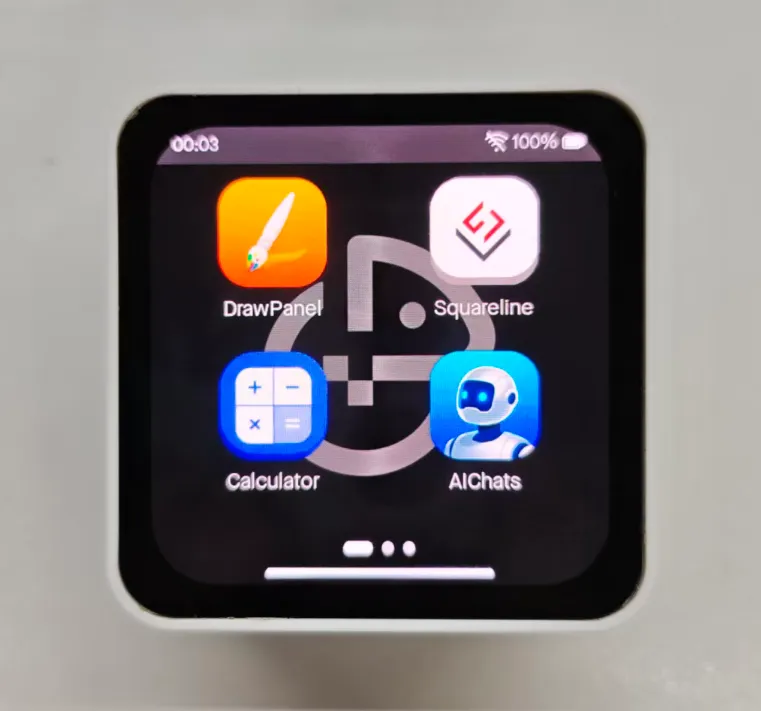
App Example Introduction
- To exit an app, swipe up from the bottom of the screen
- Swipe up from the bottom and pause in the middle of the screen to view recently used apps. Swipe up again on an app preview to close it
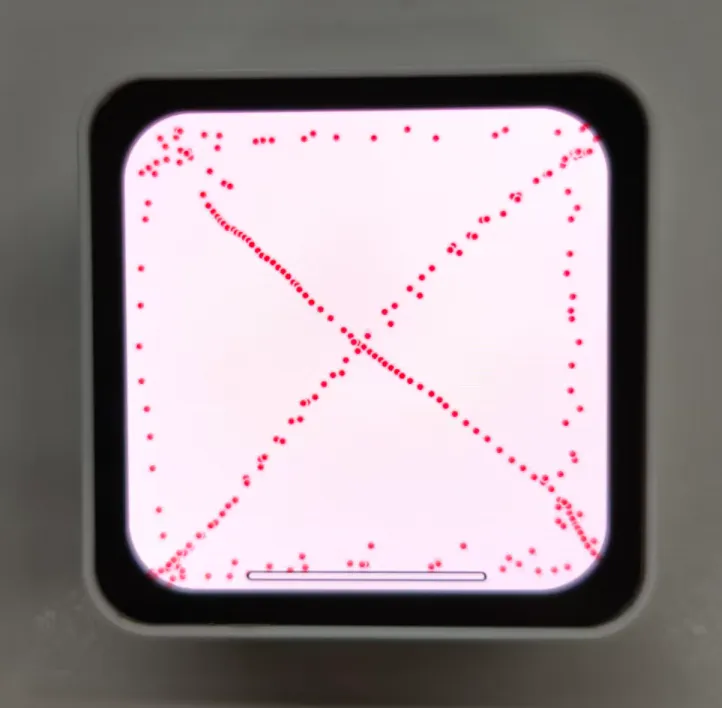
DrawPanel APP
-
This example demonstrates a touch-screen drawing board for simple sketches.
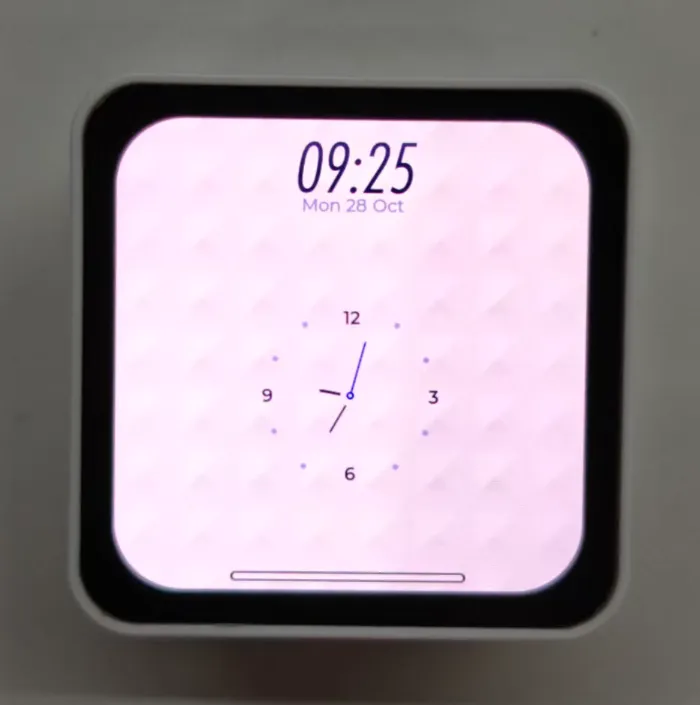
Squareline APP
-
This example demonstrates an LVGL demo created with SquareLine Studio
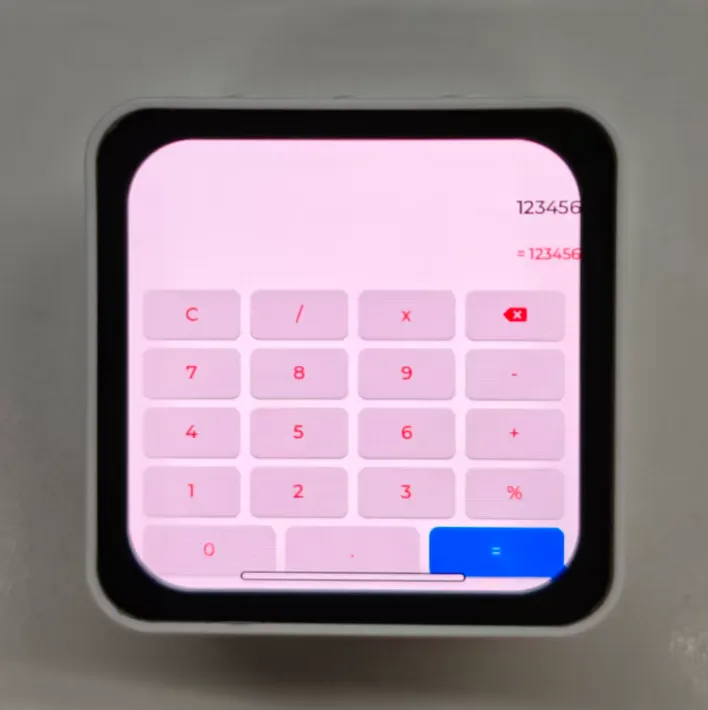
Calculator APP
-
This example demonstrates a touch-based calculator capable of simple arithmetic.
AIChats APP
- Click the APP icon to enter the Xiaozhi AI application. It is consistent with the version adapted for the Xiaozhi official website, and the operation method is the same. Double-click the Boot button to return to the Brookesia interface
SpecAnalyzer APP
-
This example shows a real-time audio spectrum visualizer, presenting audio frequency distribution intuitively.

Gravity Ball
-
This example demonstrates a gravity ball app based on the six-axis attitude sensor. Open Gravity Ball, keep the device completely still, and wait for the loading bar to disappear. When the ball appears, it will move in real time as you tilt and rotate the device.

VideoPlayer APP
-
This example demonstrates an AVI video player. Place AVI-format video files in the
avifolder on the TF card.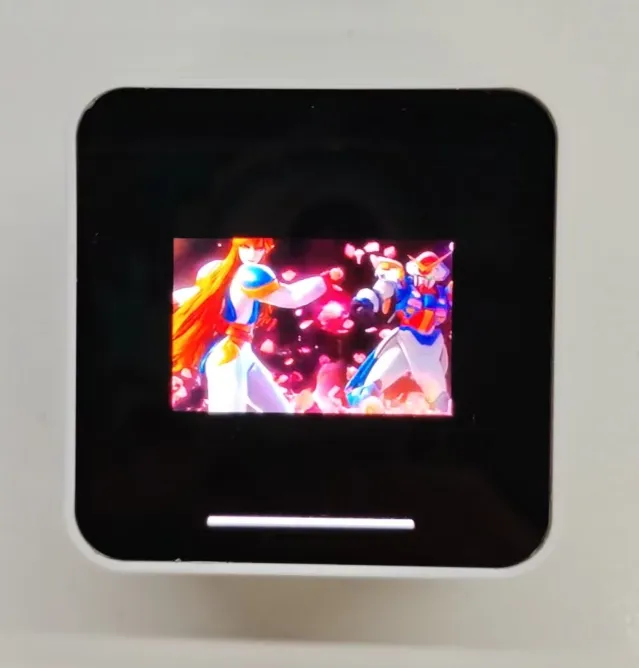
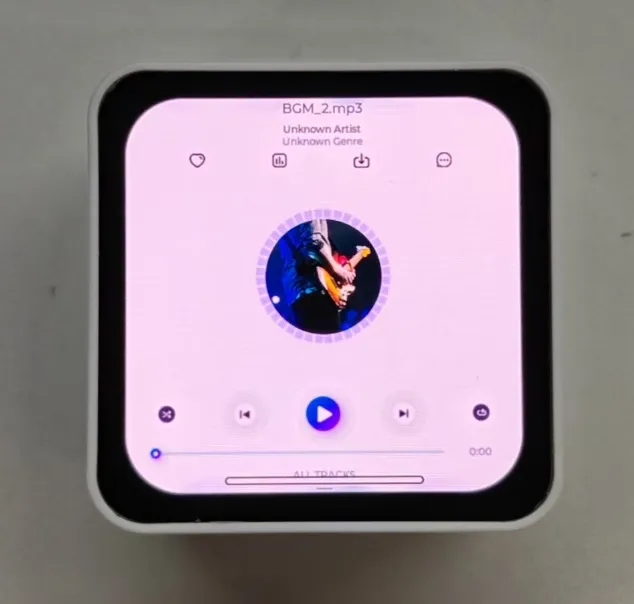
MusicPlayer APP
-
Simulates the interface of a music player.
Settings APP
-
Features Wi-Fi scanning and network configuration. Click
WIFIon the interface, thenwifi configto scan a QR code for network configuration -
Allows adjustment of display brightness and volume
-
Displays the battery ADC voltage