Working with Raspberry Pi
The IMX291 is fully compatible with the IMX290 camera and can be directly connected to a Raspberry Pi mainboard. The software can directly use the IMX290 configuration.
Hardware Connection
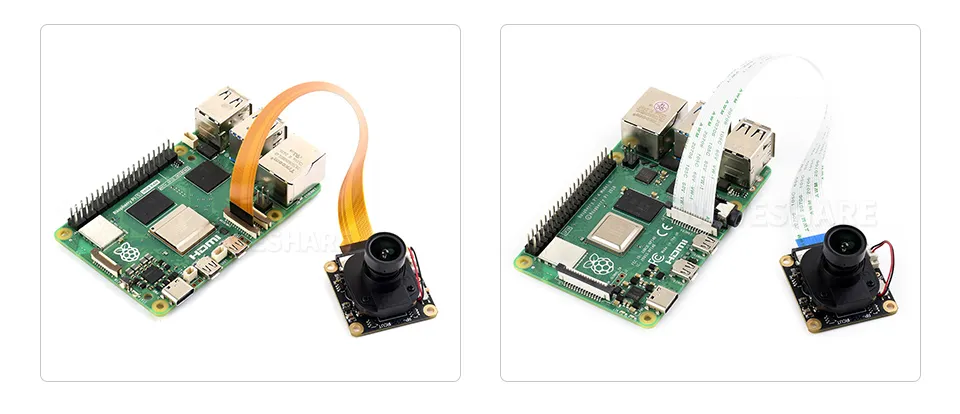

IR-CUT Switching Instructions
This camera module has an onboard IR-CUT filter that can be switched using the DIP switch to adapt between daytime full-color and night modes. When shooting at night, an external 850 nm infrared light is required.
Software Environment Configuration and Testing
Update System
To ensure the camera works properly, please use the Bookworm version of the Raspberry Pi system and update it with the following commands:
sudo apt-get update -y
sudo apt-get upgrade -y
If using only one camera, connect it to the CAM1 port.
Configure the config.txt File
Use the nano tool to open and edit the /boot/firmware/config.txt file:
sudo nano /boot/firmware/config.txt
Find the line camera-auto-detect=1 and change it to camera_auto_detect=0
At the end of the file, add the line dtoverlay=imx290,clock-frequency=37125000. If multiple cameras are connected, you can specify the cam0 or cam1 parameter, for example:
dtoverlay=imx290,clock-frequency=37125000,cam0
dtoverlay=imx290,clock-frequency=37125000,cam1
After configuration, save the file and reboot the system with sudo reboot.
If the camera cannot be called properly when used on a Raspberry Pi 5, add the json file to the specified directory and then reboot for testing.
sudo wget https://files.waveshare.com/wiki/common/Imx290.zip
sudo unzip Imx290.zip
sudo cp imx290.json /usr/share/libcamera/ipa/rpi/pisp
Test the Camera
After configuration, reboot the system and use the command sudo rpicam-hello --list-camera to check if the camera is detected.
If a screen is connected, you can preview the camera with sudo rpicam-hello -t 0.
For more information about rpicam commands, please refer to Raspberry Pi Camera Software Documentation.