Working with Raspberry Pi
The IMX378-190_12.3MP_Camera_B module uses a 22PIN interface and comes with a 22PIN reverse ribbon cable by default. If you need to connect to a 15PIN interface such as on the Pi 4, remember to use the 22PIN to 15PIN adapter cable instead.
Hardware Connection
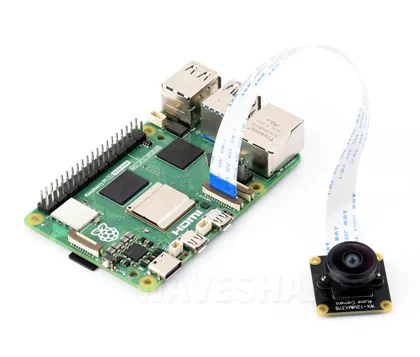 Connecting with Raspberry Pi 5 | 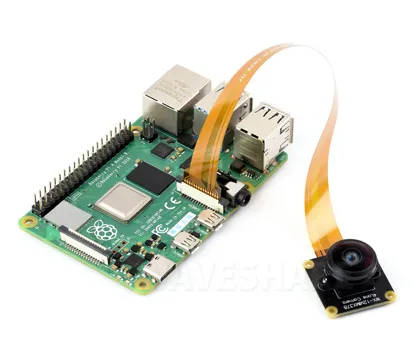 Connecting with Raspberry Pi 4 |
|---|
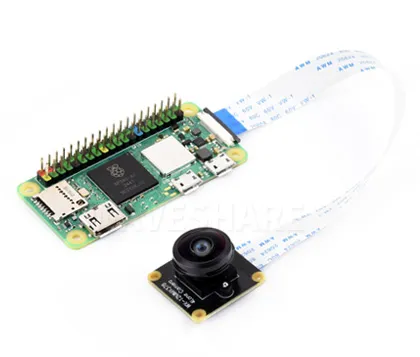 Connecting with Zero 2 W | 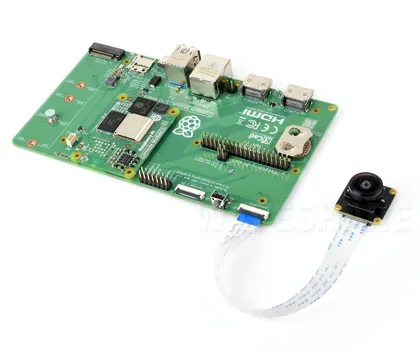 Connecting with CM5 IO Board |
|---|
Software Environment Configuration and Testing
Update System
To ensure the camera works properly, please use the Bookworm version of the Raspberry Pi system and update it with the following commands:
sudo apt-get update -y
sudo apt-get upgrade -y
If using only one camera, connect it to the CAM1 port.
Configure the config.txt File
Use the nano tool to open and edit the /boot/firmware/config.txt file:
sudo nano /boot/firmware/config.txt
Find the line camera-auto-detect=1 and change it to camera_auto_detect=0
At the end of the file, add the line dtoverlay=imx378. If multiple cameras are connected, you can specify the cam0 or cam1 parameter, for example:
dtoverlay=imx378,cam0
dtoverlay=imx378,cam1
After configuration, save the file and reboot the system with sudo reboot.
Test the Camera
After configuration, reboot the system and use the command sudo rpicam-hello --list-camera to check if the camera is detected.
If a screen is connected, you can preview the camera with sudo rpicam-hello -t 0.
For more information about rpicam commands, please refer to Raspberry Pi Camera Software Documentation.