Working with Raspberry Pi
Hardware Connection
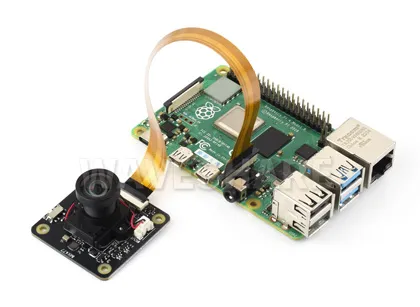
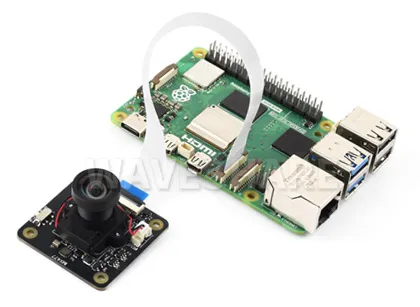
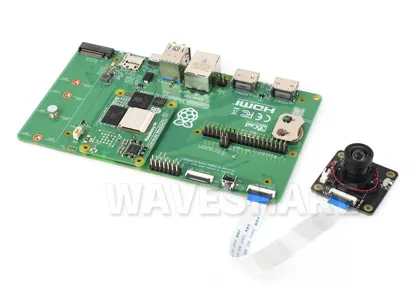

The images above are for demonstration purposes only. This product does not include the above mainboards or kits.
Software Environment Configuration and Testing
Update System
To ensure the camera works properly, please use the latest version of the Raspberry Pi OS and run the following commands to update.
sudo apt-get update -y
sudo apt-get upgrade -y
If using only one camera, connect it to the CAM1 port.
Configure the config.txt File
-
Use the
nanotool to open and edit the/boot/firmware/config.txtfile.sudo nano /boot/firmware/config.txt -
Locate the line
camera-auto-detect=1and change it tocamera_auto_detect=0. -
At the end of the file, add the line
dtoverlay=imx477. If multiple cameras are connected, you can specify the cam0 or cam1 parameters, for example:dtoverlay=imx477,cam0dtoverlay=imx477,cam1 -
After configuration, save the file and reboot the system with
sudo reboot.
Test the Camera
- After rebooting, run
sudo rpicam-hello --list-camerasto check if the camera is detected. - With a display connected, you can preview the camera feed with
sudo rpicam-hello -t 0.
For more information about rpicam commands, please refer to Raspberry Pi Camera Tool Guide.