RGB-Matrix-Px-80x40 Working with Raspberry Pi Pico
Working with Raspberry Pi Pico
For environment setup, refer to: https://docs.waveshare.com/Raspberry-Pi-Pico-C-Tutorials
Hardware Connection
Preparation
- RGB-Matrix-P4-80x40 (included in this product)
- 2 × 8PIN jumper cables (included in this product)
- Raspberry Pi Pico (must be purchased separately)
Hardware Connection
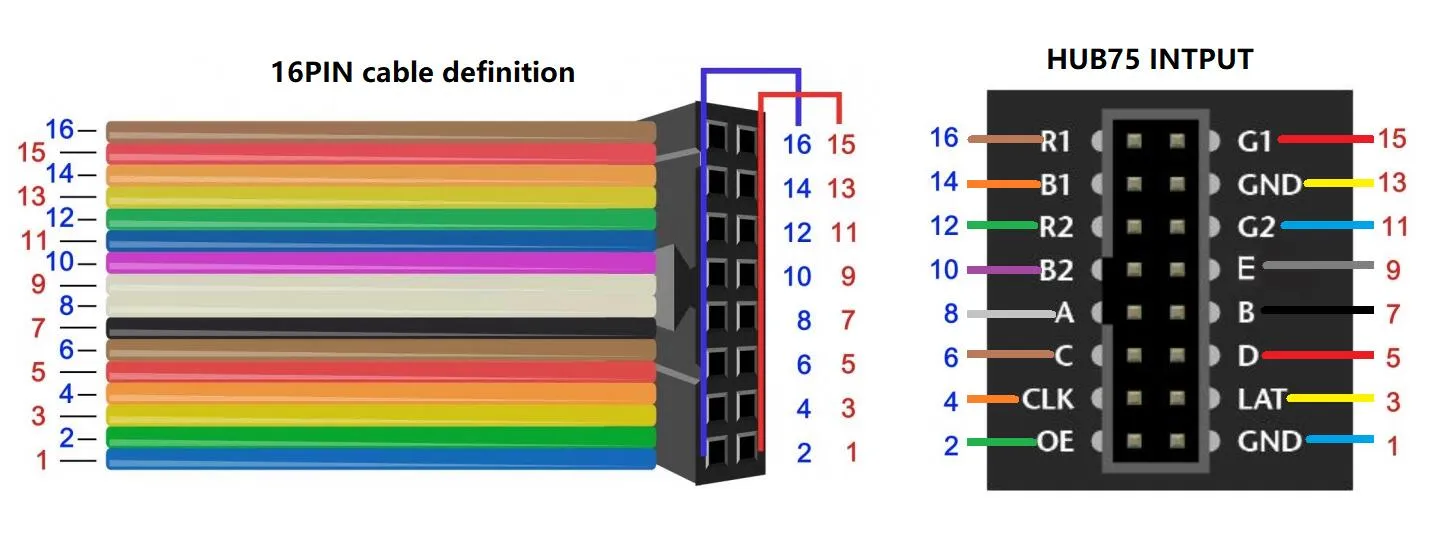
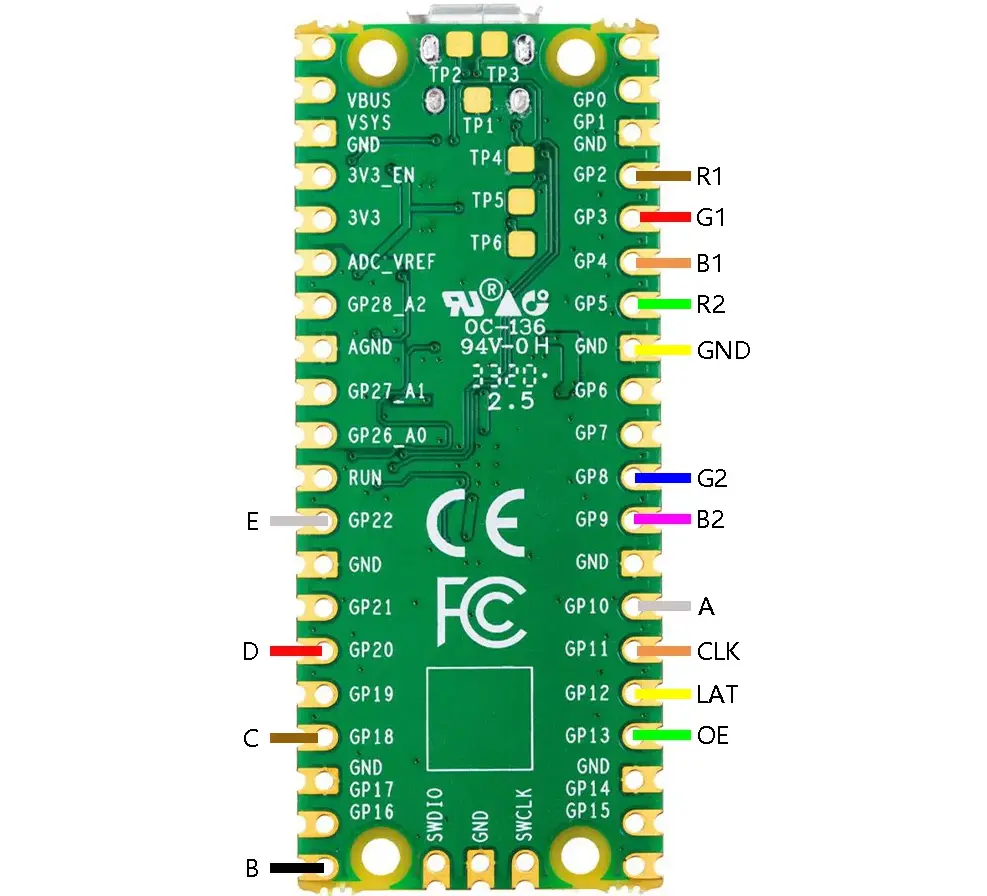
Importing the Project
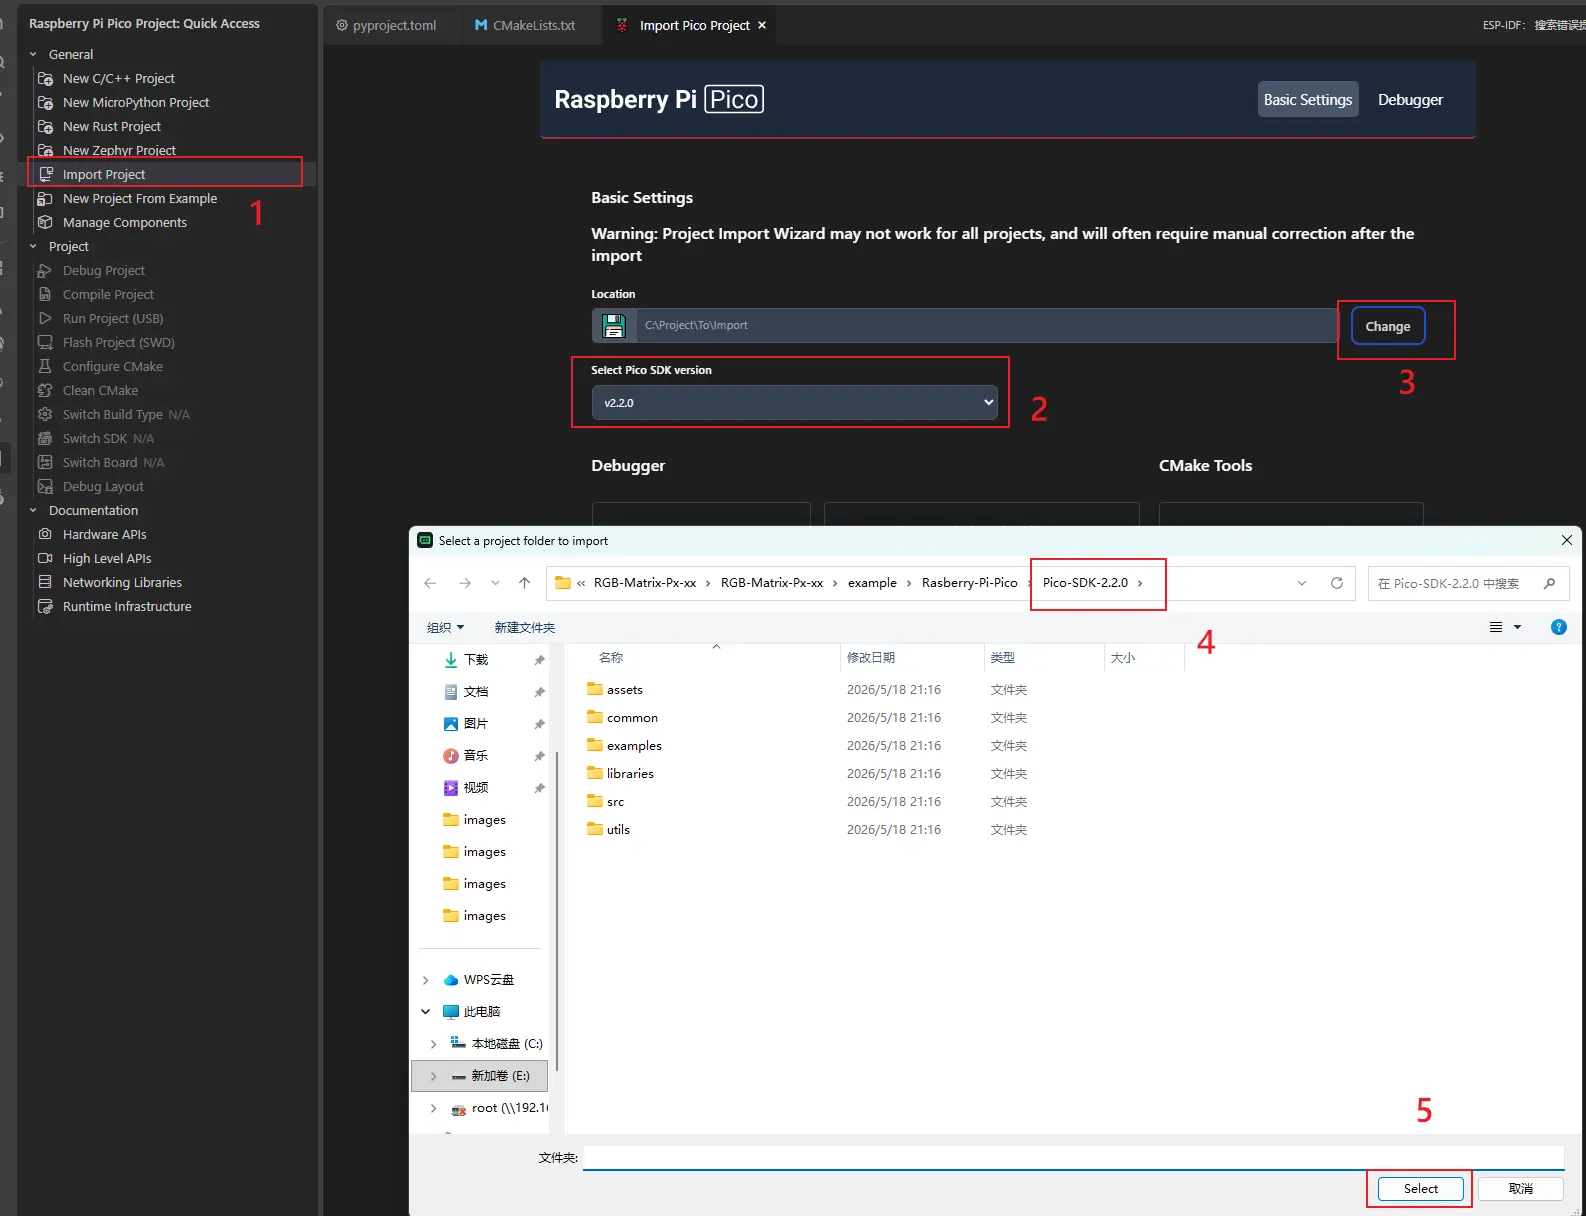
Flashing Process

In the terminal shown above, enter the following commands:
resolution switching
By changing the PANEL_PROFILE parameter in the root CMakeLists.txt, you can change the panel size to be displayed.
Currently supported resolution profiles:
- 64X32_1_16
- 64X64_1_32
- 80X40_1_20
- 96X48_1_24
Specify via command line (execute in the project root directory to switch to 80x40):
cmake -S . -B build -G Ninja -DPANEL_PROFILE=80X40_1_20
cmake --build build
After compilation completes, press and hold the BOOT button on the board while powering it on, then click the RUN icon to flash.

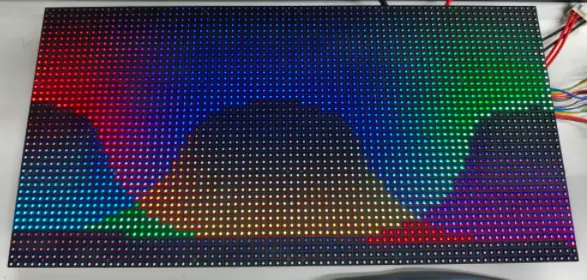
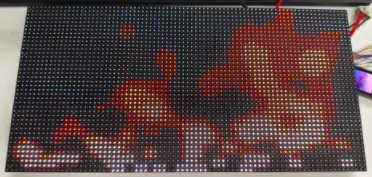
Expected Behavior
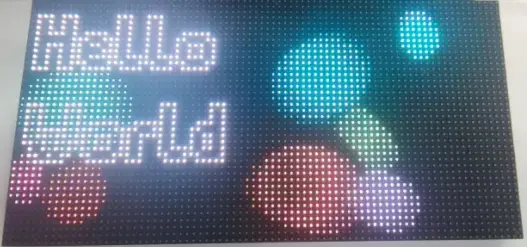 |  |  |